E-14
12mm (2 lines)
18mm/24mm (1 line)
* At this size, certain text effects can cause closely spaced lines of text to over-
lap.
* At this size, the lines of certain character styles can become broken.
18mm/24mm (2 lines, 3 lines)
Using Auto Sizing (AUTO)
1. Input the text.
2. Press FUNC 3 (SIZE) to display the size setting menu.
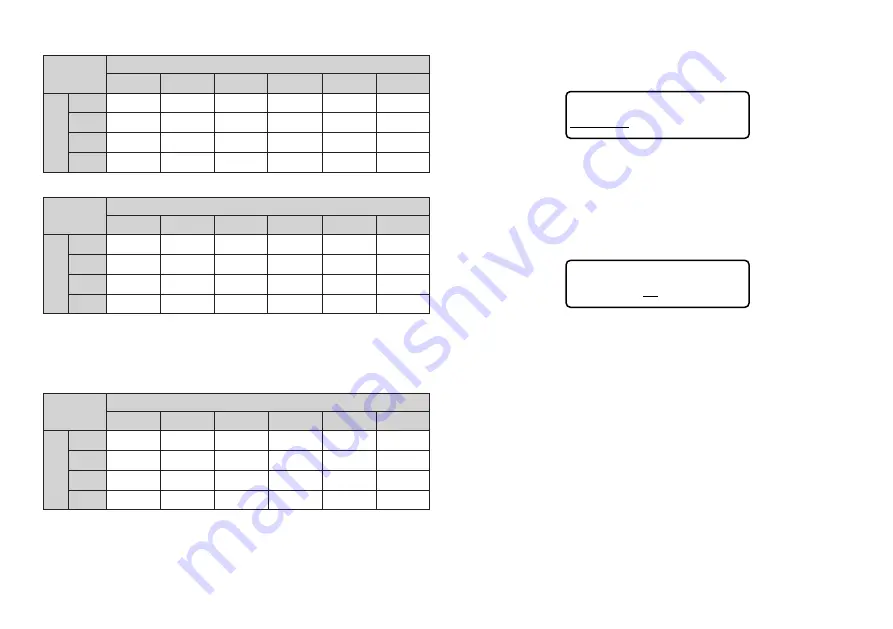
A U T O
MA NU A L
3. Make sure the cursor is set to AUTO and then press SET.
Now the character size is automatically set.
To specify character sizes (MANUAL)
1. Input the text.
2. Press FUNC 3 (SIZE) to display the size setting menu.
3. Use
J
to move the underlining to MANUAL and then press SET.
S I Z E : 3
×
3
4. Specify the character size you want.
•
Use
H
and
J
to move the underlining between the two dimensions.
•
To change a dimension, press
L
to increase it or
K
to decrease it.
•
Remember that the dimensions you can specify depend on the width of the
tape loaded in the label printer (see table, above).
5. When the character size you want to specify is on the display, press SET to
select it and return to the text display.
Note
•
You could also perform the above procedure in reverse, specifying the char-
acter size first and then inputting the text.
Horizontal
1
2
3
4
5
6
1
1
×
1
1
×
2
1
×
3
1
×
4
1
×
5
1
×
6
2
1
×
1
1
×
2
1
×
3
1
×
4
1
×
5
1
×
6
3
1
×
1
1
×
2
1
×
3
1
×
4
1
×
5
1
×
6
4
1
×
1
1
×
2
1
×
3
1
×
4
1
×
5
1
×
6
V
e
rtical
Horizontal
1
2
3
4
5
6
1
1
×
1
1
×
2
1
×
3
1
×
4
1
×
5
1
×
6
2
2
×
1
2
×
2
2
×
3
2
×
4
2
×
5
2
×
6
3
3
×
1
3
×
2
3
×
3
3
×
4
3
×
5
3
×
6
4*
4
×
1
4
×
2
4
×
3
4
×
4
4
×
5
4
×
6
V
e
rtical
Horizontal
1
2
3
4
5
6
1
1
×
1
1
×
2
1
×
3
1
×
4
1
×
5
1
×
6
2
1
×
1
1
×
2
1
×
3
1
×
4
1
×
5
1
×
6
3
1
×
1
1
×
2
1
×
3
1
×
4
1
×
5
1
×
6
4
1
×
1
1
×
2
1
×
3
1
×
4
1
×
5
1
×
6
V
e
rtical
Summary of Contents for KL-7200
Page 1: ...KL 7200 User s Guide...


