24
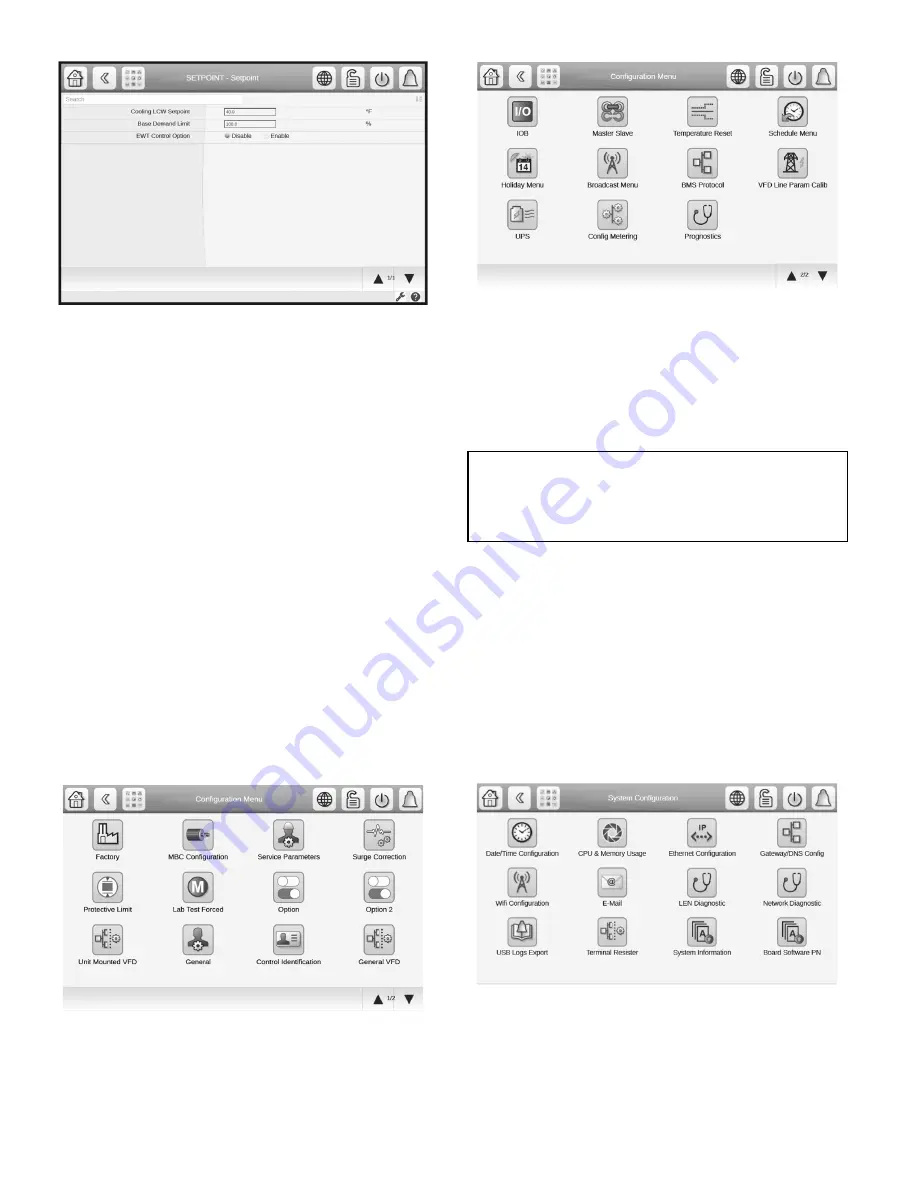
Fig. 24 — Setpoint Menu
INPUT THE LOCAL OCCUPIED SCHEDULE
Access the schedule menu (
Main Menu
→
Configuration
Menu
→
Schedule Menu
) and set up the occupied time schedule
according to the customer’s requirements. If no schedule is
available, the default is factory set for 24 hours occupied, 7 days
per week including holidays. When the control mode is LOCAL
SCHEDULE, the chiller will be automatically started if the con-
figured local schedule is occupied and will be automatically shut
down by the unoccupied schedule.
The Network Schedule should be configured if a CCN system is
being installed. When control mode is NETWORK, the chiller can
be started and stopped by the CHIL_S_S software point as written
by other equipment through the network command and network
schedule. The Schedule Menu contains a table to set the Network
Schedule if required.
For more information about setting time schedules, please refer to
the PIC6 Control User Manual.
INPUT SERVICE CONFIGURATIONS
See Fig. 25 for 19MV Configuration Tables. For specific values
for the following configurations, refer to the chiller performance
data or job-specific data sheet:
1. Password
2. Log in/log out
3. Input time and date
4. Service parameters
5. Equipment configuration
6. Automated control quick test
Fig. 25 — 19MV Configuration Tables, Page 1
(Factory Login View)
Fig. 26 — 19MV Configuration Tables, Page 2
(Factory Login View)
PASSWORD
A user password must be entered to access the Set Point or other
common user tables. See Fig. 27. User password can be changed
from the General Configuration Menu. USER CONFIGURA-
TION allows change of the User access password. The default
User password is 1111.
A 7-day access code to Service tables can be granted by Admin.
Access to Factory tables requires deciphering of a QR code by au-
thorized user of the Carrier SMARTService
®
app. The password
changes periodically and ensures that only authorized users can
adjust key product configuration and maintenance data.
Service and Factory login icon becomes visible after 72 hours of
PIC6 HMI power-up followed by a power cycle. Up to this point
the controller will accept "4444".
For customers who require full access to the PIC6 controller, the
controller can be configured for "Special User Login" mode,
which disables the QR code requirement for Factory tables and re-
places it with a static ten-digit password.
NOTE: This option reduces the cybersecurity protection of the
chiller controls.
Fig. 27 — 19MV Config Tables
INPUT TIME AND DATE
Set day and time and, if applicable, holidays through MAIN
MENU SYSTEM CONFIGURATION and then select Date/Time
Configuration. See the Controls Operation and Troubleshooting
guide for details. Because a schedule is integral to the chiller con-
trol sequence, the chiller will not start until the time and date have
been set.
IMPORTANT: Be sure to remember the password. Retain a copy
for future reference. Without the user password, access will not
be possible unless accessed by a Carrier representative. Factory
password is required to enter configuration menus required for
chiller setup.
Summary of Contents for AquaEdge 19MV
Page 49: ...49 Fig 46 SIOB...
Page 50: ...50 Fig 47 IOB2...
Page 51: ...51 Fig 48 19MV Auxiliary Controls Wiring...


