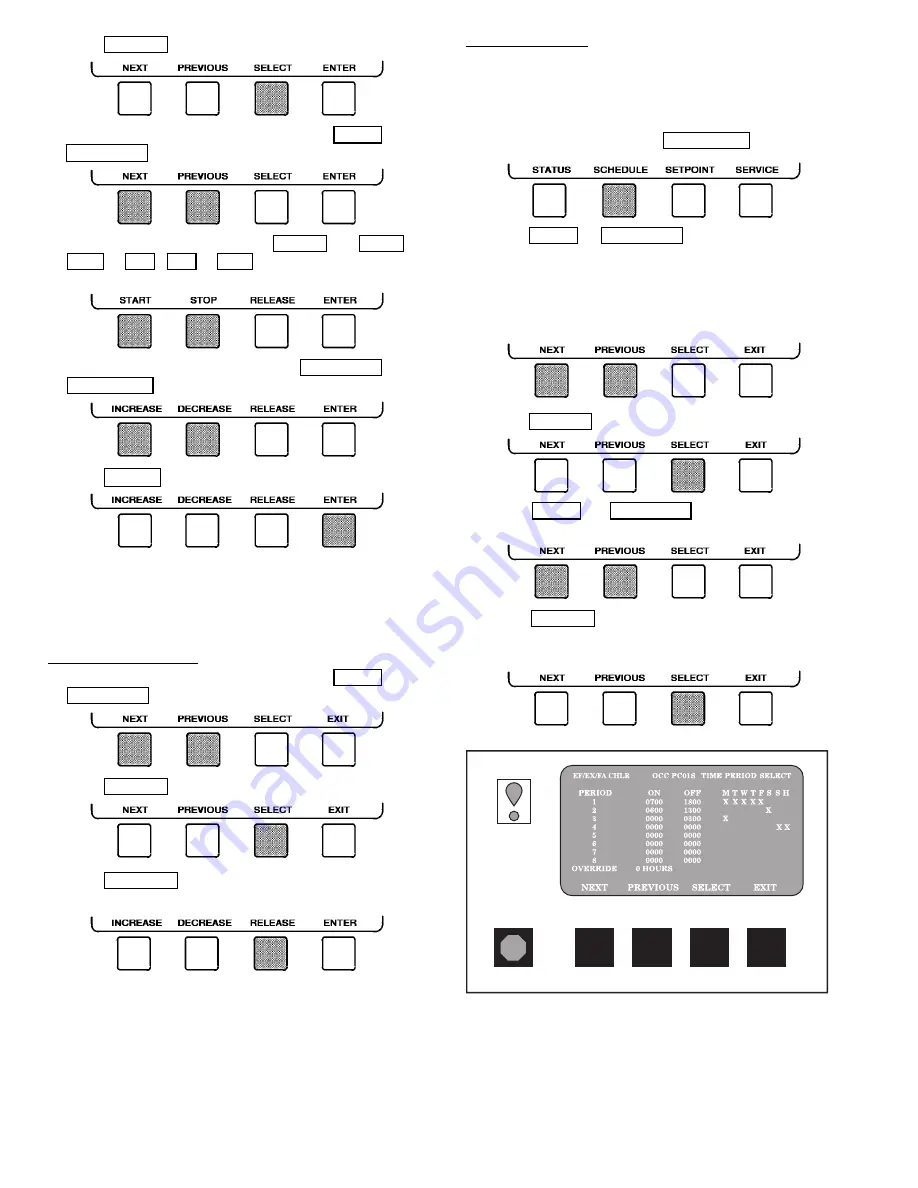
3. Press SELECT to view the desired Point Status table.
4. On
the
Point
Status
table
press
NEXT
or
PREVIOUS until desired point is displayed on the screen.
For Discrete Points — Press
START
or
STOP ,
YES or NO , ON or OFF , etc. to select the desired
state.
For
Analog
Points
—
Press
INCREASE
or
DECREASE to select the desired value.
5. Press ENTER to register new value.
OVERRIDE OPERATIONS
NOTE: When overriding or changing metric values, it is nec-
essary to hold the softkey down for a few seconds in order
to see a value change, especially on kilopascal values.
To Remove an Override
1. On
the
Point
Status
table
press
NEXT
or
PREVIOUS to highlight the desired point.
2. Press SELECT to access the highlighted point.
3. Press RELEASE to remove the override and return the
point to the PIC’s automatic control.
Override Indication — An override value is indicated by
‘‘SUPVSR,’’ ‘‘SERVC,’’ or ‘‘BEST’’ flashing next to the point
value on the Status table.
TO VIEW OR CHANGE TIME SCHEDULE OPERATION
(Fig. 14)
1. On the Menu screen, press SCHEDULE .
2. Press NEXT or PREVIOUS to highlight one of the
following schedules.
OCCPC01S — LOCAL Time Schedule
OCCPC02S — ICE BUILD Time Schedule
OCCPC03-99S — CCN Time Schedule (Actual
number is defined in CONFIG table.)
3. Press SELECT to access and view the time schedule.
4. Press NEXT or PREVIOUS to highlight the de-
sired period or override that you wish to change.
5. Press SELECT to access the highlighted period or
override.
Fig. 14 — Example of Time Schedule
Operation Screen
18


