


CS 8100SC Family User Guide (SM987)_Ed 01
37
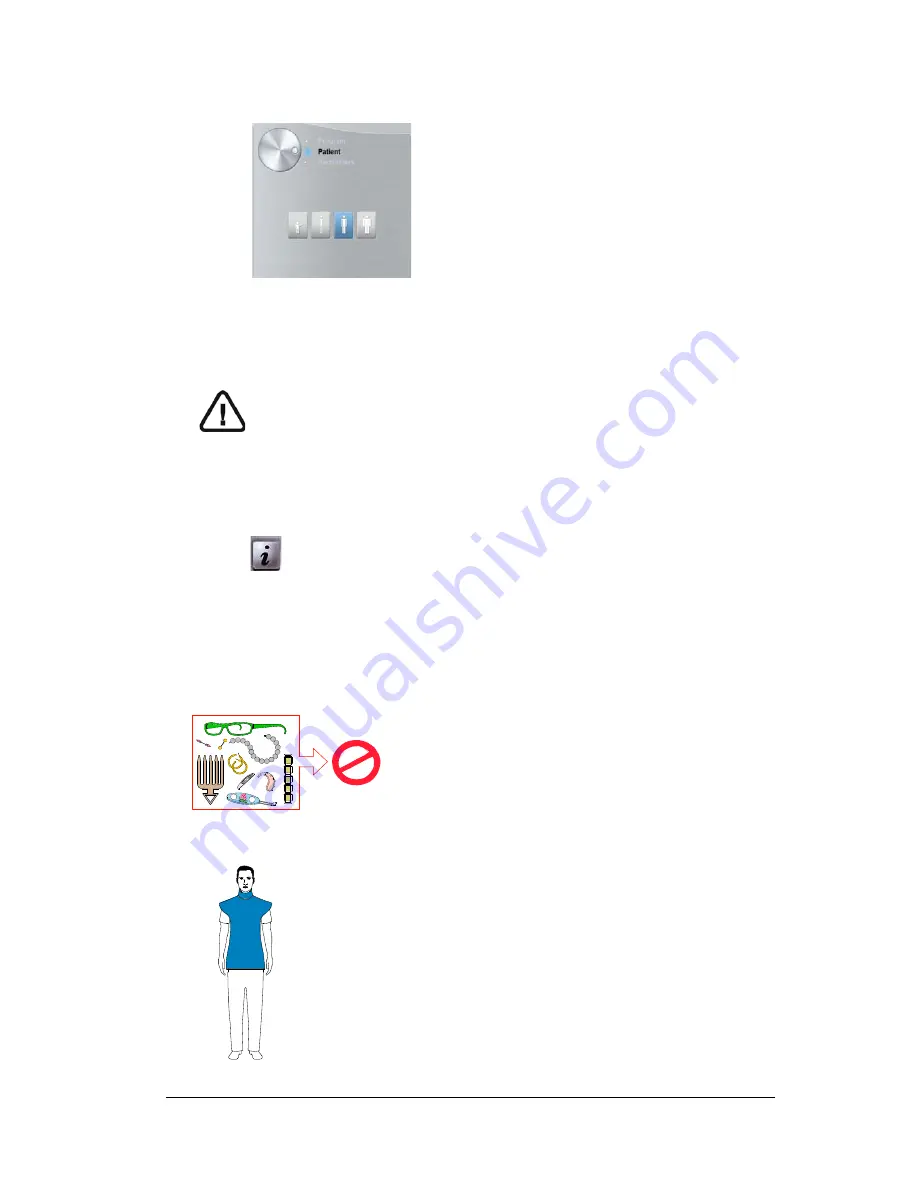
4.
Click the
Patient
button to access the
Patient pane
.
Select the patient type:
•
Child
•
Adult: Small, Medium, Large
5.
(Optional)
If the default parameter setting is not adapted to your patient type, click the
Parameter
button:
•
Select the appropriate parameters.
•
Click
and
select
Memorize Anatomy setting
if you want to save the new parameter
settings as future default settings.
Preparing and Positioning the Adult and Pediatric Patient
To prepare and position the patient, follow these steps:
1
Ask the patient to remove all metal objects.
2.
Ask the patient to wear a lead apron with a thyroid collar. Ensure that the apron lays flat across the
patient’s shoulders.
Important:
See the
CS 8100 Family Safety, Regulatory and Technical Specifications User
Guide
for information on radiation protection and recommendations when you
select a patient type especially the pediatric patient.
Summary of Contents for CS 8100SC Access
Page 1: ...CS 8100SC Family User Guide Including CS 8100SC CS 8100SC Access...
Page 6: ...2 Chapter 1 Conventions in This Guide...
Page 14: ...10 Chapter 2 CS 8100SC Overview...
Page 20: ...16 Chapter 3 Imaging Software Overview...
Page 24: ...20 Chapter 4 Getting Started...
Page 33: ...CS 8100SC Family User Guide SM987 _Ed 01 29 Figure 5 3 Frontal AP Figure 5 4 Frontal PA...
Page 50: ...46 Chapter 5 Acquiring Cephalometric Images...
Page 52: ...48 Chapter 6 Maintenance 3 Select the desired test and follow the on screen instructions...
Page 54: ...50 Chapter 7 Troubleshooting...


