docs.carbide3d.com
8/31/2020
Version 4.0
25
3.
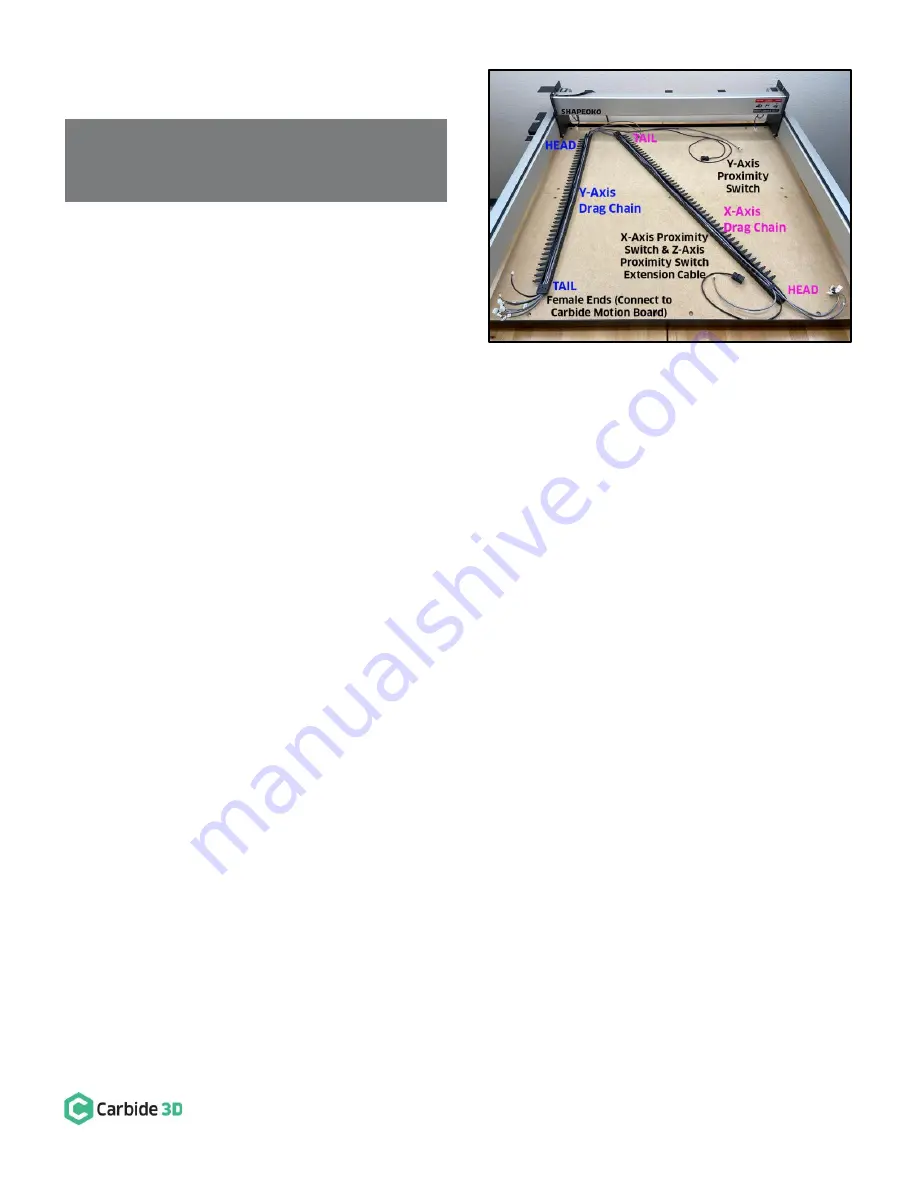
Insert the proximity switches and extension cable
into the drag chain. See
Fig. 24
.
a.
Insert the X-Axis proximity switch cable
and the gray Z-Axis proximity switch
extension cable through both the Y-Axis
and X-Axis portions of the drag chain.
b.
Insert the Y-Axis proximity switch cable
through the Y-Axis drag chain ONLY.
4.
Close up the drag chain. Do not install onto the
rails just yet.
Figure 24
NOTE:
Position the female end of the gray Z-Axis
proximity extension cable at the tail of Y-Axis drag
chain.
Summary of Contents for Shapeoko HDZ 4.0
Page 1: ...support carbide3d com docs carbide3d com 9 2 2020 Version 4 0 1 ASSEMBLY GUIDE HDZ 4 0...
Page 2: ...support carbide3d com docs carbide3d com 9 2 2020 Version 4 0 2...
Page 8: ...support carbide3d com docs carbide3d com 8 31 2020 Version 4 0 8 Figure 2...
Page 42: ...support carbide3d com docs carbide3d com 8 31 2020 Version 4 0 42 Figure 2...


