40
y
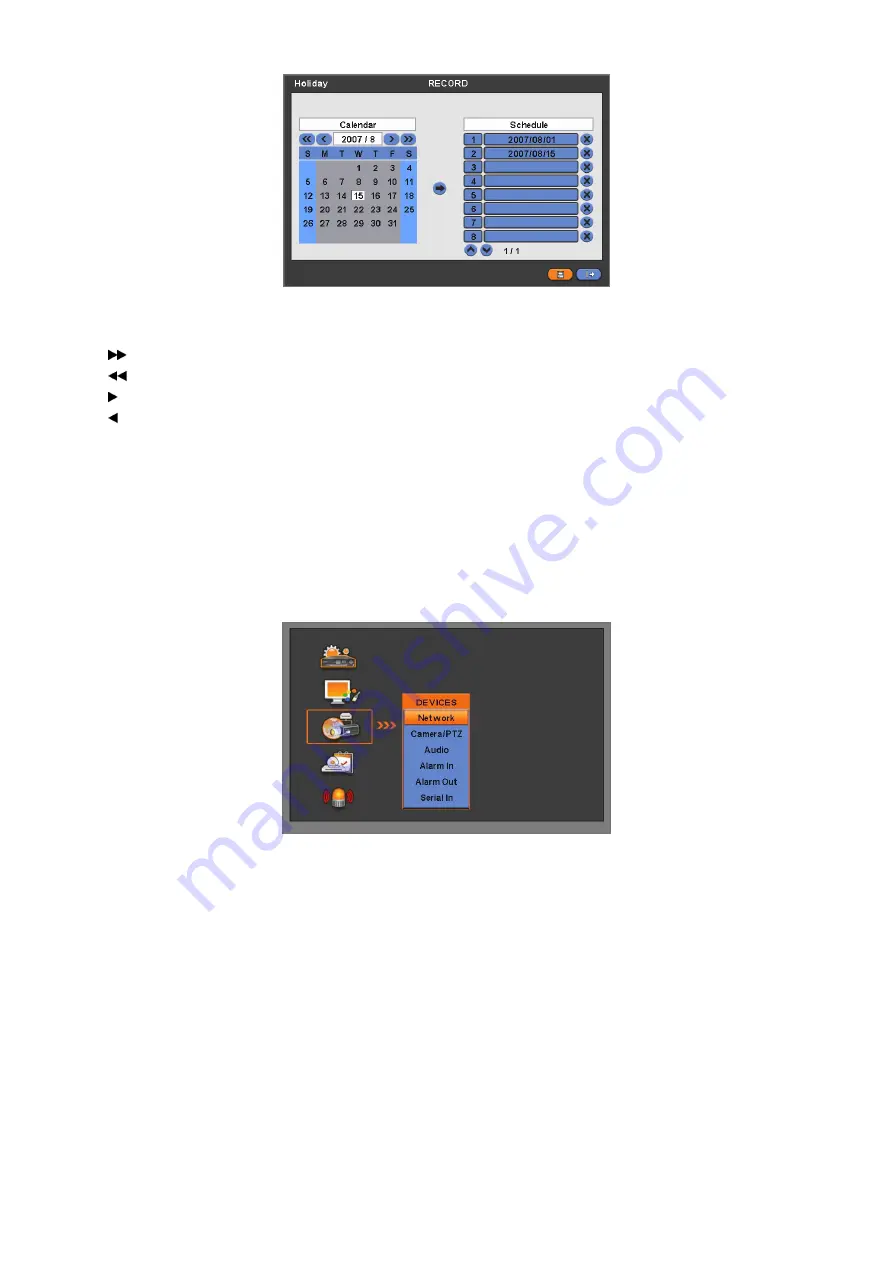
The Holiday menu will allow you to register holidays. Please follow the registration procedure below.
①
Use arrow buttons in the Month Calendar to select Year and Month of holiday to be registered.
–
: search subsequent ‘Year’
–
: search previous ‘Year’
–
: search subsequent ‘Month’
–
: search previous ‘Month’
②
Click (
) on date you need to register as holiday.
③
Click (
) ADD button and the date you just clicked on will be copied to the Schedule frame for registration.
④
If you want to cancel the registration of a certain holiday, please click
6
button next to the Schedule frame.
y
Since holidays may vary every year, we recommend you to update on a regular basis.
y
Choose ‘OK’ to confirm the setting.
4.6 LINK
y
Please click (
) LINK and the following screen will appear.
y
The LINK menu will allow you to set recording modes of all kinds of alarms (Sensor, Motion Event, Video loss, System
Event, etc.), alarm output, e-mail notification and the like.
4.6.1 Alarm
In
y
Please click (
) LINK>Alarm In and the following screen will appear.
y
Select cameras for recording while the motion sensor is in operation and alarm outputs and set up E-mail addresses for
notification.
y
Link Notification displays E-mail addresses registered in DEVICES>Network>Notification.
y
Please follow the setup procedures below.
①
Click (
) Alarm In frame and select Alarm In 1.
②
Select cameras for recording when Alarm In 1 is on. Please check
5
a check box under Link Camera. More than two
cameras can be set.
③
Select alarm outputs to be worked when Alarm In 1 is on. Please check
5
a check box under Link Alarm Out. More than
two alarm outputs can be set.
④
Select E-mail addresses for notification when Alarm In 1 is on. Please check
5
a check box under Link Notification. More
than two E-mail addresses can be set.
⑤
Repeat the above procedure for Alarm In 2~ Alarm In 4 (Up to 16 for
Type B
).


