


34
PTZ camera itself supports OSD menu, use the setup value to more easily enter and use the OSD menu even in DVR.
If OSD enter command is 95 + PSET for example, designate 95 for Menu item,
if shortcut key to use Tour function is 71 ~79 + PSET, designate 70 for Tour item and
if shortcut key to use Pattern function is 81 ~ 89 + PSET, designate 80 for Pattern item.
The setting information herein is used for PAN/TILT control in 5.1.5 (to be described).
If you click Default, basic setup values are given (i.e., Menu: 95, Tour: 70, Pattern: 80).
For further details on setting, please refer to the PTZ camera manual.
y
Click (
)
▲
,
▼
direction buttons on the right-hand side of the ID column to set ID number (i.e.,
0 ~ 9999
)
of each PTZ.
y
While pressing (+) or (-) button, ID increases or decreases by 10 units.
y
Choose ‘OK’ to confirm the setting.
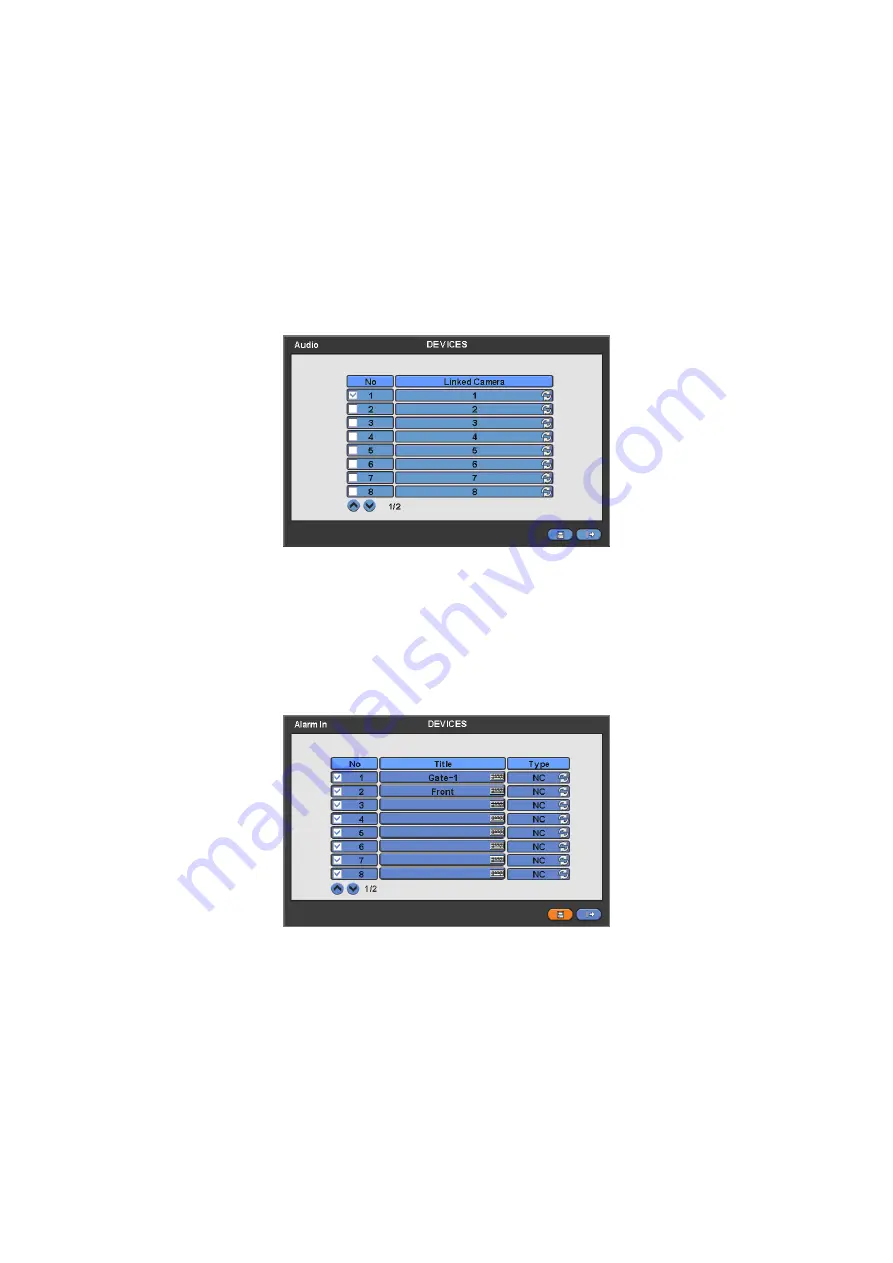
4.4.3 Audio
y
Please click (
) DEVICES>Audio and the following screen will appear.
y
The Audio menu will allow you to choose whether to record Audio.
y
When you check
5
a check box on No column, corresponding audio and video are recorded. However, if you do not check
the check box, recording stops.
y
Choose ‘OK’ to confirm the setting.
4.4.4 Alarm
In
y
Please click (
) DEVICES>Alarm In and the following screen will appear.
y
The Alarm In menu will allow you to give title and to select the type of Alarm input.
y
Click (
) the keyboard icon on the right-hand side of each frame on Title column and the virtual keyboard will appear. Then,
please register the title of Alarm input.
y
When you check
5
a check box on No column, a corresponding Alarm starts operating. However, if you do not check the
check box, the operation stops.
y
Click (
) each frame on Type column to select type of a corresponding Alarm input.
–
NO:
contact is normally open (Normally open)
–
NC:
contact is normally closed (Normally closed)
y
Choose ‘OK’ to confirm setting.
4.4.5 Alarm
Out
y
Please click (
) DEVICES>Alarm Out and the following screen will appear.


