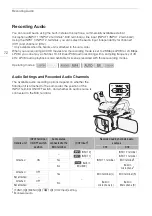
Recording Audio
75
NOTES
• When the audio level meter reaches the red point (0 dB), the sound may be distorted.
• If the audio level meter display is normal but the sound is distorted, activate the microphone's
attenuator (
A
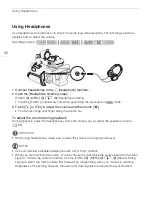
• We recommend using headphones to check the sound level while adjusting the audio recording
level or when the microphone attenuator is activated.
• When using automatic adjustment, if both INPUT 1 and INPUT 2 are set to the same audio input
(external microphone or external line input), you can use the [FUNC.]
>
[MENU]
>
p
>
[INPUT 1/2 ALC Link] setting to link the audio level adjustment of both channels.
• If at least one of the channels is set to manual adjustment, you can activate the audio peak limiter
with the [FUNC.]
>
[MENU]
>
p
>
[INPUT 1/2 Limiter] setting. When activated,
appears on the screen and the audio peak limiter will limit the amplitude of audio input signals so
that they do not exceed -6 dBFS.
Adjusting the Microphone’s Sensitivity (INPUT terminals)
You can adjust the sensitivity of a microphone connected to the INPUT 1 or INPUT 2 terminal.
POINTS TO CHECK
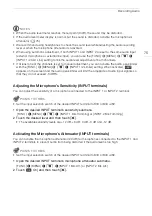
• Set the input selection switch of the desired INPUT terminal to MIC or MIC+48V.
1 Open the desired INPUT terminal’s sensitivity submenu.
[FUNC.]
>
[MENU]
>
p
>
[INPUT 1 Mic Trimming] or [INPUT 2 Mic Trimming]
2 Touch the desired level and then touch [
X
].
• The available sensitivity levels are +12 dB, +6 dB, 0 dB, -6 dB and -12 dB.
Activating the Microphone’s Attenuator (INPUT terminals)
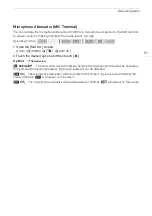
You can activate the microphone attenuator (20 dB) for microphones connected to the INPUT 1 and
INPUT 2 terminals to prevent audio from being distorted if the audio level is too high.
POINTS TO CHECK
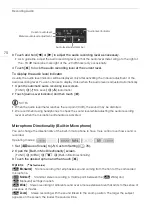
• Set the input selection switch of the desired INPUT terminal to MIC or MIC+48V.
1 Open the desired INPUT terminal’s microphone attenuator submenu.
[FUNC.]
>
[MENU]
>
p
>
[INPUT 1 Mic Att.] or [INPUT 2 Mic Att.]
2 Touch [
i
On] and then touch [
X
].


