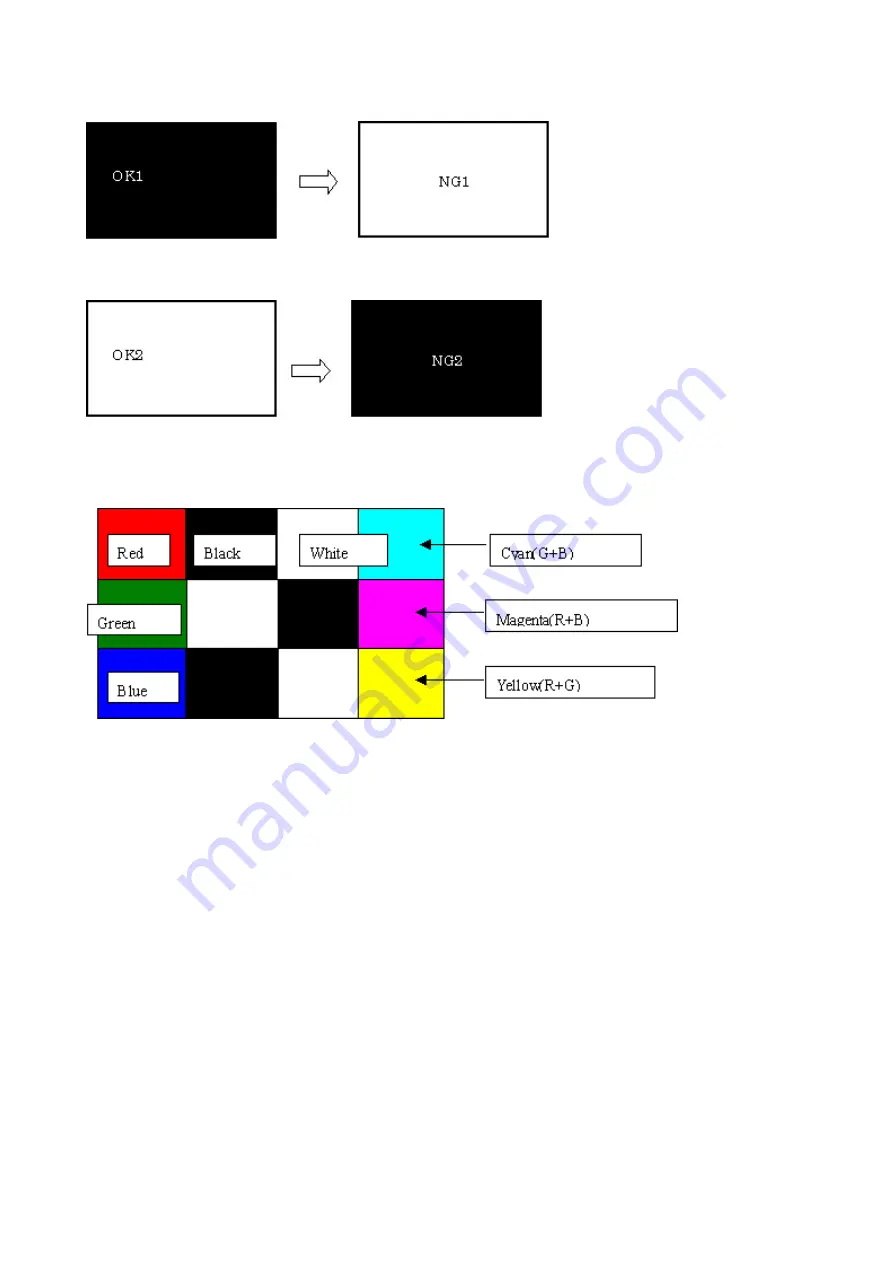
3) Transparent pattern display check
3-1) Press the OK button. "OK1" in white is displayed on the black background. If the result is not good, "NG1" in black is
displayed on the white background (transparent color) immediately after "OK1."
3-2) Press the OK button. "OK2" in black is displayed on the white background. If the result is not good, "NG2" in white is
displayed on the black background (transparent color) immediately after "OK2."
3-3) Press the OK button. The machine returns to be ready for selection of another function.
4) Color pattern check
4-1) The color pattern is displayed on the LCD to see if the display is correct.
4-2) Press the ON button. The machine returns to be ready for selection of another function.
(5) Ink absorber counter setting
Set the ink absorber counter value to a new EEPROM after the logic board is replaced in servicing.
1) Before replacement of the logic board, check the ink absorber counter value in EEPROM information print.
2) After replacement of the logic board, the ink absorber counter value should be set in the service mode using the Service Tool.
In the
Ink Absorber Counter
section of the Service Tool, select
Main
from the
Absorber
pull-down menu.
From the
Counter Value(%)
pull-down menu, select the value (in 10% increments) which is the closest to the actual counter
value confirmed before replacement of the logic board, and click
Set
.
3) Print EEPROM information to confirm that the value is properly set to the EEPROM.
<4-1. User Mode & 4-2. Service Mode>
51 / 63
Summary of Contents for PIXMA MX870 Series
Page 8: ...5 63 ...
Page 9: ...6 63 ...
Page 31: ...8 Remove the main case no screws 28 63 ...
Page 34: ...31 63 ...
Page 35: ...4 Remove the LCD ass y no screws 5 Remove the panel board 11 screws 32 63 ...
Page 39: ...2 Remove the PE sensor board 5 screws 36 63 ...
Page 64: ... 2 Service test print Service test print sample unified inspection pattern print 61 63 ...
Page 65: ... 3 Ink absorber counter value print Print sample 4 6 Verification After Repair 62 63 ...


