Important
• Large items (such as A4 size photos) that cannot be
placed away from the edges/arrow (alignment mark) of
the platen may be saved as PDF files. To save in a
format other than PDF, scan by specifying the data
format.
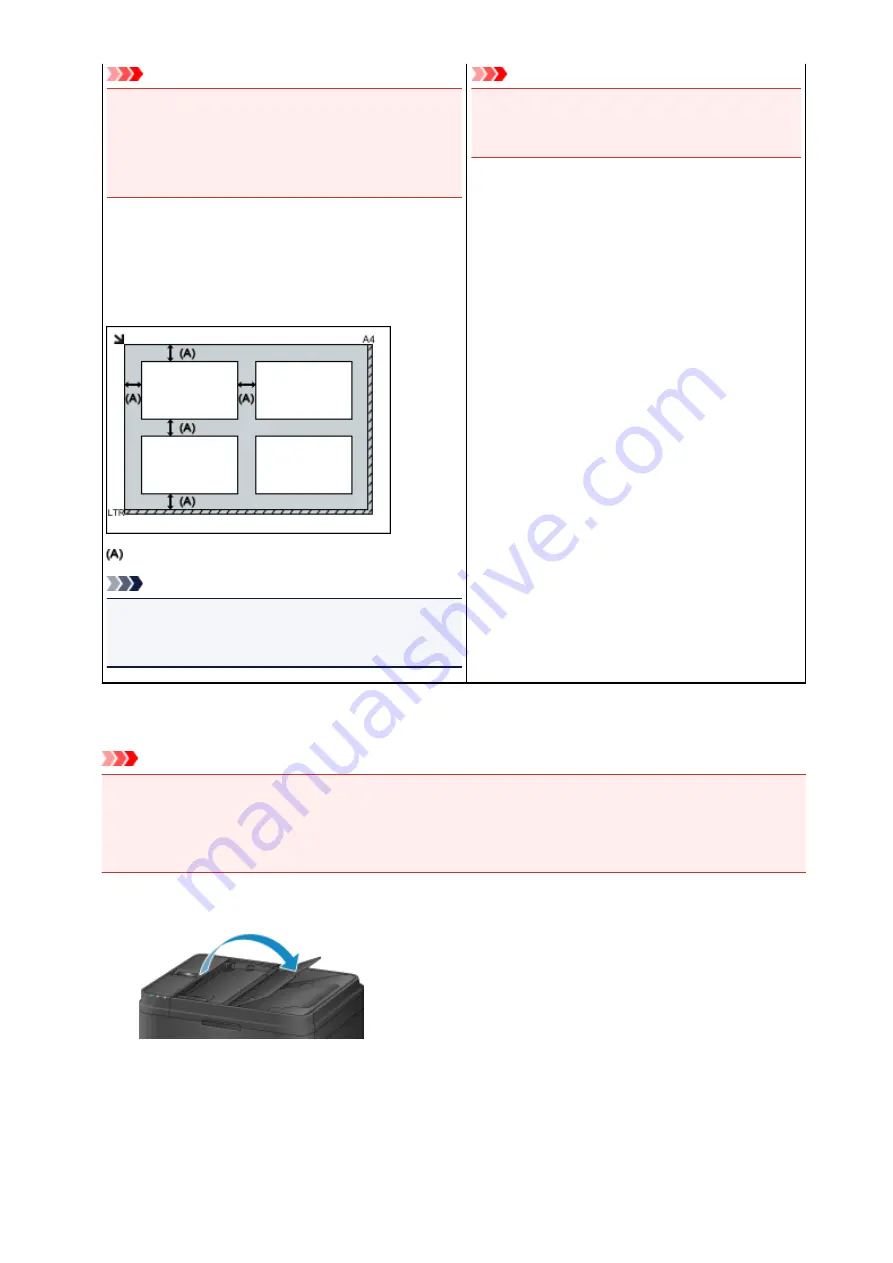
Placing Multiple Items:
Allow 0.4 inch (1 cm) or more space between the edges
(diagonally striped area) of the platen and items, and
between items. Portions placed on the diagonally striped
area cannot be scanned.
more than 0.4 inch (1 cm)
Note
• In IJ Scan Utility, you can place up to 12 items.
• Positions of slanted items (10 degrees or less) are
corrected automatically.
Important
• Refer to "Loading Originals" for your model from
Home of the
Online Manual
for details on the
portions in which items cannot be scanned.
Placing Documents (ADF (Auto Document Feeder))
Important
• Do not leave thick items on the platen when scanning from the ADF. May result in paper jam.
• Place and align documents of the same size when scanning two or more documents.
• Refer to "Originals You Can Load" for your model from Home of the
Online Manual
for details on
supported document sizes when scanning from the ADF.
1. Open the document tray.
2. Place the documents on the ADF, then adjust the document guides to the width of the
documents.
Insert the documents face-up until a beep sounds.
470
Summary of Contents for Pixma E480 series
Page 15: ...B204 776 ...
Page 67: ...67 ...
Page 99: ...Safety Guide Safety Precautions Regulatory and Safety Information 99 ...
Page 108: ...Main Components Front View Rear View Inside View Operation Panel 108 ...
Page 124: ...Loading Paper Originals Loading Paper Loading Originals 124 ...
Page 153: ... Photo or thick paper 153 ...
Page 154: ...Replacing a FINE Cartridge Replacing a FINE Cartridge Checking the Ink Status 154 ...
Page 222: ...Information about Network Connection Useful Information about Network Connection 222 ...
Page 244: ...Note This machine supports WPA WPA2 PSK WPA WPA2 Personal and WPA2 PSK WPA2 Personal 244 ...
Page 272: ...272 ...
Page 282: ...PRO 10S 282 ...
Page 289: ... Paper Settings on the Printer Driver and the Printer Paper Size 289 ...
Page 314: ...Adjusting Brightness Adjusting Intensity Adjusting Contrast 314 ...
Page 371: ...Scanning Scanning from a Computer Scanning from the Operation Panel of the Machine 371 ...
Page 410: ...Defaults You can restore the settings in the displayed screen to the default settings 410 ...
Page 420: ...Defaults You can restore the settings in the displayed screen to the default settings 420 ...
Page 471: ...471 ...
Page 478: ... Scan resolution Select the resolution for scanning Ex 478 ...
Page 643: ...Telephone Problems Cannot Dial Telephone Disconnects During a Call 643 ...
Page 646: ...Problems with Scanning Problems with Scanning Scan Results Not Satisfactory 646 ...
Page 739: ...5B02 Cause Printer error has occurred Action Contact the service center 739 ...
Page 740: ...5B03 Cause Printer error has occurred Action Contact the service center 740 ...
Page 741: ...5B04 Cause Printer error has occurred Action Contact the service center 741 ...
Page 742: ...5B05 Cause Printer error has occurred Action Contact the service center 742 ...
Page 743: ...5B12 Cause Printer error has occurred Action Contact the service center 743 ...
Page 744: ...5B13 Cause Printer error has occurred Action Contact the service center 744 ...
Page 745: ...5B14 Cause Printer error has occurred Action Contact the service center 745 ...
Page 746: ...5B15 Cause Printer error has occurred Action Contact the service center 746 ...


