


Using the Full
Range of Features
66
E
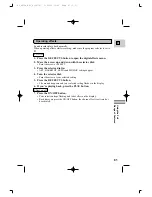
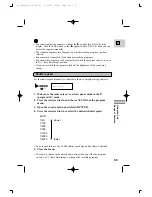
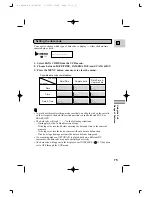
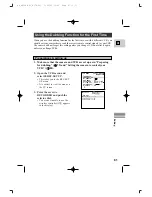
1. Set the camera to record pause mode.
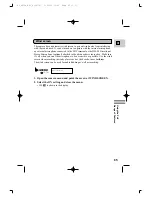
2. Select SELF TIMER from the menu and set it to ON
or
Push the SELF TIMER button on the wireless controller.
• SELF T. appears in the display.
• To have the subject monitor recording, rotate the LCD panel 180° (
25).
3. Press the start/stop button.
• The camera starts to record after a 10-second countdown period (or after
two seconds when you use the wireless controller). The time remaining
counts down in the display (e.g. “5 SEC”).
• SELF T. disappears from the display when recording begins.
• The tally lamp starts flashing.
4. Press the start/stop button to end recording.
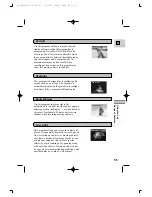
• After recording a still picture for about six seconds, the camera
automatically goes into record pause mode.
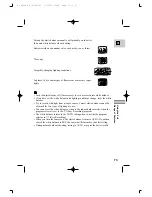
• When taking a still photo, set the self-timer and press a PHOTO button on the
camera body or the wireless controller. The camera automatically adjusts the
focus two seconds before the countdown is complete. The
F
mark flashes white
then turns green after the focus and exposure are set. If you are using the
wireless controller, the
F
mark starts flashing immediately after you press the
photo button. The camcorder takes the picture for approximately six seconds.
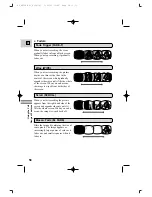
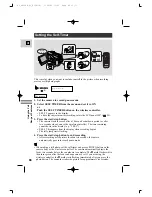
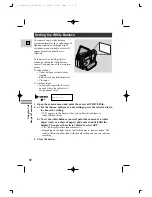
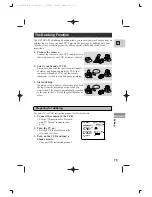
Setting the Self-Timer
POW
ER
POWER
OF
F
OFF
MO
VIE
MOVIE
P.SC
AN
P.SCAN
VCR
POW
ER
POWER
OF
F
OFF
MO
VIE
MOVIE
P.SC
AN
P.SCAN
VCR
MENU
START
/STOP
PHOTO
MENU
SELF
TIMER
PHOTO
PHOTO
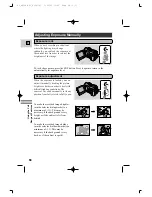
This is useful when you want to include yourself in the picture when recording
movies or still photographs.
SELF-TIMER••OFF
(
35)
For movie
#3_OPTURA Pi_E(34-78) 1/25/00 13:42 Page 66 (1,1)


