116
Photos
Setting Print Orders from the Index Screen
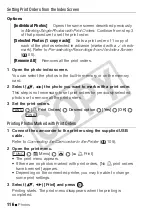
Options
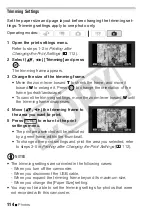
1 Open the photo index screen.
You can select the photos in the built-in memory or on the memory
card.
2 Select (
,
) the photo you want to mark with a print order.
This step is not necessary to set print orders for previously selected
photos or to remove all the print orders.
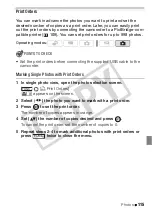
3 Set the print orders.
[
Print Orders]
Desired option
[Yes]
[OK]
Printing Photos Marked with Print Orders
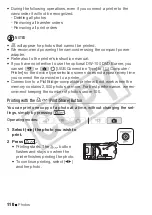
1 Connect the camcorder to the printer using the supplied USB
cable.
Refer to
Connecting the Camcorder to the Printer
(
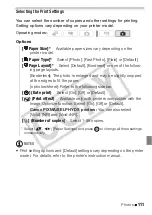
2 Open the print menu.
[
Menu]
[
Print]
• The print menu appears.
• If there are no photos marked with print orders, [No
print orders
have been set] appears.
• Depending on the connected printer, you may be able to change
some print settings.
3 Select (
,
) [Print] and press
.
Printing starts. The print menu disappears when the printing is
completed.
[Individual Photos]
Opens the same screen described previously
in
Marking Single Photos with Print Orders
. Continue from step 3
of that procedure to set the print order.
[Selected Photos (1 copy each)]
Sets a print order of 1 copy of
each of the photos selected in advance (marked with a
check-
mark). Refer to
Pre-selecting Recordings from the Index Screen
(
55).
[Remove All]
Removes all the print orders.
FUNC.
FUNC.
FUNC.
CO
PY

