Basic Remote Scanning
2-20
Basic O
p
er
ations
2
8
Click [Scan].
Scanning starts.
When scanning is complete, the Color Network ScanGear Main Window closes, and
the scanned image is transferred to the application.
IMPORTANT
•
After clicking [Scan], do not perform any operation in the Color Network ScanGear Main
Window until the dialog box showing the scanning progress appears.
•
If Color Network ScanGear does not automatically close after scanning, click [×] (Exit) to
close it.
•
Be sure to close the Color Network ScanGear Main Window before exiting the
application.
9
When scanning is complete, remove your originals.
10
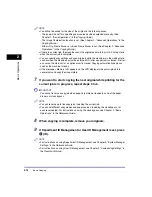
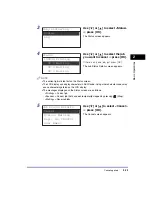
If Department ID Management or User ID Management is set, press
(ID).
NOTE
•
For instructions on using Department ID Management, see Chapter 4, “System Manager
Settings,” in the
Reference Guide
.
•
For instructions on using User ID Management, see Chapter 3, “Customizing Settings,” in
the
Remote UI Guide
.


