


49
Fa
x
7
Press [
▲
] or [
▼
] to highlight <Name>, and then press [OK].
8
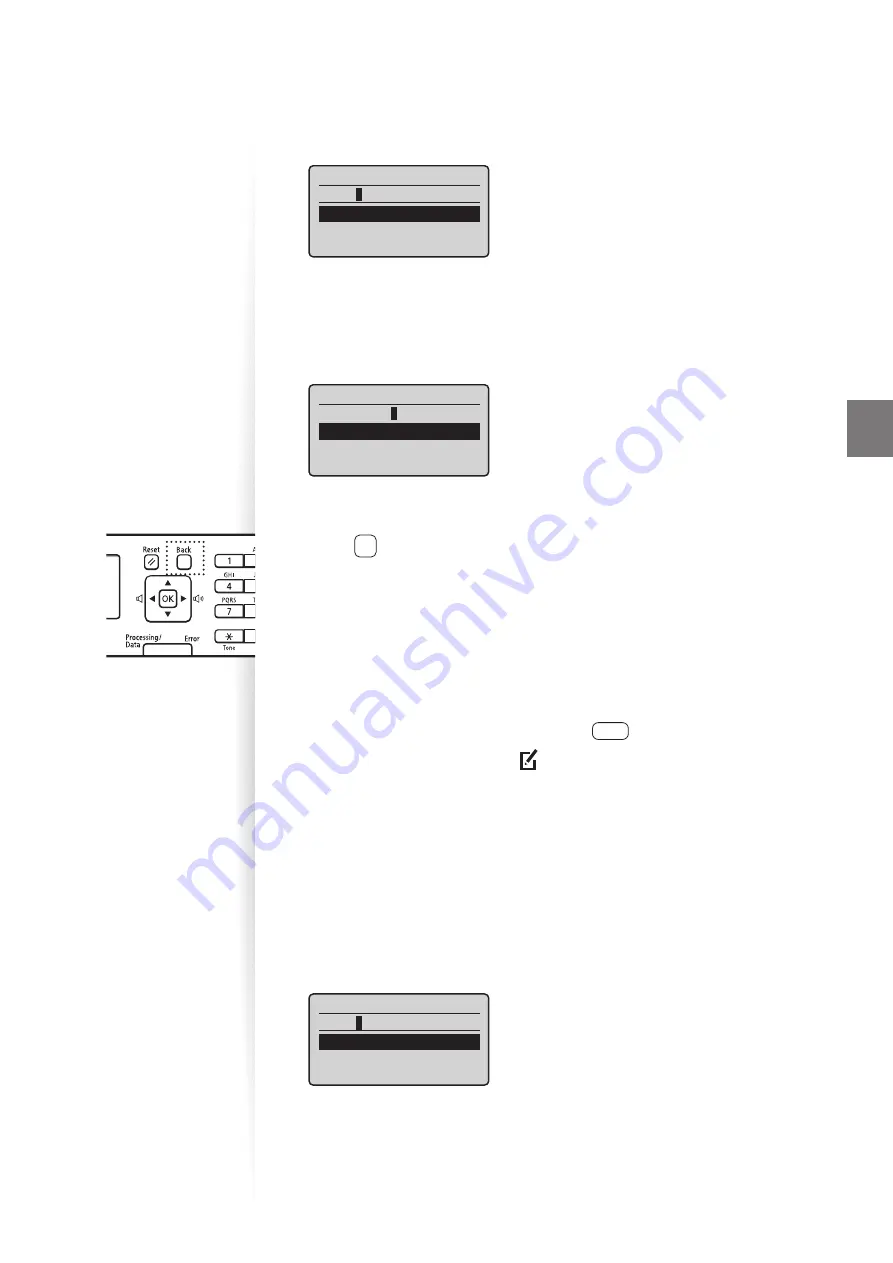
Enter a name for the destination, press [
▲
] or [
▼
] to highlight <Apply>,
and then press [OK].
Name (Max 16 char.)
CANON
<Apply>
Entry Mode: A
9
Press [
▲
] or [
▼
] to highlight <Destination>, and then press [OK].
10
Enter the fax number, press [
▲
] or [
▼
] to highlight <Apply>, and then
press [OK].
•
Select <
Set Details
> to specify detailed options as needed.
Destination (Max 40)
0123456789
<Apply>
Set Details
11
Press [
▲
] or [
▼
] to highlight <Apply>, and then press [OK].
12
Press [
] (Back) to close the screen.
Registering Numbers to Coded Dialing Codes
To send a fax to a destination that is registered to a coded dialing code,
see ”Using the Coded Dialing Codes” (
→
p.56).
1
Switch to the Fax mode, and then press [
] (Address Book).
2
Press [
◄
] or [
►
] to highlight <
> (Menu).
3
Press [
▲
] or [
▼
] to highlight <Register New Destination to Address
Book>, and then press [OK].
4
Press [
▲
] or [
▼
] to highlight <Coded Dial>, and then press [OK].
5
Press [
▲
] or [
▼
] to highlight <Fax>, and then press [OK].
6
Press [
▲
] or [
▼
] to highlight <Name>, and then press [OK].
7
Enter a name for the destination, press [
▲
] or [
▼
] to highlight <Apply>,
and then press [OK].
Name (Max 16 char.)
CANON
<Apply>
Entry Mode: A
Fa
x


