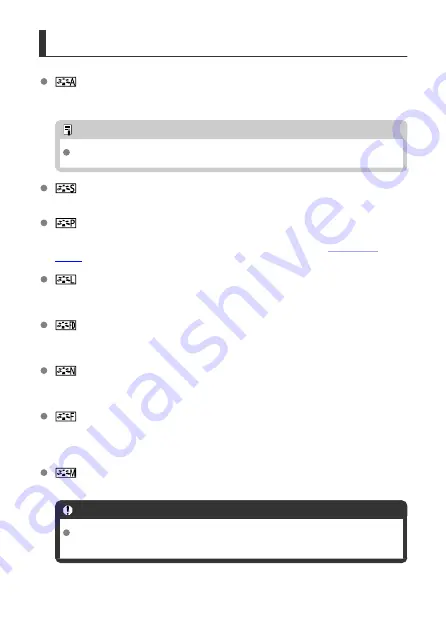
Picture Style Characteristics
Auto
The color tone will be adjusted automatically to suit the scene. The colors will look vivid
for blue skies, greenery and sunsets, particularly in nature, outdoor, and sunset scenes.
Note
If the desired color tone is not obtained with [
Auto
], use another Picture Style.
Standard
The image looks vivid, sharp, and crisp. Suitable for most scenes.
Portrait
For smooth skin tones, with slightly less sharpness. Suited for close-up portraits.
Skin tone can be adjusted by changing [
Color tone
] as described in
Landscape
For vivid blues and greens, and very sharp and crisp images. Effective for impressive
landscapes.
Fine Detail
For detailed rendering of fine subject contours and subtle textures. The colors will be
slightly vivid.
Neutral
For retouching later on a computer. Makes images subdued, with lower contrast and
natural color tones.
Faithful
For retouching later on a computer. Faithfully reproduces the actual colors of subjects as
measured in daylight with a color temperature of 5200K. Makes images subdued, with
lower contrast.
Monochrome
Creates black-and-white images.
Caution
Color images cannot be recovered from JPEG images shot with the
[
Monochrome
] Picture Style.
193
Summary of Contents for EOS R5 C
Page 1: ...PUB DIE 0561 000 Advanced User Guide PHOTO edition Digital Cinema Camera ...
Page 28: ... 9 10 14 16 20 21 23 22 17 18 19 2 1 8 3 6 7 12 4 5 15 13 11 28 ...
Page 34: ...3 Using a slim cable 34 ...
Page 35: ...Using a thick cable 3 Included interface cable 4 Using a slim cable Using a thick cable 35 ...
Page 36: ...5 Using a slim cable Using a thick cable 36 ...
Page 37: ...6 Using a slim cable Using a thick cable 4 HDMI cable sold separately 37 ...
Page 56: ...Changing the Interface Language To change the interface language see Language 56 ...
Page 78: ... AF Start Button Equivalent to pressing the shutter button halfway except in mode 78 ...
Page 84: ...Menu Screen in Mode In mode some tabs and menu items are not displayed 84 ...
Page 91: ...Dragging Sample screen Menu screen Slide your finger while touching the screen 91 ...
Page 252: ...Note High speed display is always used when Shutter mode is set to Electronic 252 ...
Page 266: ...Clearing Settings 1 Select Shooting info disp 2 Select Reset 3 Select OK 266 ...
Page 267: ...Viewfinder Display Format 1 Select VF display format 2 Select an option 267 ...
Page 283: ...AF2 1 Focus ring rotation 2 RF lens MF focus ring sensitivity 3 sensitivity AF pt select 283 ...
Page 364: ...Magnified view Note You can also magnify display by double tapping with one finger 364 ...
Page 369: ...369 ...
Page 386: ...4 Erase the images Press the button then press OK 386 ...
Page 388: ...4 Erase the images Select OK 388 ...
Page 428: ...2 Select Portrait relighting Turn the dial to select an image to adjust then press 428 ...
Page 470: ...4 Select Enable 5 Select Wi Fi Bluetooth connection 6 Select Connect to smartphone 470 ...
Page 488: ...4 Set Size to send 5 Take the picture 488 ...
Page 491: ... 2 Sending multiple selected images 1 Press 2 Select Send selected 491 ...
Page 493: ...4 Select Size to send On the displayed screen select an image size 5 Select Send 493 ...
Page 496: ... 4 Sending all images on the card 1 Press 2 Select Send all card 496 ...
Page 497: ...3 Select Size to send On the displayed screen select an image size 4 Select Send 497 ...
Page 499: ...3 Select Size to send On the displayed screen select an image size 4 Select Send 499 ...
Page 516: ...7 Select OK The selected images are transferred to the computer 516 ...
Page 519: ...Select OK to transfer the selected images to the computer 519 ...
Page 530: ...Steps on the camera 2 10 Select OK The icon changes to 11 Select Upload to Web service 530 ...
Page 546: ...6 Select Transfer 7 Select OK The selected images are transferred to the FTP server 546 ...
Page 549: ...Select OK to transfer the selected images to the FTP server 549 ...
Page 570: ...4 Select OK 570 ...
Page 574: ...Note To delete connection settings see Changing or Deleting Connection Settings 574 ...
Page 619: ...3 Select Create folder 4 Select OK To rename the folder select Change folder name 619 ...
Page 631: ...3 Format the card Select OK 631 ...
Page 638: ...Language 1 Select Language 2 Set the desired language 638 ...
Page 641: ...Example Multi function lock 641 ...
Page 642: ...Changing the Help Text Size 1 Select Help text size 2 Select an option 642 ...
Page 705: ...Note and dials cannot be customized in mode Control ring on RF lenses and mount adapters 705 ...


