


Adjusting Cropping Frames (ScanGear)
"Cropping" is the act of selecting the area you want to keep in an image and discarding the rest when
scanning it.
On the
Basic Mode
tab and
Advanced Mode
tab, you can specify cropping frames (scan areas) on the
image(s) displayed in the Preview area of the screen.
When you perform a scan, each area specified with a cropping frame will be scanned as a separate image.
Note
• In whole image view, you can specify multiple cropping frames on the preview image.
• Refer to "Adjusting Cropping Frames in the Image Stitch Window" for your model from Home of the
Online Manual
for how to adjust cropping frames with IJ Scan Utility.
Initial Cropping Frame
In thumbnail view:
No cropping frame is specified. You can drag the mouse over a thumbnail to specify a cropping frame.
In whole image view:
An active cropping frame is automatically specified around the preview image. You can drag the cropping
frame in the Preview area to specify the area.
Note
• You can change the auto crop setting in the
Preferences
dialog box. Refer to
Cropping Frame on
Previewed Images
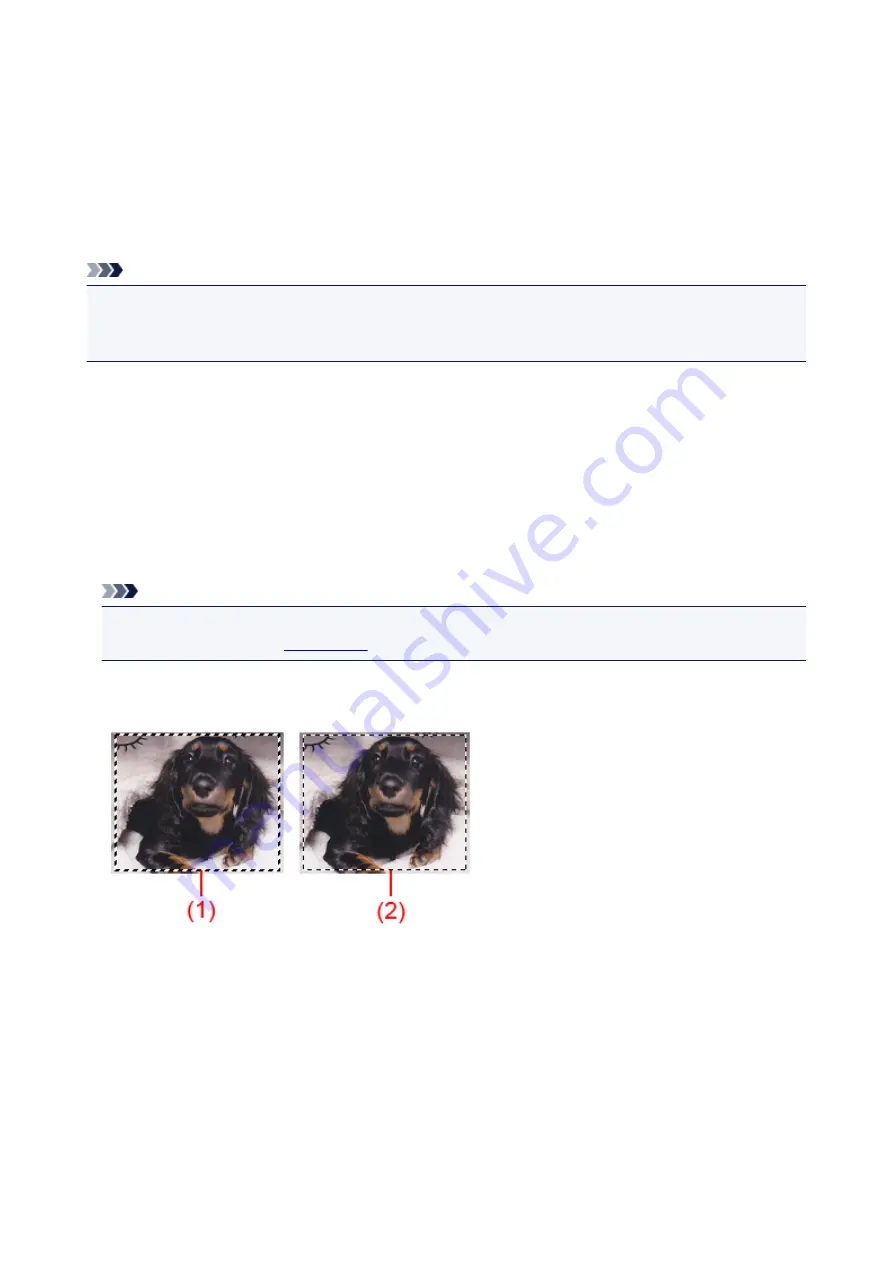
Cropping Frame Types
(1) Thick cropping frame (rotating or stationary)
Represents a selected cropping frame. Appears only in whole image view. You can select multiple
cropping frames by clicking them while pressing the Ctrl key. Output size, image corrections, and
other settings on the
Basic Mode
tab or
Advanced Mode
tab will be applied to all the selected
cropping frames.
(2) Thin cropping frame
In thumbnail view:
Output size, image corrections, and other settings on the
Basic Mode
tab or
Advanced Mode
tab
will be applied.
418
Summary of Contents for E 400
Page 22: ...Safety Guide Safety Precautions Regulatory and Safety Information 22 ...
Page 27: ...Main Components and Basic Operations Main Components About the Power Supply of the Machine 27 ...
Page 28: ...Main Components Front View Rear View Inside View Operation Panel 28 ...
Page 41: ...Loading Paper Originals Loading Paper Loading Originals 41 ...
Page 53: ...Printing Area Printing Area Other Sizes than Letter Legal Envelopes Letter Legal Envelopes 53 ...
Page 58: ...Loading Originals Loading Originals on the Platen Glass Originals You Can Load 58 ...
Page 62: ...Replacing a FINE Cartridge Replacing a FINE Cartridge Checking the Ink Status 62 ...
Page 71: ...Checking the Ink Status from Your Computer 71 ...
Page 113: ...Note The effects of the quiet mode may be less depending on the print quality settings 113 ...
Page 148: ...Note Selecting Scaled changes the printable area of the document 148 ...
Page 178: ...Note During Grayscale Printing inks other than black ink may be used as well 178 ...
Page 183: ...Adjusting Brightness Adjusting Intensity Adjusting Contrast 183 ...
Page 267: ...Copying Making Copies Basic Switching the Page Size between A4 and Letter 267 ...
Page 278: ...Scanning with Favorite Settings 278 ...
Page 364: ...364 ...
Page 417: ...417 ...
Page 446: ...Problems with Printing Quality Print Results Not Satisfactory Ink Is Not Ejected 446 ...
Page 496: ...About Errors Messages Displayed If an Error Occurs A Message Is Displayed 496 ...
Page 535: ...5B00 Cause Printer error has occurred Action Contact the service center 535 ...
Page 536: ...5B01 Cause Printer error has occurred Action Contact the service center 536 ...


