2-2
Using the Printer With Windows
Chapter 2
Printing a Document
This procedure describes the general steps required for printing from
various Windows applications. The exact steps for printing a document
may vary depending on the application program you are using. Refer
to your software application’s documentation for the exact printing
procedure.
❍
Start the program you are using to create the document,
and open the document you want to print.
❍
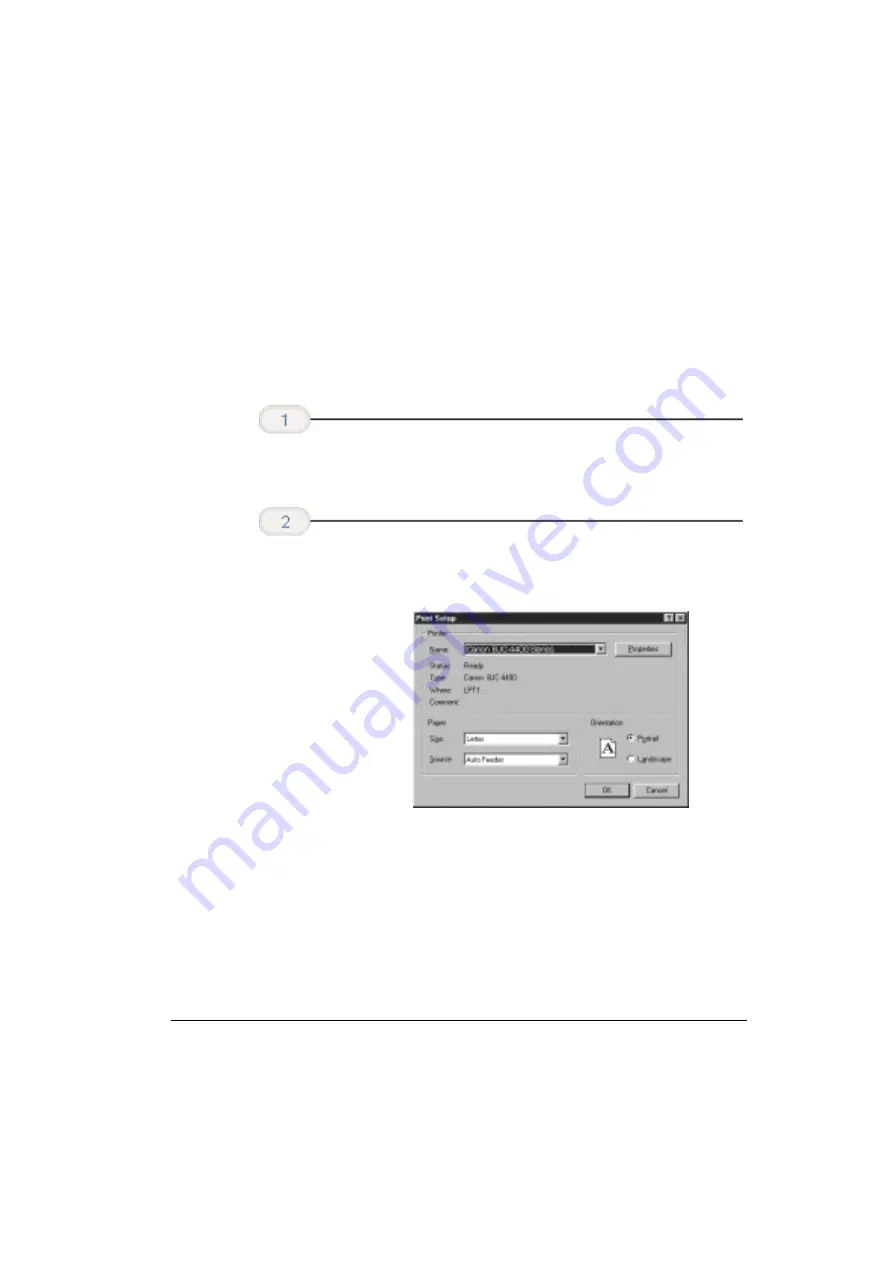
Choose Print or Print Setup from the File menu. You will
see a screen similar to this:
❍
Click on the Properties or Setup button if you want to
make any adjustments as appropriate for printing your
document. (See Printer Setup Within Windows 98/95 or
Printer Setup Within Windows 3.1 for details.)
❍
After making any necessary changes to the printing
parameters, click OK to start the print job.
Make sure
the Canon
BJC-4400 Series
is selected as
your default
printer.
Start your
application.
Summary of Contents for Color Bubble Jet BJC-4400 Series
Page 1: ...Color Bubble Jet Printer BJC 4400 Series ...
Page 5: ...CHAPTER 1 MAJOR CHANGES ...
Page 7: ...CHAPTER 2 SERVICE MANUAL ...
Page 27: ...Part 5 Maintenance 5 33 BJC 4400 Figure 5 11 Logic Board Bottom View ...
Page 34: ...0598 SE 0 50 0 ...
Page 35: ......
Page 39: ......
Page 45: ...A 6 This page intentionally left blank ...
Page 46: ...B 1 1 2 9 3 4 5 6 7 8 FIGURE 1 TRAY B PARTS LAYOUT PARTS LIST ...
Page 48: ...B 3 2 3 1 4 7 6 5 8 FIGURE 2 FRONT COVER ...
Page 52: ...B 7 1 FIGURE 4 REAR COVER ...
Page 54: ...B 9 1 S1 2 SHEET FEEDER UNIT FIGURE 5 ...
Page 56: ...B 11 1 S3 S2 FIGURE 6 ELECTRICAL PARTS ...
Page 60: ...B 15 1 2 FIGURE 8 WASTE INK ABSORBER ...
Page 62: ...B 17 1 2 3 4 7 8 S5 6 5 9 10 FIGURE 9 CARRIAGE PART 1 ...
Page 64: ...B 19 4 3 2 1 FIGURE 10 CARRIAGE PART 2 ...
Page 68: ...B 23 1 3 2 S6 S6 FIGURE 12 MOTORS ...
Page 74: ...B 29 4 5 6 7 1 2 3 FIGURE 15 PRINTER FRAME ...
Page 78: ......
Page 79: ......
Page 87: ...C 2 This page intentionally left blank ...
Page 88: ... 50 FLOIL G311S T3 T1 T2 FIGURE 18 TOOL D 1 D TOOL ...
Page 93: ......
Page 94: ...PRINTED IN JAPAN IMPRIME AU JAPON CANON INC The printing paper contains 70 waste paper ...
Page 95: ......
Page 96: ...0199xx 0 00 O ...
Page 97: ......
Page 99: ......
Page 101: ......
Page 102: ......
Page 104: ...e Page 3 19 3ePage B 23 A 3 ...
Page 105: ......
Page 106: ......
Page 107: ...This page intentionally left blank 9 e_ Ea A 6 ...
Page 108: ...1 5 B l ...
Page 110: ...FIGURE 2 FRONT COVER 7a MIC B 3 ...
Page 114: ......
Page 116: ......
Page 118: ...FIGURE 6 ELECTRICAL PARTS a53 B l 1 ...
Page 122: ......
Page 124: ......
Page 126: ...FiGURE lo CARRIAGE PART 2 epIJ ty 5 2 B 19 ...
Page 130: ......
Page 132: ......
Page 136: ......
Page 138: ......
Page 140: ...LOGIC BOARD COMPONENT FmJRE 17 j Jpy g _ p g 2 L 0 l z n cl TOP View B 33 ...
Page 149: ...This page intentionally left blank ru _ y B 0 c 2 ...
Page 150: ...Tl T2 T3 D l ...
Page 155: ......
Page 248: ...A 6 Specifications Appendix A ...
Page 258: ...I 6 Index ...


