69
Recor
d
ing
Selective Noise Reduction
With the selective noise reduction function you can set the camcorder to detect the characteristics of a
certain color or tone and automatically reduce noise in the targeted areas. This is particularly useful for
chroma keying, as targeting the selective noise reduction to the color of the background green or blue
screen will result in a smoother composite picture.
Targeted areas will be identified on the screen by a zebra pattern alternating with the normal picture. On
a connected monitor or computer, targeted areas will be identified by white areas alternating with the
normal picture.
Determining the Area to be Corrected
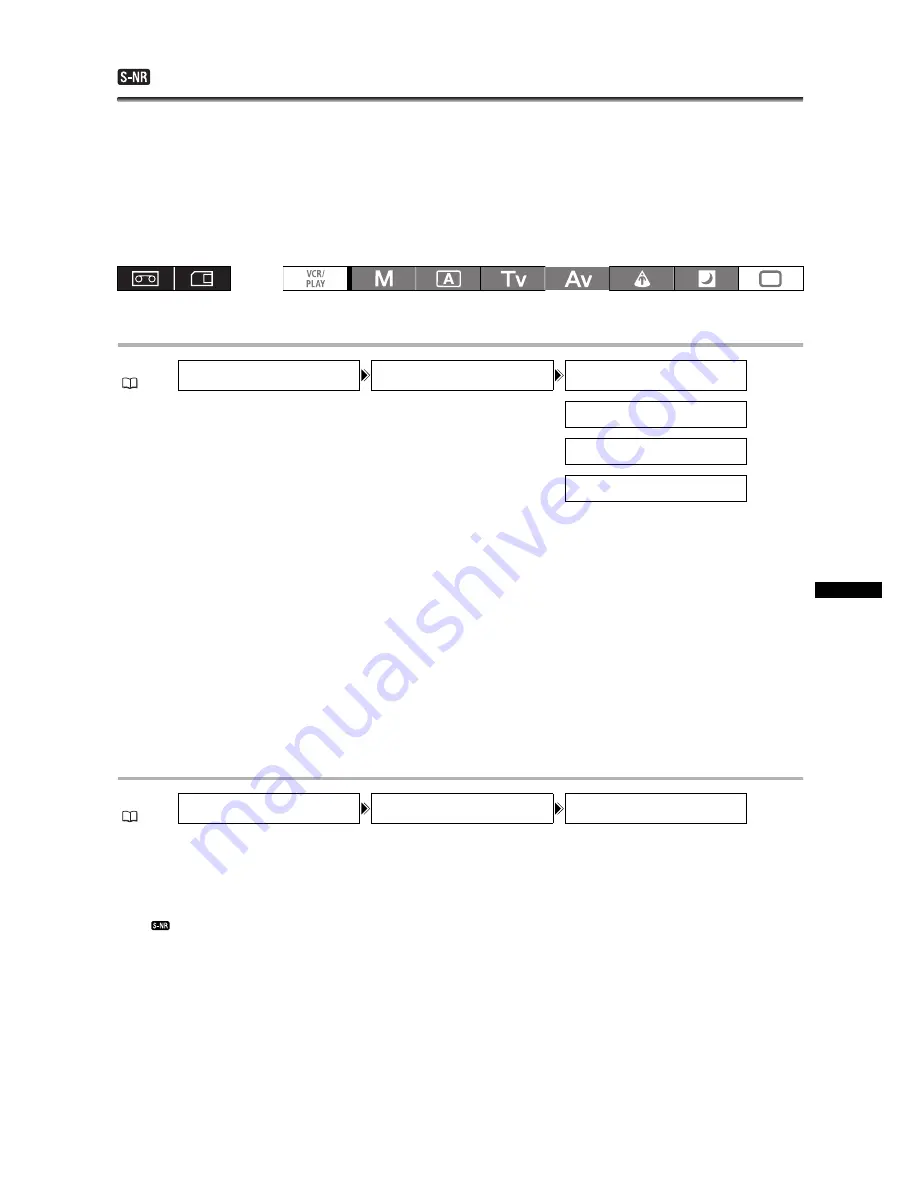
1. Open the menu, select [CAMERA SETUP] and then select the [SELECTIVE NR]
submenu.
2. Select each setting option, adjust the levels as necessary and close the menu.
• [HUE]:
Select the base hue (-6 to 6) of the color to be detected. Use the following values as an
approximate reference: -6=blue-violet, 0=cyan, 6=yellowish green.
• [CHROMA]: Adjust the color saturation for the color to be detected. 13 levels (-6 to 6) are available; set
higher levels to detect areas with richer colors.
• [AREA]:
Adjust the color range for the color to be detected. 13 levels (-6 to 6) are available; set
higher levels to detect a wider color range.
• [Y LEVEL]:
Adjust the brightness for the color to be detected. 13 levels (-6 to 6) are available; set
higher levels to detect brighter areas.
Activating the Selective Noise Reduction
1. Open the menu and select [CAMERA SETUP]. Select the [SELECTIVE NR] submenu
and then select [EFFECT LEVEL].
2. Select a setting option and close the menu.
• You can select the strength of the effect from low, middle or high.
•
appears.
MENU
(
25)
CAMERA SETUP
SELECTIVE NR
HUE•••••••••••••• 0
CHROMA••••••••••• 0
AREA••••••••••••• 0
Y LEVEL•••••••••• 0
MENU
(
25)
CAMERA SETUP
SELECTIVE NR
EFFECT LEVEL••OFF


