85
E
Recording
Setting the Custom Preset Settings
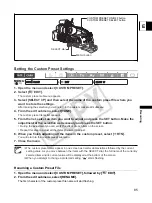
1. Open the menu and select [CUSTOM PRESET].
2. Select [
EDIT].
The custom preset submenu appears.
3. Select [SELECT CP] and then select the name of the custom preset file where you
want to store the settings.
After making the selection you will return to the custom preset edit submenu.
4. From the edit submenu, select [TUNE].
The custom preset items list appears.
5. From the list, select an item you want to adjust and press the SET button. Make the
adjustment or the selection as necessary and press the SET button.
• During the adjustment you can verify the effect of each item on the screen.
• Repeat this step to adjust all the items you want to adjust.
6. When you finish adjusting all the items in the custom preset, select [
RTN].
You will return to the custom preset submenu.
7. Close the menu.
The custom preset items appear in one screen as 3-letter abbreviations followed by the current
setting value. As you move between the items with the SELECT dial, the full name of the currently
selected item and its current value will be displayed at the bottom of the screen.
When you attempt to change a protected setting, “
” starts flashing.
Renaming a Custom Preset File
1. Open the menu and select [CUSTOM PRESET], followed by [
EDIT].
2. From the edit submenu, select [RENAME].
The first character of the custom preset file name will start flashing.
MENU
(
31)
CUSTOM PRESET
EDIT
SELECT CP
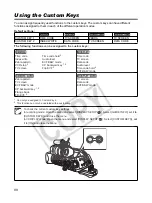
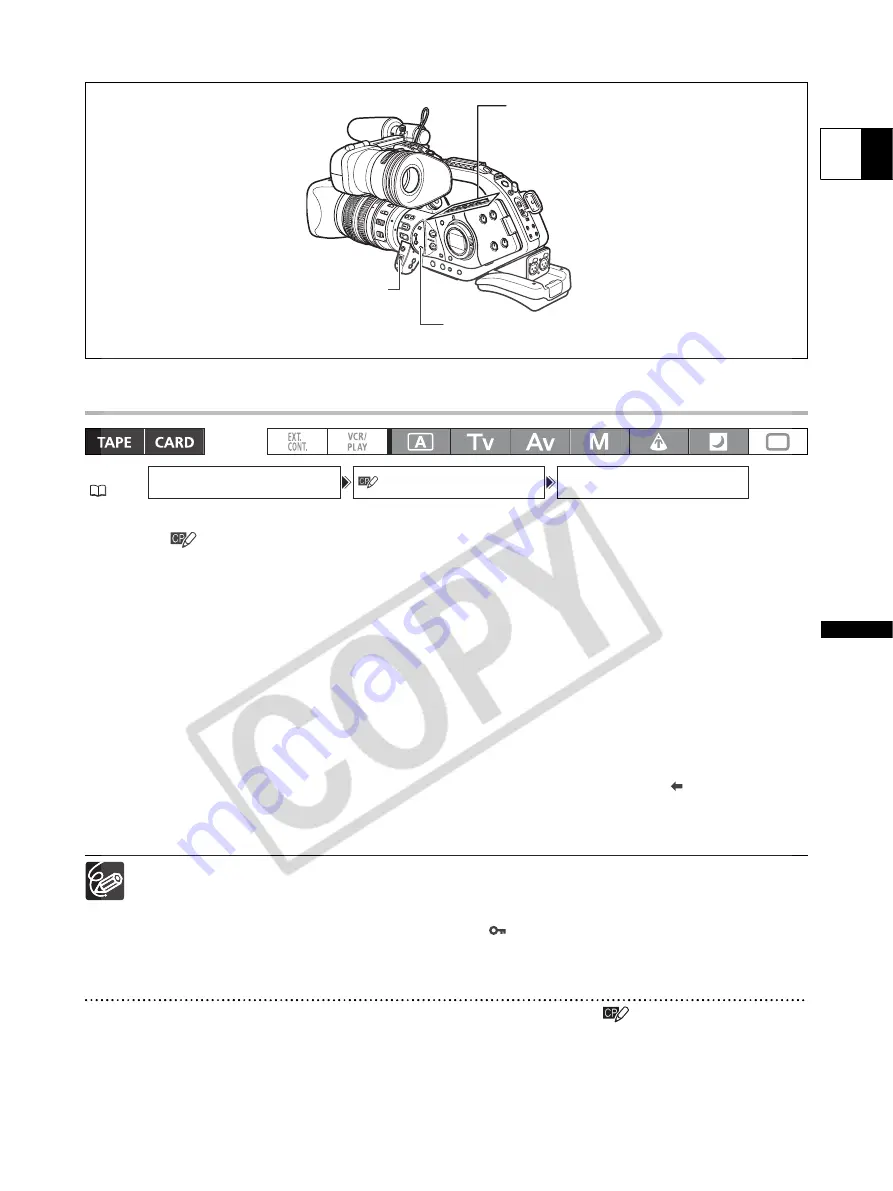
CUSTOM PRESET ON/OFF button
CUSTOM PRESET SELECT button
MENU button
SELECT dial

