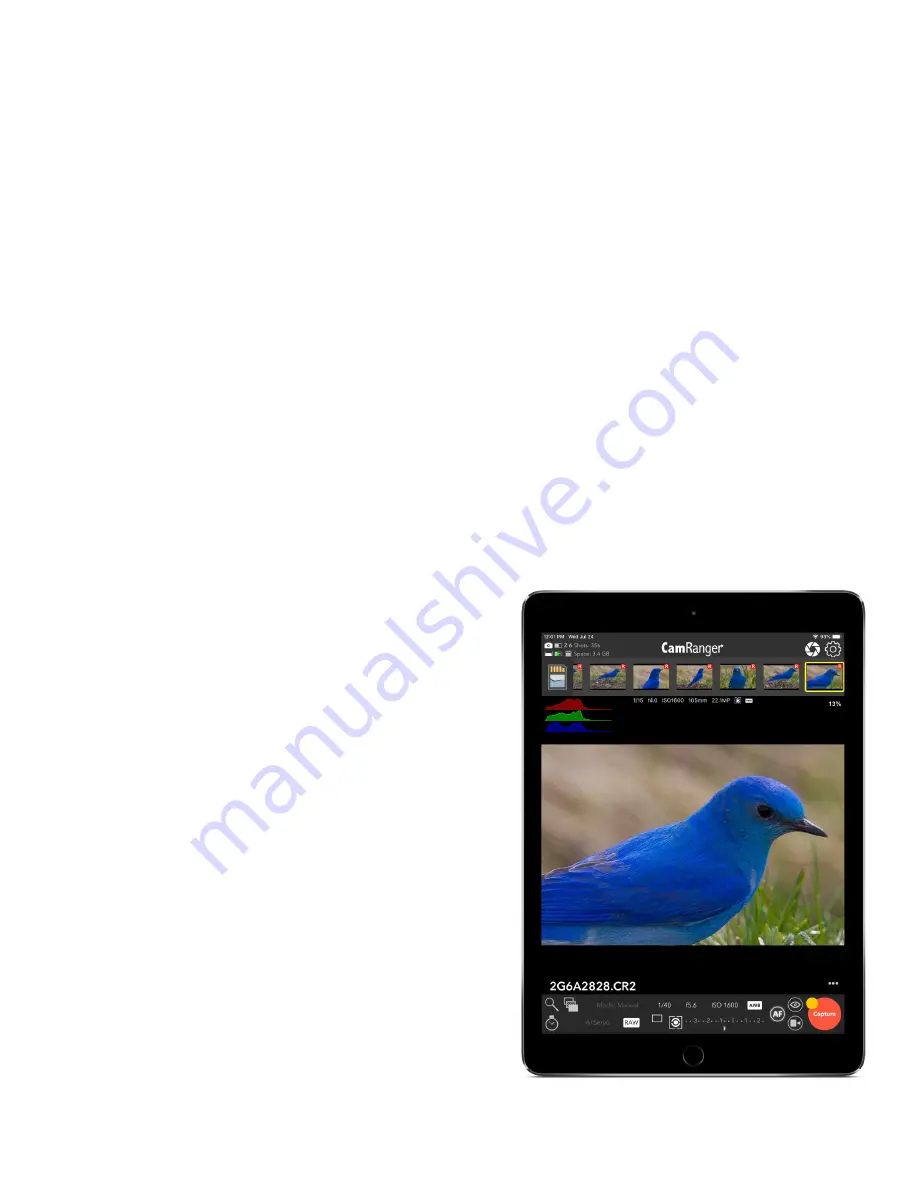
Connection Screen
The connection screen appears after launching the application. The current WiFi network is
displayed below the Connect button. The iOS device must be connected to the CamRanger 2
WiFi network, so the network must be listed as the CamRanger-*. The only exception is for
advanced users who have bridged the CamRanger 2 into an another WiFi network.
At the bottom of the screen are three buttons: Cached Images, View Ratings, and Settings.
The Cached Images button will show the user thumbnails for all images that are currently
saved in the temporary cache. The thumbnails can be double tapped to view the full
resolution image. Viewing cached images should not be relied upon for viewing old images.
However, it can be useful for quickly viewing recent images without being connected to the
CamRanger and camera. It should be noted that if an image was not viewed previously then it
will not be available in the cache.
The View Ratings button will show a listing of images that have been rated on this particular
device. A listing of the ratings can also be exported via email. Please see the Ratings section
for more information on the ratings system.
The Settings button will bring up the Settings
screen (see the Settings section for more details).
Note that a connection has not been made with the
CamRanger at this point so some settings may not
be available.
After ensuring the camera is on, awake, and
connected to the CamRanger 2 with a USB cable,
press "Connect" to connect to the CamRanger 2
and begin a session. Please see the
troubleshooting appendix if there are di
ffi
culties
connecting.
© CamRanger, 2019
US Patent 9712688
10/04/19
12


