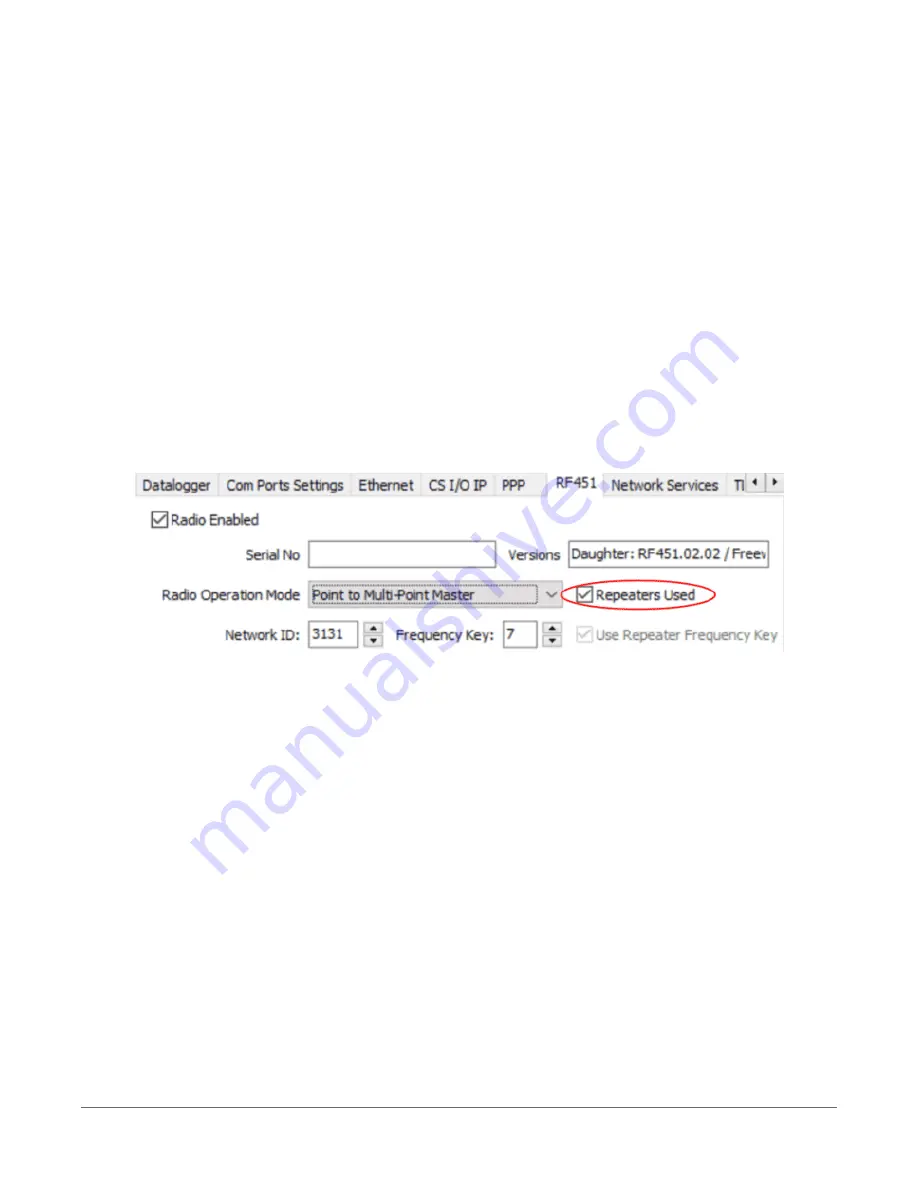
Configuring the RF451 radio connected to the computer
Configure the RF451 radio connected to the computer (see previous image for reference).
1. Ensure your RF451 radio is connected to an antenna and power.
2. Using Device Configuration Utility, connect to the RF451 radio.
3. On the Main tab, set the Active Interface to USB or RS-232 (depending on how your
computer will be connected to the radio).
4. Set the Radio Operation Mode to Multi-Point Master. In the Network ID box, type a unique
number between 0 and 4095 (excluding 255). This is used to communicate with RF451
devices in the network. Make note of this number. All radios in the network require the
same Network ID.
5. In the Frequency Key box, type a number between 0 and 14, and make note of this number.
Generally, all radios in the nework will have the same Frequency Key.
6. Check the Repeaters Used box.
7. Apply your changes.
Configuring the data logger acting as a repeater
1. Supply power to the data logger. If connecting via USB for the first time, you must first
install USB drivers by using Device Configuration Utility (select your data logger, then on
the main page, click Install USB Driver). Alternately, you can install the USB drivers using EZ
Setup. A USB connection supplies 5 V power (as well as a communication link), which is
adequate for setup, but a 12 V battery will be needed for field deployment. Ensure the data
logger antenna is connected.
2. Using Device Configuration Utility, connect to the RF451 data logger.
3. On the Deployment tab, click the Com Ports Settings sub-tab.
4. From the Select the ComPort list, select RF.
3. Setting up the CR6
39


