page
6
of
17
EtherSync User Guide
document revision 1.01
4)
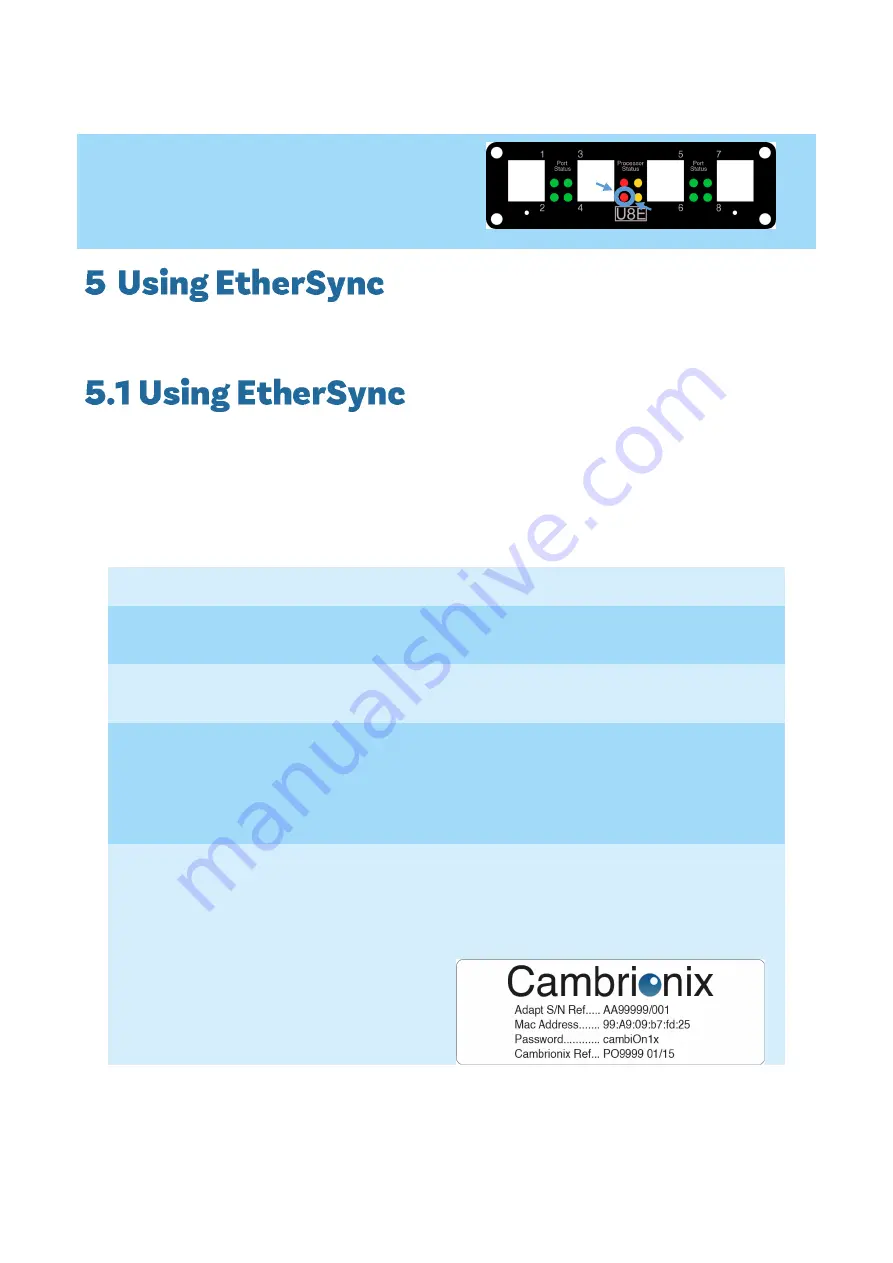
The EtherSync is now switched on, the
bottom red LED should be illuminated and
pulsing a ‘heart beat’ pattern.
EtherSync has many more uses than those described below. In fact it is capable of performing almost all
processes that can be done with a direct USB connection.
EtherSync comes with two RJ45 Ethernet ports. One is used to connect the EtherSync to the network; the
other can be used to ‘daisy
-
chain’ several Ethe
rSync units (described on page 13, section 5.3) or used as an
Ethernet port to connect another device to the network e.g. a computer.
In its default configuration, EtherSync expects to be assigned an IP address by a DHCP server.
To connect the EtherSync to a network:
1)
Insert the Ethernet cable into any one of the two RJ45 Ethernet ports.
2)
Connect the other end to an Ethernet network with an active DHCP (Dynamic Host
Configuration Protocol) server which will automatically assign an IP address to EtherSync.
NOTE
Depending on your network, you may need to configure the connection.
3)
If you need to configure the parameters or host name of your network connection (the
default hostname for EtherSync is EtherSync followed by the last 6 digits of its Mac
address without the colons “:”),
open the Webmin interface on
ethersyncXXYYZZ.local:10000 using a web browser from a computer on the same
network. For example for EtherSyncfda01c connect to http://EtherSyncfda01c.local:10000
4)
The default username is:
admin
The default password is:
Located underneath the EtherSync
The default hostname is:
EtherSyncXXYYZZ (
where XXYYZZ are the last 6 digits of the
Mac address without the colons “:”, take care when entering the password to distinguish
between 1, lower case L’s and capital i’s).
The IP address, Subnet Mask and
Gateway are all assigned by the DHCP
server.
Summary of Contents for EtherSync
Page 1: ......


