one, take care that these terminals are bridged. Without a connection between these pins
the power supply of the motors is disabled.
3. Press the STOP button on the sat-nms ACU-ODMs website. By this you can be shure that
no motor movement will occur by switching on the circuit breakers.
4. Turn on circuit breakers of the frequency inverters, they have to run now.
5. Check the motor rotating directions, if necessary change it by interchanging the power wires
of the motor cable.
6. Drive the antenna in every direction (AZ, EL and POL) until the limit switches stop the motor
movement to ensure that the limit switches work well. ATTENTION! While doing this test it is
absolutely necessary to be very mindful to check, if nothing collides!
7. Set the soft-limits to the desired values (e.g. 1° before the hardware limit switch is activated)
If you need more detailed informations about the motor drivers, please refer to chapter
3.4
.
Now, the setup of all interfaces to the antenna is done. By this everything is prepared to configure
the ACU-RMU to the desired operation mode, to save targets and finally to set the sat-nms ACU-
RMU into service.
In chapter
5 Operation
you find a detailed description of the pointing and tracking parameters.
To use the function pointing by stating an orbit position you have to configure the 'Location'
parameters on the setup page to the geodetic location of your antenna. Take care to type in
position with enough accuracy (0.001°). For further informations, please refer to chapter
5.6
Setup
for location parameters and
5.3 Target Memory
for using this pointing function.
The last step that is recommended to be done is the backup of ACU settings. By this way an easy
replacement of the ACU-ODM could be performed. The following step-by step description shows
how to do this.
1. Open the chiptool
2. Right click to the desired unit. A drop-down list will open, choose FTP
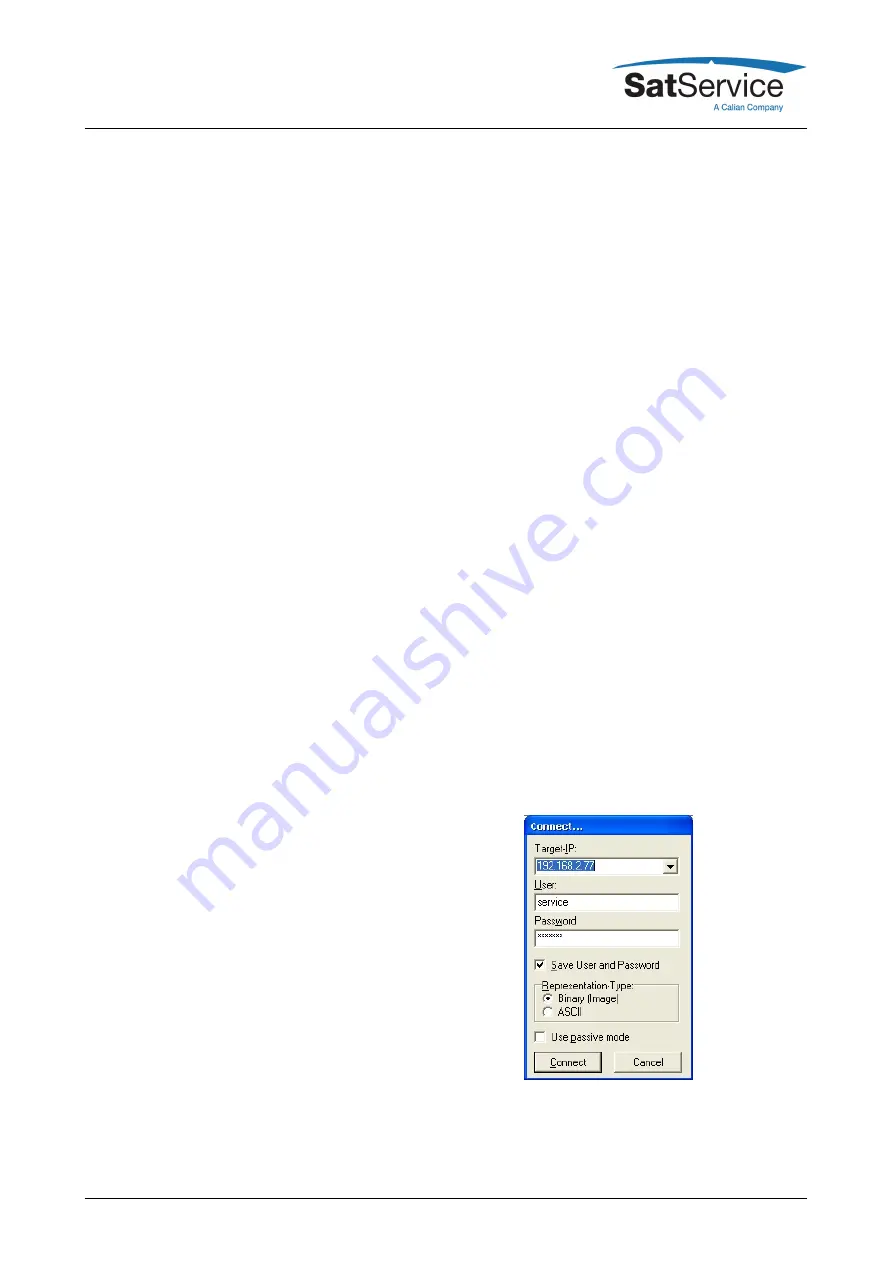
3. A small window like shown on the following picture will be opened. Please double-check the
displayed IP, you might adjust it in the drop-down list here.
4. Login with username service and password service
5. Now you see on the right side the file system of the ACU like shown on the following picture.
On the left side you see the computers file system.
(C) 2022, SatService GmbH
www.satnms.com
ACU-ODU-DC-UM-2209 Page 19/67


