


Assembly instructions
1
2
9
10
1
1
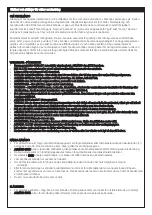
STEP 8 -
When the grill is securely placed on the cart add the firebox (10), charcoal plate (9), and cooking
grill(12) inside of the Kamado Grill as displayed in the assembly diagram.
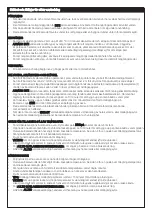
STEP 9 -
Press down on the castor levers (8) to lock the castor wheels to ensure the Kamado cannot move when
in use.
STEG 8
–
När grillen är säkert placerad på vagnen, lägg eldstaden (11), träkolsplattan (10), övre ringen (9)
och tillagningsgrillen (12) inuti Kamado-grillen enligt monteringsschemat.
STEG 9
–
Tryck ned länkarmarna (8) för att låsa länkhjulen för att säkerställa att Kamado inte kan röra sig
när den används.
Monteringsanvisningar