Oxygen Concentrator
29
Product Regulator Check and Setting
The product regulator is factory set at 4.6 psig (31.7 kPa) and
should not require adjustment.
To check for proper adjustment of the product regulator, take the
following steps:
1. Set the unit’s I/0 power switch to the “I” position.
2. Turn the flow meter adjustment knob counter-clockwise
until it reaches 5 LPM.
3. Allow the unit to run for ten minutes.
4. Install test pressure gauge to the outlet of the Companion 5
unit.
5. The outlet pressure should be 4.3-4.9 psig (29.6-33.8 kPa).
If the outlet pressure is not within this range, the product
regulator needs to be adjusted.
Outer Case
WARNING:
•
Keep hands out of moving parts
•
Disconnect power before removing the
unit cover.
•
ESD Safety procedure must be in place.
CAUTION
•
The Companion 5 contains electrostatic
sensitive components. Do not open or handle
except at a static free workstation. Do not
remove cover without ESD protection.
•
Avoid possible eye injury by wearing protec-
tive eye wear or shielding the eyes from pos-
sible flying debris.
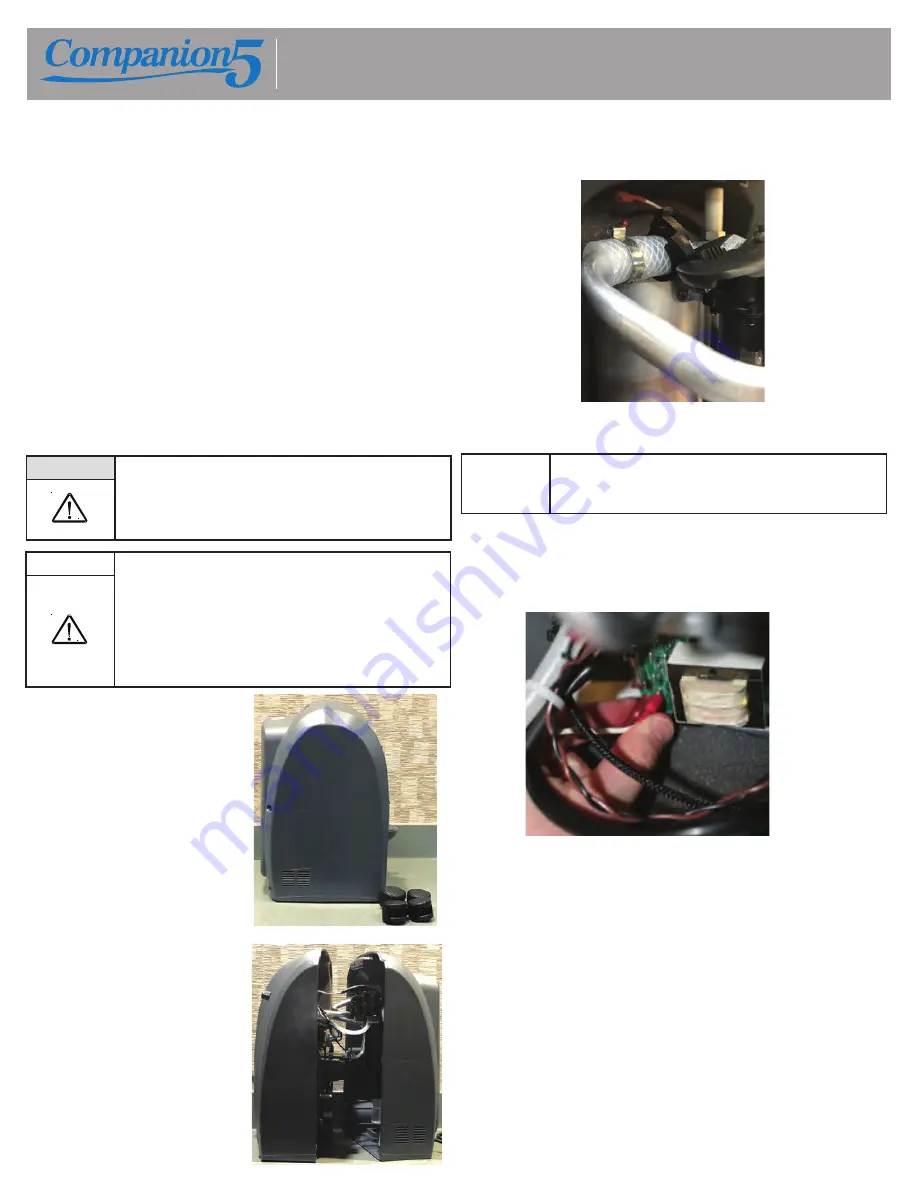
1. Use a long-stem phillips to
remove the
6 screws from the
back case. Remove the four
wheels.
2. Separate the front case from
the back case.
3.
Using standard pliers remove the ratchet clamp holding
the braided tubing to the manifold.
4. Disconnect the braided tubing from the manifold.
Note:
Sieve bed is now exposed. Recommend plug
ging or
capping the valve to avoid sieve bed moisture
contamination
5.
Disconnect both the
2
-way solenoid and power cord
electrical wires from the main circuit board
.
6.
Carefully remove the tubing connection located on
the right side of the O2 monitor of the circuit board.
7.
Cut zip tie securing all wires together.
8.
The two cases should now separate completely for
service to the internal components.


