Installing the Micro-CS Upgrade
Micro-CS Installation Guide
D-5
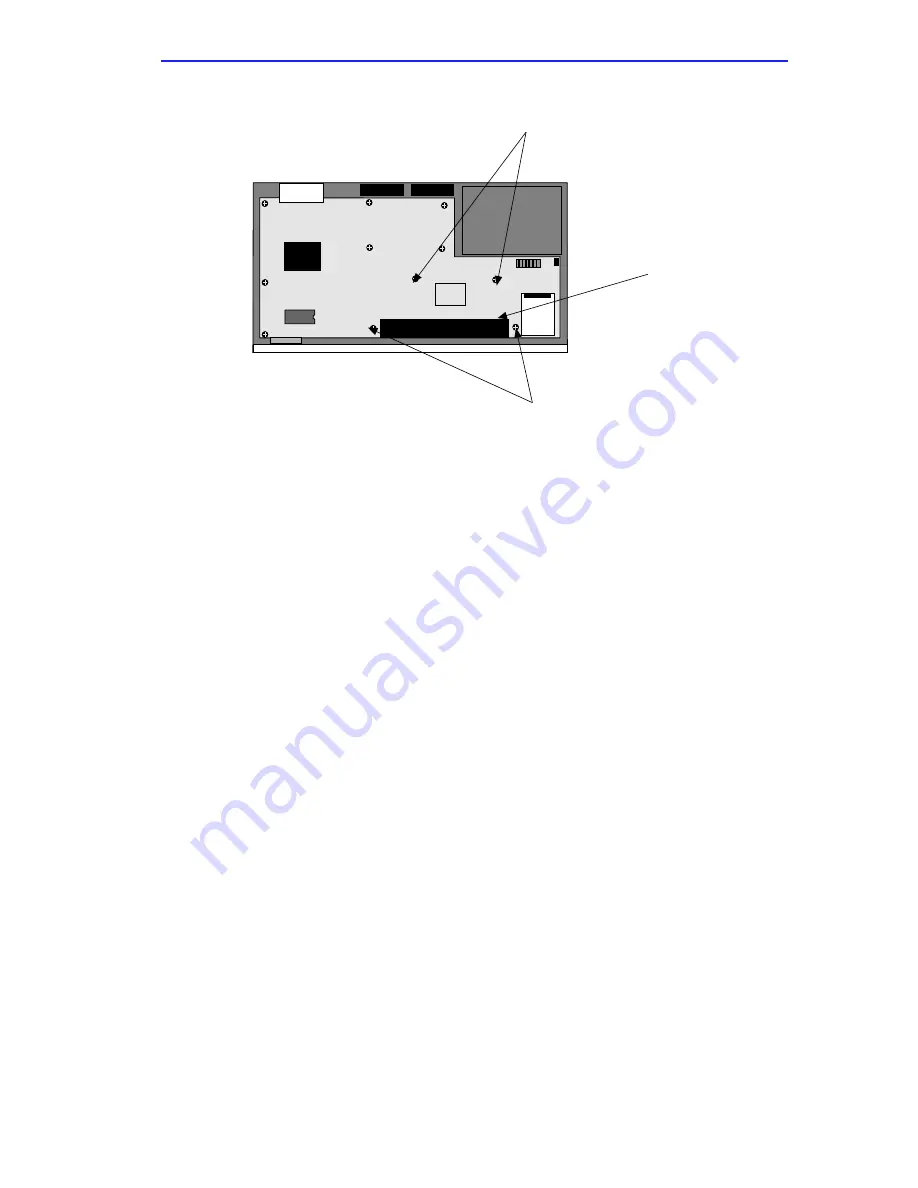
Figure D-3: Screw Locations
a.
Remove screws securing the blank or the daughterboard to the
motherboard. If you are removing the blank there are two screws.
If you are removing the daughterboard, there are four screws (see
Figure D-3).
b.
For the MicroMMAC-22E you will have to remove the two
screws on either side of JP2 and replace with 1” standoffs.
3.
Install the EPIM-3PS with the RJ45 cable connected to it, into slot 1
of the MicroMMAC now.
4.
Carefully align the pins on the Micro-CS with the connector JP2 on the
MicroMMAC (see Figure D-4).
5.
Press the Micro-CS into place on the MicroMMAC.
MicroMMAC TOP VIEW
Front Panel
screws
Blank
screws
Summary of Contents for MicroMMAC 22ES
Page 2: ......
Page 8: ...vi Micro CS Installation Guide...
Page 12: ...Contents iv Micro CS Installation Guide...
Page 22: ...Chapter 1 Introduction 1 10 Micro CS Installation Guide...
Page 32: ...Chapter 2 Micro CS Installation 2 10 Micro CS Installation Guide...
Page 72: ...Chapter 4 Troubleshooting Procedures 4 14 Micro CS Installation Guide...
Page 82: ...Appendix C Flash Upgrade Instructions C 4 Micro CS Installation Guide...


