


Using other Arcsoft Software
PhotoPrinter
NOTE:
The graphics shown are based on the user interface in Windows 98SE.
1. To open PhotoPrinter, search through
Start > Programs >SDC2000 Digital Camera Suite
and `
click
PhotoPrinter 2000 Pro
icon
2. To print images from your digital camera, click
get photo
icon on the
layout
window, then click
acquire photo
icon on the
get photo
window.
3. If you want to print a photo already on your hard disk or other storage medium, click
add photo
icon on
get photo
window
4. When an image thumbnail has been added to the
get photo
window, double-click the thumbnail.
5. Set print options available and print the photo.
NOTE:
If you want to find out more about
PhotoPrinter
, consult on-line help by clicking the "
?
" icon
on the windows' upper right corner.
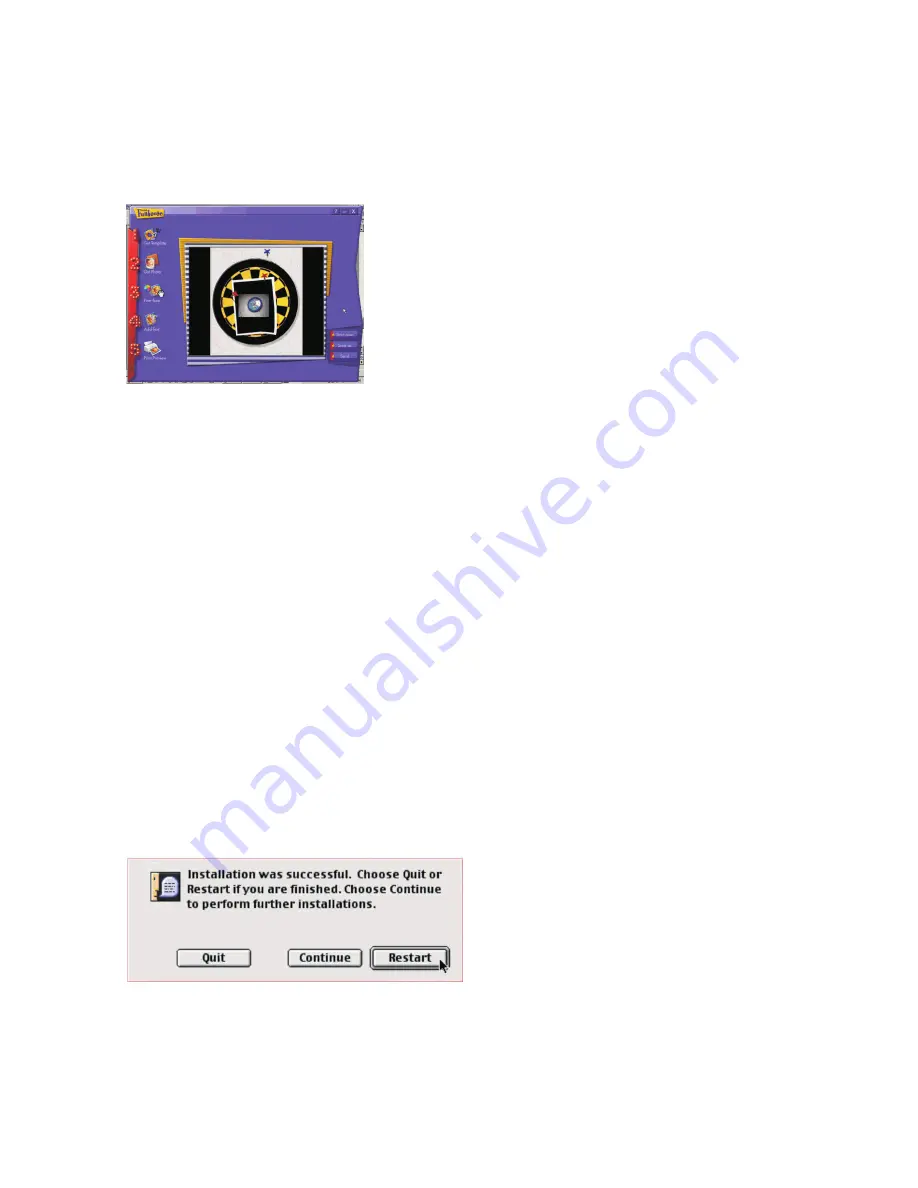
Funhouse
NOTE:
The graphics shown are based on the user interface in Windows 98SE.
1.
Search through
Start > Programs > DSC2000 Digital Camera Suite
and click
Funhouse
icon
2. Click the
1 Get Template
icon on the main screen to select a template for your photo to put on.
3. Click
2 Get photo
icon on the main screen to select a photo.
4. To select a photo from your digital camera, click
Acquire
icon on the
Get Photo
window.
5. If you want to select a photo already on your hard disk or other storage medium, click
Open
icon
on
Get Photo
window.
6. You may modify the image with the available functions:
•
Click
3 Fine-Tune
icon to make changes to the inserted photos.
•
Click
4 Add Text
icon to add text to your project.
•
Click
5 Print Preview
icon to view/change the print settings for optimal printing.
•
Click
Start over
icon to clear your current template and any selected photos.
•
Click
Save as
icon to save your finished photo.
•
Click
Send
icon to send your finished photo as an email attachment.
NOTE:
If you want to find out more about
Funhouse
, please consult its on-line help by clicking the "
?
"
icon on the windows' upper right corn
er
or visit www.arcsoft.com
.
Additional Information
Installing Camera Drivers on Mac
1. Put the installation CD into the CD-ROM drive on your Mac computer
2. Double-click on the CD-ROM drive icon popped-up on the desktop
3. To install camera drivers, double-click the
MyDSC Installer 0918
icon at the root level of the CD-
ROM
4. Click
Continue
button
5. Click
Yes
button
6. Click
Restart
button on the following dialog box to restart your computer
13


