


7. Enter the filename and click
Save
button and an AVI file will be saved.
Note: Simply disregard what is in the "Save as type" field.
Tip:
• To change the video playback speed, change the AVI frame rate. The default value of frame
rate is 6. Setting it to a larger value results in faster playback, while a small value results in slower
playback.
8. Locate the saved AVI file. Double-click to play the movie. Note: An application for playing the AVI
file, which is not provided in this camera package, is needed to view the movie playback.
Using Your Digital Camera as a PC Cam
Besides taking videos with your digital camera, you can record videos directly to your computer with
the PCCam application program.
WARNING: Any images stored in the camera will be erased when the camera functions as a PC
camera.Therefore, be sure to download the images to computer before using your
camera as a PC camera.
1. Connect your camera to computer with a USB cable
2. Search through
Start > Programs ("All Programs" for Windows XP) > My DSC
and click
PCCam
icon
3. Select
Devices >
Dual-Mode DSC(2770)
from the pull-down menu. You should see a live picture
on screen. If you cannot see a live picture, click
Options > Preview
from the menu.
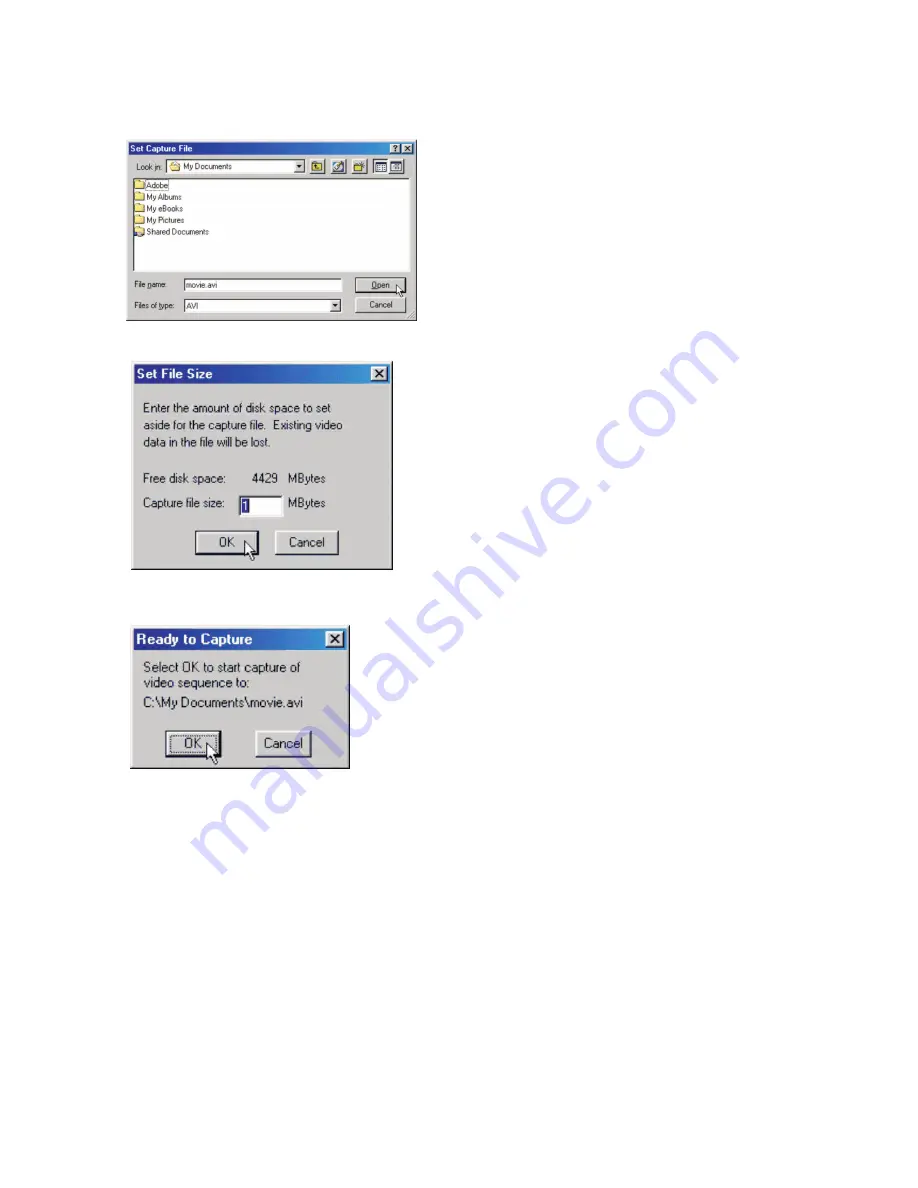
4. Click
File > Set Capture File
from the pull-down menu
5. Enter the filename for the video to be captured and click
Open
button. Make sure to enter avi as
the file extension
6. Keep the default value of 1 MBytes in the
Capture file size
field and click
OK
button.
7. Click
Capture > Start Capture
from the pull-down menu
8. Select
OK
button to start video capture
9. The time elapsed of the video capture is shown at the bottom of the screen
10. When video capture is finished, click
Capture > Stop Capture
from the pull-down menu or press
Esc
key on the keyboard
NOTE:
If you cannot record any videos, try re-installing the camera driver by double-clicking
Setup.exe
icon inside
Drivers
folder at the root level of the supplied Installation CD, and record again.
11


