11
Installation of the Builder Extreme PRO
The installation of the Builder Extreme is the most critical part and needs to be done correctly, so
please take your time to follow the installation steps in the video. The video below displays how to
install the Builder Extreme step by step. Tip: pause and watch the video several times to follow the
exact steps. The steps are also written out below.
*click on the image to start the installation video
Step 1. Unboxing
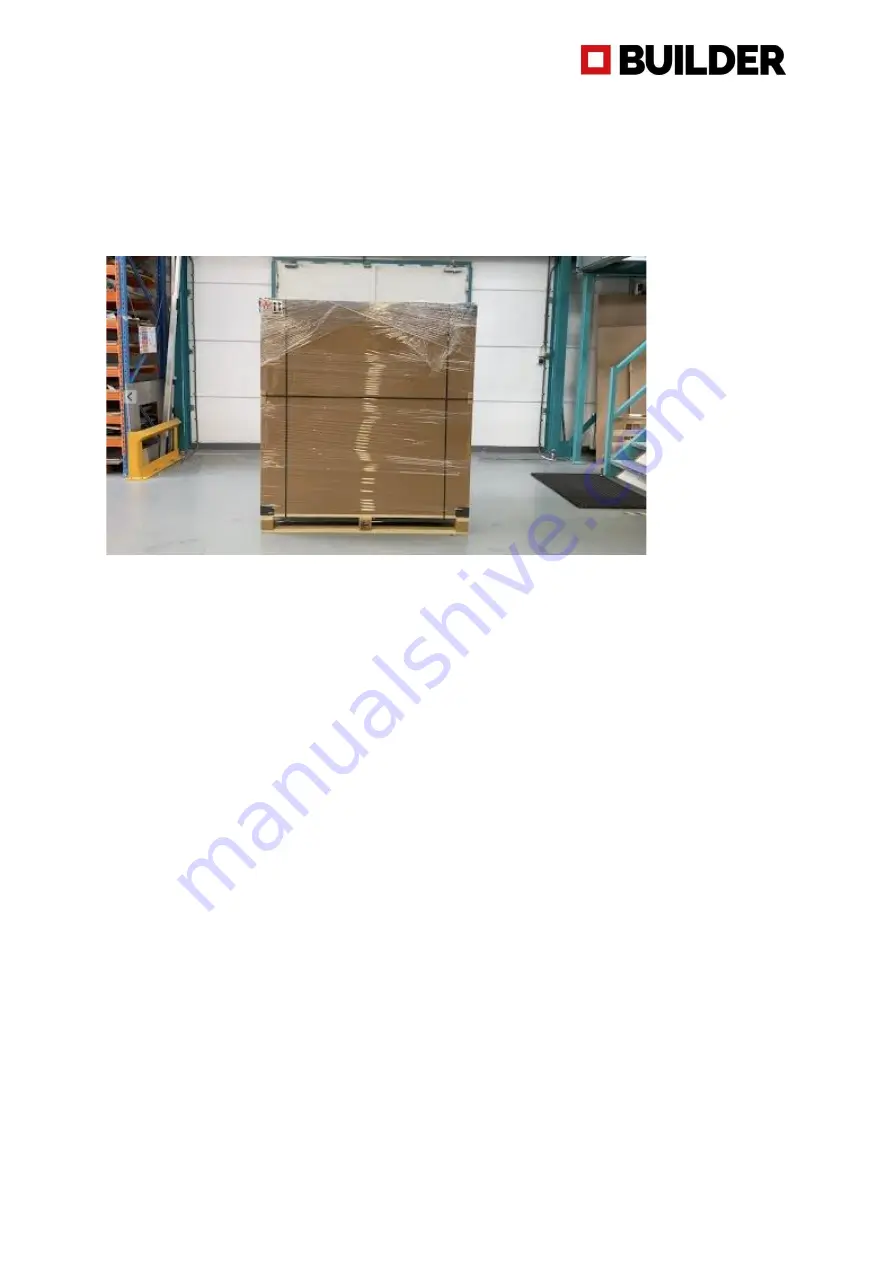
Before you start to unbox the machine, please check the condition of the packaging. Are there any
damages on the foil or on the box? If not, you can proceed with the unboxing. If so, please take pictures
and inform the shipment company about this.
Remove the foil and straps from the box. Extras such as filament, air filter or spare parts are located
on top of the box. Remove these boxes from the top. For the 2000 PRO, the extras are shipped
separately. Now gently remove the top panel from the box and remove the black corners to be able to
remove the side panels of the box.
Step 2. Remove the Builder Extreme from the pallet
Use a forklift truck to remove the Builder Extreme from the pallet and use a pallet truck to place it on
a levelled concrete floor. Note: the Builder Extreme must be removed from the pallet before you
continue with the installation. The Extreme 1500 PRO comes with wheels. These are not installed when
the machine is on the pallet due to safety reasons. When the machine is on the forklift or pallet truck,
it is a good moment to install them. They are inside the accessory box.
Step 3. Remove accessory box and safety brackets
Remove the accessory box from the build plate and the bubble wrap from the frame. Now gently
remove the 6 yellow safety brackets from the belts inside the Builder Extreme. Note: the accessories
for the 2000 PRO are located in the bottom drawer. To remove the bubble wrap from the frame, the
doors need to be opened and this is only possible when the machine is switch on. See installation
video


