38
MAKING A STAMP
Final Steps
Getting ready
1
Start up Stampcreator P-touch Editor.
For details on using the Stampcreator Express software, refer to pages 33
through 34.
2
Make sure that “SC-2000USB” is selected as the printer in the Printer
Setup dialog box (Printer/Page Setup command in the File menu of the
software).
3
Design a stamp.
☞
NOTE: You cannot reprint or reuse a stamp once it
has already been used. Before printing, open
the stamp shutter to make sure that you are
using the correct draft sheet.
Dust may cause poor printing and engraving.
Make sure that there is no dust on the
printing side of the stamp before inserting
the stamp into the machine.
Printing a draft sheet
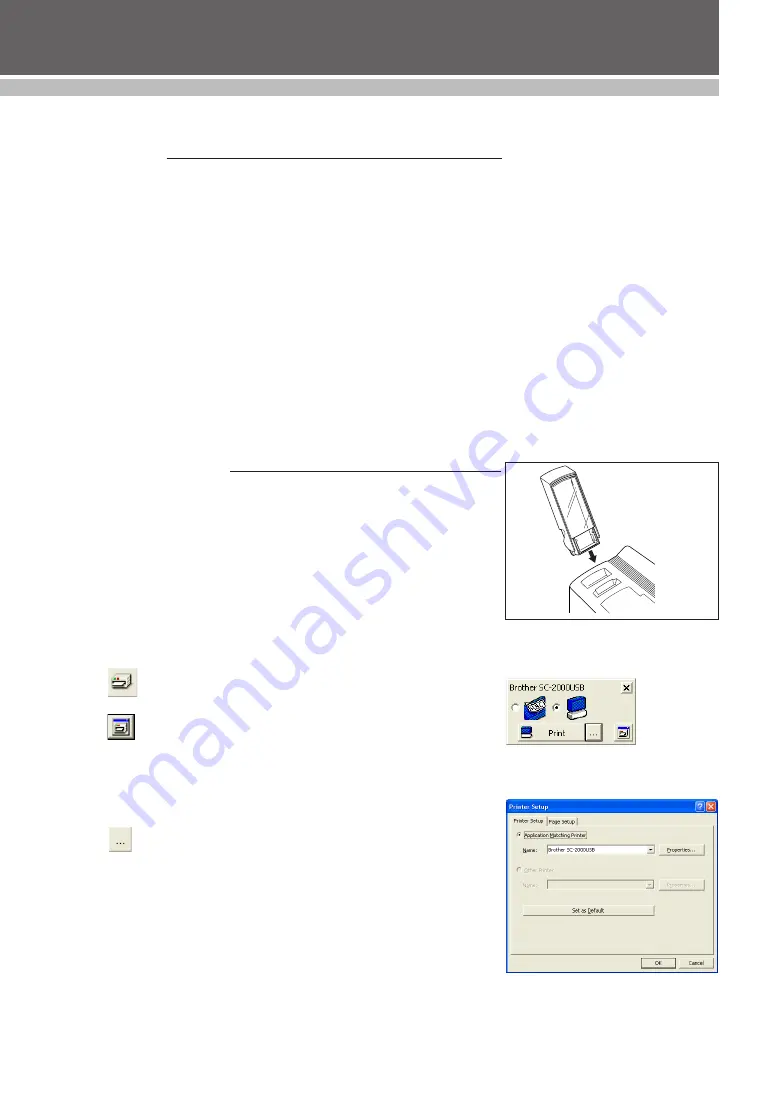
1
Load a draft sheet into the machine to print a positive image.
Fully insert the draft sheet magazine tray straight into the draft sheet
magazine tray slot.
☞
Be careful not to pinch your fingers while inserting the draft sheet
magazine tray.
To remove the draft sheet magazine tray, grab its outer case, and
then pull out the entire magazine tray.
2
Turn on the machine.
3
Make sure the message “READY” appears in the LCD.
4
Click
to display the Print Properties. (If they are already displayed,
skip this step.)
Click
in the Print Properties to display the Printer Setup dialog box.
5
Check that “Brother SC-2000USB” is selected below “Application Match-
ing Printer”, and then click the OK button.
Click
in the Print Properties. The Print dialog box appears.
Draft sheet
magazine tray
Draft sheet
magazine tray slot
Summary of Contents for Stampcreator PRO SC2000USB
Page 62: ......


