EDITING A LABEL
32
Using Auto-Format Layouts
Using Table Format
You can set the number of rows and columns for a label to easily create
a template.
NOTE
• There is a maximum number of rows of text that can be entered for
each tape width. A maximum of 7 rows for 24 mm tape, 5 rows for
18 mm tape, 3 rows for 12 mm tape, 2 rows for 9 mm and 6 mm tape.
• 3.5 mm tape cannot be used for table format.
• On the print menu screen:
x
Select [Edit] to change the text data or the
barcode setup.
x
Select [Save] to store the label to the file
memory.
For the file memory, refer to “USING THE FILE MEMORY” on
x
Select [Menu] to change the font, align or frame settings.
x
Select [Preview] to preview the label before printing. Press
(
) to change the magnification of the LCD screen.
x
Select [Print Options] to set the print settings. For details, refer to
“Numbering Printing” on page 42 or “Mirror Printing” on page 42.
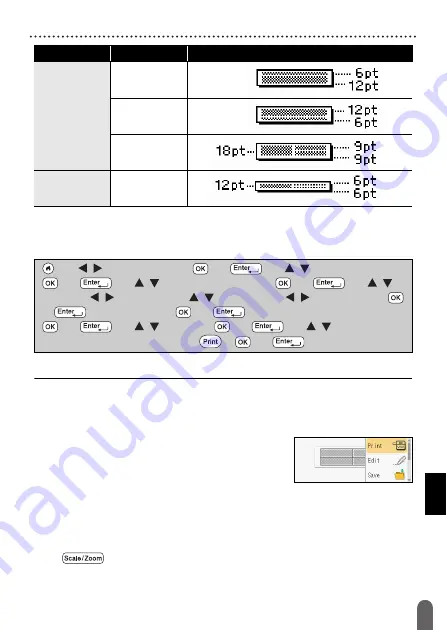
9mm
2LineA
2LineB
1+2Line
6mm
1+2Line
Attribute
Value
Details
(
)
Î
/
[Auto
Format]
Î
(
) or (
)
Î
/
[Table Format]
Î
(
) or (
)
Î
/
Select a tape width
Î
(
) or (
)
Î
/
[Rows]
Î
/
Set a value
Î
/
[Columns]
Î
/
Set a value
Î
(
)
or (
)
Î
Enter text
Î
(
) or (
)
Î
Repeat for each text field
Î
(
) or (
)
Î
/
[Print]
Î
(
) or (
)
Î
/
Select
the
number of labels to be printed
Î
(
), (
) or (
).
Summary of Contents for P-Touch D600
Page 58: ...Printed in China LAF440001A ...


