49
Ch. 3 Functions
Func
tions
To change the setting for the Size function:
1
Hold down
d
and press
1
,
2
or
3
.
2
Press
j
or
k
until
SIZE
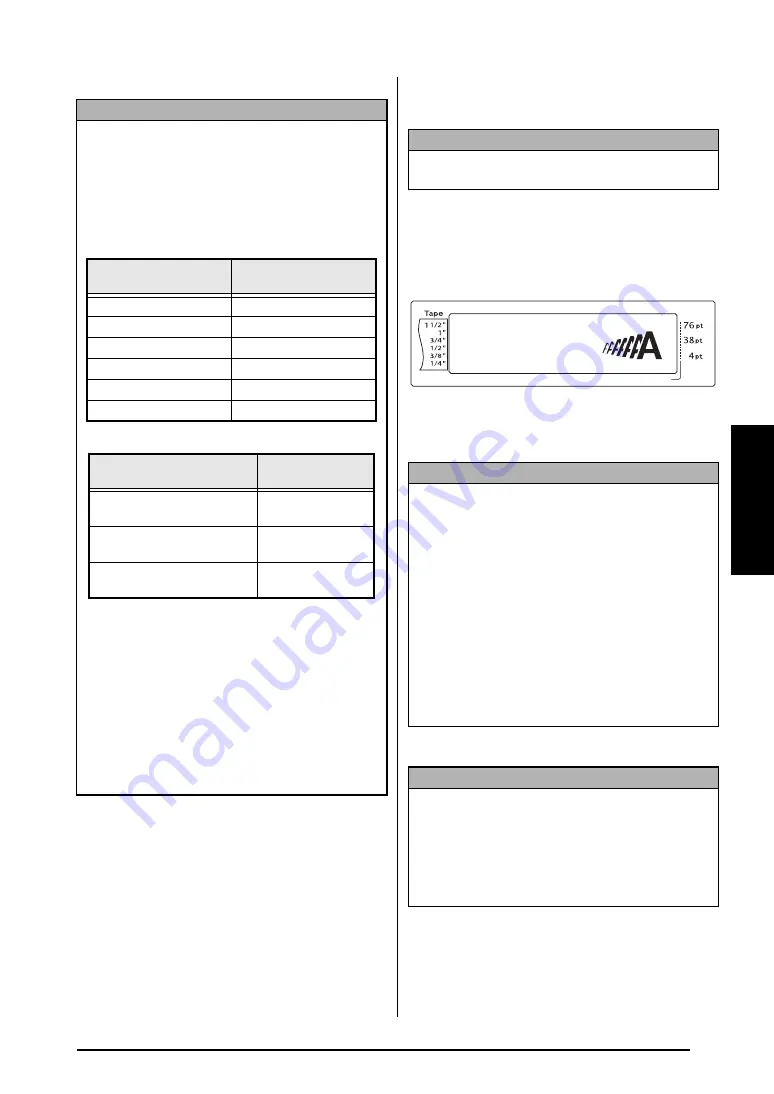
is displayed. The
setting for the text at the cursor’s current
position is shown on the left side of the dis-
play and a sample can be seen on the right
side.
3
Press
m
or
g
until the desired setting is
displayed.
4
Press
n
to apply the setting.
NOTE
☞
Since the text sizes that can be printed depends
on the width of the tape, the following table
shows the maximum text size that can be used
with each tape width.
The following text sizes do not apply to text
with a Text Rotation setting applied.
For TZ tapes:
For AV labels:
☞
With the
AUTO
setting selected and the text in
a block consisting of just one line of only upper-
case letters (and no accented letters) and written
horizontally/vertically without the
BERMUDA
font, the text is printed slightly larger than the
maximum possible for the tape width.
☞
If the
4
point or
5
point text size setting is
selected, the text will be printed with the
BRUS-
SELS
font setting, regardless of the font setting
that is selected.
Tape Width
Maximum Text Size
(in points)
1/4"
(6 mm)
12
3/8"
(9 mm)
20
1/2"
(12 mm)
28
3/4"
(18 mm)
40
1"
(24 mm)
64
1 1/2" (36 mm)
76
Label Sizes
Maximum Text Size
(in points)
AV2067 Address labels:
3/4"
×
2 5/8" (20 mm
×
67 mm)
48
AV1957 Return address labels:
3/4"
×
2 1/4" (19 mm
×
57 mm)
36
AV1789 File folder labels:
5/8"
×
3 1/2" (17 mm
×
89 mm)
36
NOTE
This step may be skipped if settings for several for-
mat functions are being applied at the same time.
NOTE
☞
If “*****” appears as a setting, the Size function
has already been applied to either a line in the
current text block (if the Block Format or the
Global Format function is being set) or a block
in the current text (if the Global Format function
is being set). Changing the setting will cancel
the setting that was previously applied.
☞
To return the function to its default setting
(
AUTO
)
, press the space bar.
☞
To return to the text without changing the for-
matting
, press
e
(OR hold down
d
and
press
1
,
2
or
3
).
NOTE
To apply several format settings at the same time
,
continue pressing
j
or
k
to select the function,
then pressing
m
or
g
to select the desired setting.
Press
n
only after the necessary functions have
been set.
Length
Margin
Font
Width
Size
1
2
3
4
5
6
7
8
9
A
B
C
D
E
F
K Q
Q
Q
Q
Q
Q
Q
Q
Q
Q
Q
Q
Q
Q
Q
Q
Q
Q
Q
Q
Q
Q
Q
Q
R
R
R
R
R
R
G
H
I
J
AUTO
1.10
HELSINKI
A
AUTO
02/13
SIZE
AUTO
L
M
N
Summary of Contents for P-Touch 3600
Page 9: ...1 Ch 1 Before You Start Before You Start Chapter 1 Before You Start ...
Page 13: ...5 Ch 2 Getting Started Getting Started Chapter 2 Getting Started ...
Page 45: ...37 Ch 3 Functions Functions Chapter 3 Functions ...
Page 81: ...73 Ch 4 Machine Adjustments Machine Adjustments Chapter 4 Machine Adjustments ...
Page 97: ...89 Appendix Appendix Appendix ...
Page 113: ...105 Appendix Appendix ...
Page 126: ......
Page 127: ...Printed in China LA8770001 ...
Page 132: ...ii ...
Page 133: ...1 Ch 1 Getting Started Getting Started Chapter 1 Getting Started ...
Page 135: ...3 Ch 2 Advanced Functions Advanced Functions Chapter 2 Advanced Functions ...
Page 155: ...23 Appendix Appendix Appendix ...
Page 159: ...Printed in China LA8784001 ...


