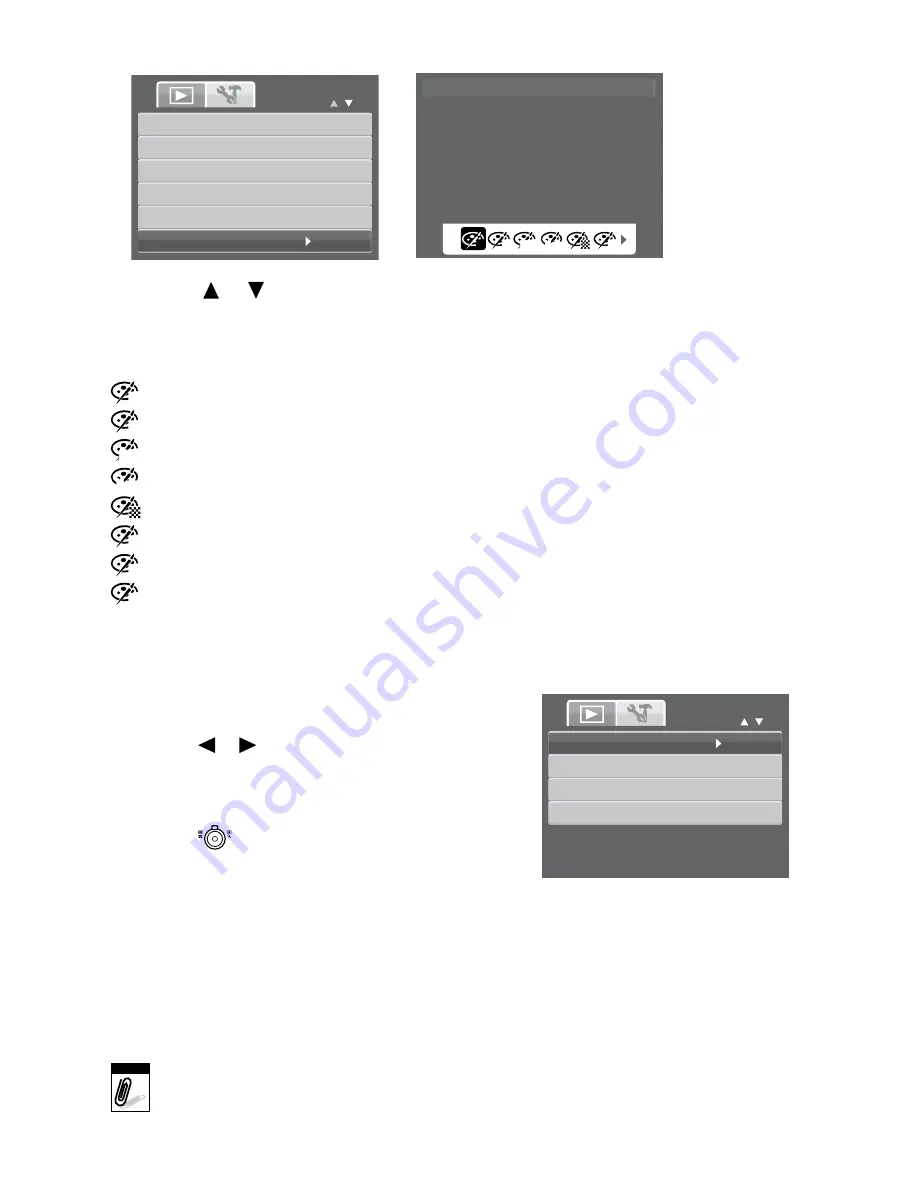
4. Select
Photo edit
. The Photo Edit submenu appears.
5. Press the
or
keys to scroll and select an option. As you move through the selection,
the preview on the LCD monitor changes synchronously.
The succeeding table shows the available settings.
icon item
Description
N
normal
No effect is added to the image.
S
sepia
Image is saved with a sepia tone.
BW
B&W
Image is saved in black and white.
Neg.
negative
Image appears to be the opposite of the original image.
mosaic
Image is saved with mosaic tiles.
R
vivid red
Image is saved with reddish tint.
G
vivid green
Image is saved with greenish tint.
B
vivid Blue
Image is saved with bluish tint.
TRIM
The Trim function allows you to trim an image to another image size.
This function is only available for still images.
To Trim an image:
Set the camera to Playback mode.
Use the or keys to scroll and select an image
to trim.
Press the
MenU
button to launch the Playback menu.
Select
Photo edit
. The Photo Edit submenu appears.
Use the
control to change size.
Use the navigation controls to move the image.
Press the
SeT
button to apply changes. A menu
selection appears.
Select whether to:
•
overwrite
. Save and replace the old file with the new one.
•
Save As
. Save the new file as a new one.
•
Cancel
. Cancel resize.
9. Press the
SeT
button to save/cancel changes.
Note
• Trim function, “3:2”, “16:9” and VGA are not available for photos with image
size set to VGA.
• All images will be trimmed in 4:3 ratio regardless of its original image ratio.
1.
2.
3.
4.
5.
6.
7.
8.
Photo Edit
Normal
N
S
R
BW Neg.
Slide Show
Delete
Protect
Red-eye Correction
Voice Memo
Photo Edit
Trim
Resize
Startup Image
DPOF
35


