In Playback mode, the LCD display can be changed into any of the following:
Full OSD on
OSD off
Help
LCD display cannot be changed in the following situations:
• Manual exposure mode
Note
• Recording movie or audio clips
• Playing movie or audio clips
• Playing slide show
ReCoRDInG PHoToS, VIDeoS AnD VoICeS
taking pHotos
Now that you are familiar with your camera, you are now ready to take your photos.
Taking photos with your camera is very simple.
Turn on the camera by pressing the
Power
button.
Adjust the switch mode to
Photo Record
.
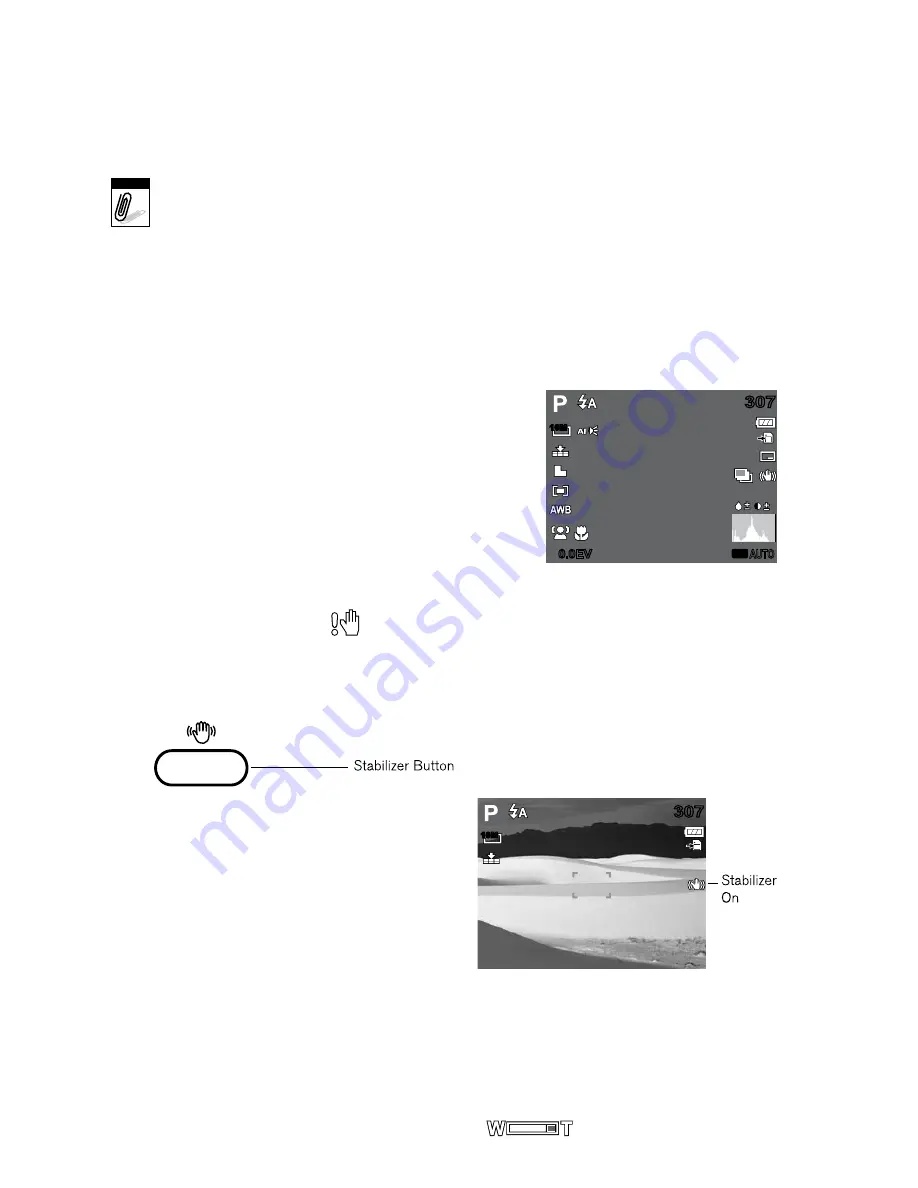
Frame the shot using the focus bracket on the
LCD monitor. See illustration on the right.
Half press the
Shutter
button. The camera
automatically adjusts the focus and exposure.
When the camera is ready to take the photo,
the frame bracket turns green, the shutter speed
and aperture value are displayed.
Fully press the
Shutter
button to capture image.
When the shake warning icon
appears, hold the camera steadily, with your arms at your
side or use a tripod to stabilize the camera to prevent blurred images.
using tHe staBilizer
The Stabilizer function prevents blurred images caused by shaking.
to activate tHe staBilizer
Press the
Stabilizer
button on top of your
camera to enable/disable stabilizer.
If Stabilizer is enabled, the stabilizer icon is
displayed on the LCD monitor and the ISO
setting is automatically set to Auto. See “ISO”
on page 17 for more details.
setting tHe zoom control
Your camera features up to 3x optical zoom and up to 5x of digital zoom. Optical zoom
is achieved by mechanically adjusting the lens, while digital zoom is activated through
the menu settings. Please refer to “Setting the Digital Zoom” on page 25 to learn how
to setup digital zoom.
To adjust the optical zoom:
Push the
Zoom
button from side to side to zoom in or zoom out on an image.
The zoom indicator appears on the LCD monitor
.
•
•
•
1.
2.
3.
4.
5.
1.
2.
307
307
ISO
AUTO
0.0EV
0.0EV
10M
307
307
10M
13


