Solution 6000
Installation Manual
Access Programming
5-8
Bosch Security Systems 07/14 BLCC610I
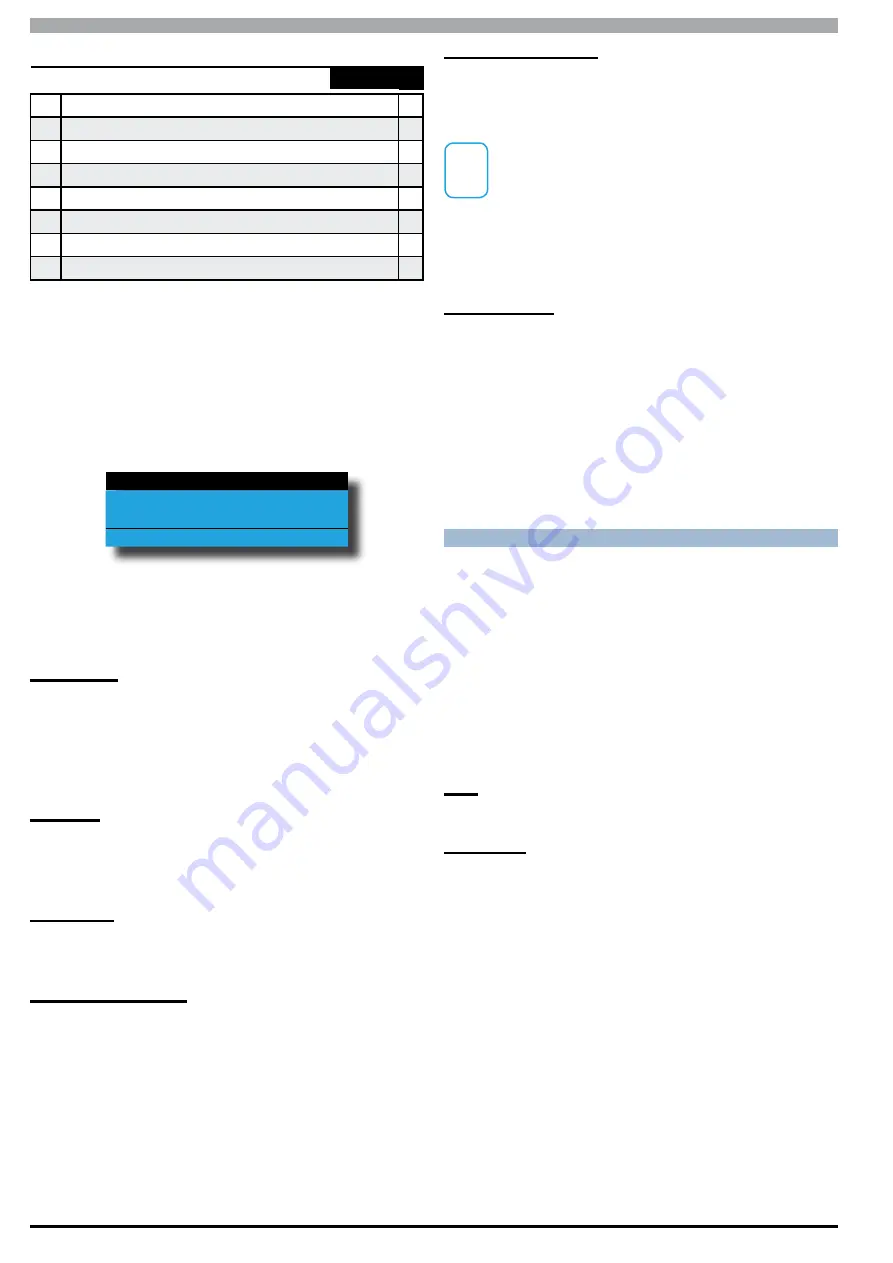
Access > User Properties >
User Options
-
MENU 1-4-2
1
Master User
Y
2
Reserved
N
3
Arm Only
N
4
Can Bypass
Y
5
Auto Bypass Allowed
Y
6
Always Report Op/Cl
Y
7
Reserved
N
8
Log Credential
N
The above options can only be programmed by the
installer and are programmable per user.
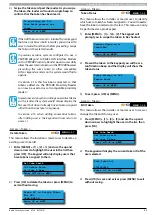
1)
Enter [MENU] + [1] + [4] + [2] and select the user
from the list then press [OK].
2)
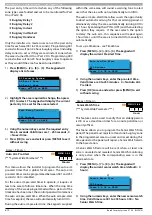
Use the up and down arrow keys to highlight the
option then press the [ON] key to enable or the
[OFF] key to disable.
Master User
Reserved
Arm Only
Press
OK ON OFF MENU
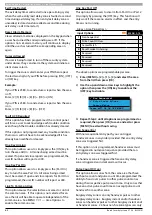
3)
Repeat Step 2 until all options are programmed as
required, then press [OK] to save and exit or press
[MENU] to exit without saving.
Master User
Setting this option assigns the user to a master user.
Master users have access to additional menus that
ordinary users do not have. See the Menu Referrence
Table in Section 4 for a list of available Master User
commands.
Arm Only
Setting this option restricts the user to only turn an area
on. The PIN has no access to turn an area off or reset an
alarm.
Can Bypass
Setting this option allows the user to manually bypass
and un-bypass zones.
Auto Bypass Allowed
Setting this option allows the user to turn an area on
when one or more zones are still faulted or open. Upon
arming, the area, the keypad will prompt the user to
automatically bypass each faulted zone by pressing the
[OK] key.
To prevent users from being able to force arm an area
you will need to disable this option.
Always Report Op/Cl
Setting this option will cause the system to send opening
and closing reports when the user arms and disarms an
area.
i
Note
A user not set for 'Open' and 'Close' reports will
only send a closing report when the reporting
format is set to Contact ID or SIA formats (PSTN
or GSM) when an 'Open' report is previously sent
.
SMS and other reporting formats will only send open
and close reports if the user is programmed to send
them.
Log Credential
This option is user specific allowing guards who attend
the site to be given a unique credential. When the
credential is presented to a reader or keypad, the system
will create an entry in the history log including the user
name, time and console information.
Normally a guard user would not have been given any
access or alarm control rights. On large sites, multiple
readers can be positioned to ensure patrols are being
carried out as requested.
U N D E R S TA N D I N G T I M E ZO N E S
Timezones can be used to restrict users from operating
doors outside given times.
To do this, you need to create a timezone. Each timezone
includes a maximum or 4 different time periods. Each
time period can be set to different days of the week
(including holidays). Then assign one or more user’s to
the timezone to specify the access period, day of the week
and holidays. This now restricts the user from accessing
the system outside the nominated times and days within
the timezone.
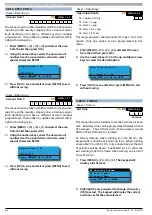
User
Can only belong to 1 timezone.
TimeZones
Only one timezone can be linked to each user.
TimeZone Access Example
1)
To set up timezone access, you need to select an
unused timezone from 1 to 16, in this example we
will assume timezone access number to be 5.
2)
Select timezone 5 and program the times and days
of the week.
3)
Then under the user timezone access properties,
assign all users who you wish to restrict to
timezone access 5. Remember that you are only
able to assign a user to one timezone.
A master code holder is able to change the timezones
so they can change the access times for a given user. If
a user tries to operate the system outside their assigned
timezone periods, then access will be denied.


