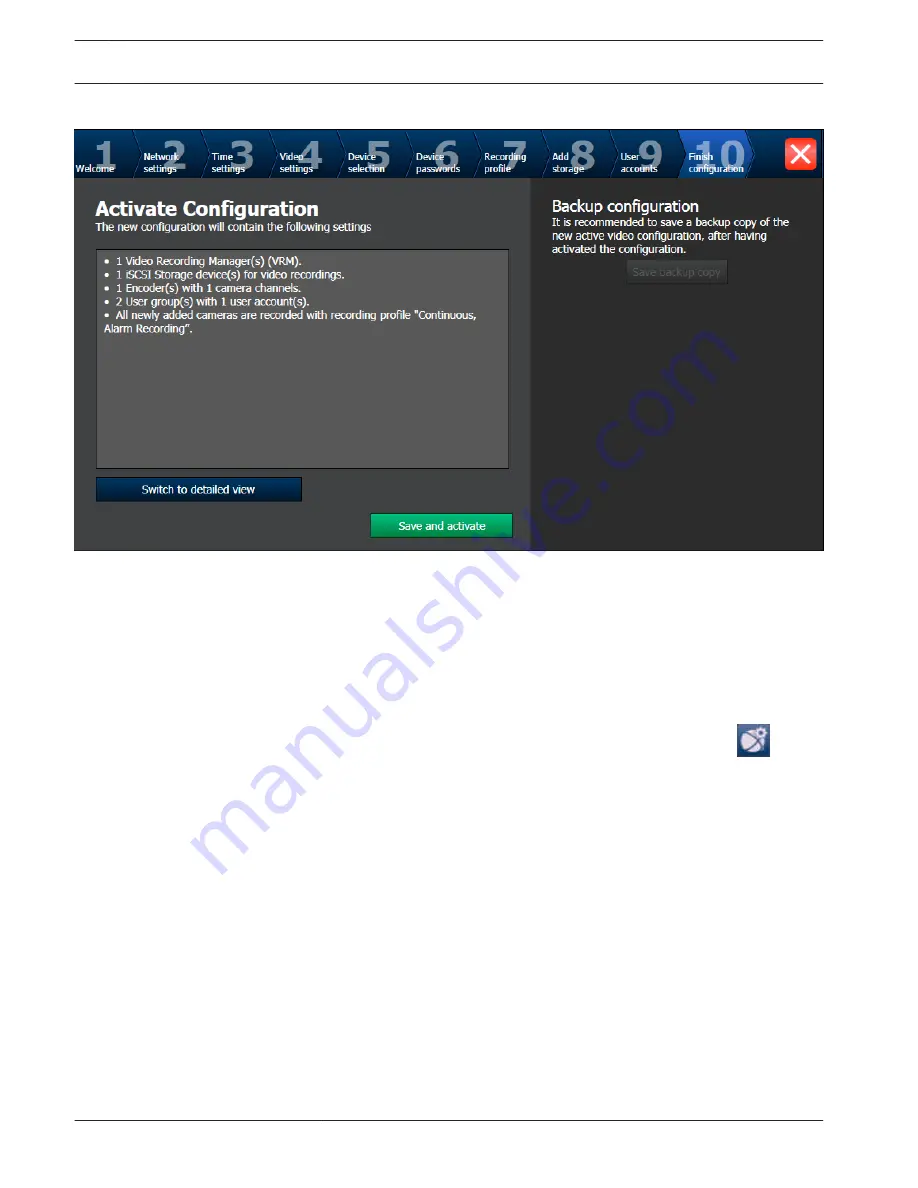
Finish configuration page
After clicking Save and activate the configuration is activated.
After successful activation the Activate Configuration page is displayed again. Now you can
store a backup of the configuration if desired: Click Save backup copy.
Using Bosch VMS Configuration Client
If the IP addresses of devices that should be added do not fall within the same IP range as the
DIVAR IP, we recommend using the Bosch VMS Configuration Client.
To assign device IP addresses:
1.
On the Bosch VMS default screen, double-click the Configuration Client icon
to
change device network settings. The application starts.
2.
Enter the following, then click OK.
User name: admin
Password: no password required (if not set with the wizard)
Connection: 127.0.0.1
3.
On the Hardware menu, click Initial Device Scan.
The application performs a network scan for all defaulted devices.
4.
To assign all devices at once, click Select All, then right-click the selected devices, then
click SetIP Addresses. The Set IP Addresses dialog box is displayed.
Note:
It is also possible to configure the devices individually with specific IP addresses based
on MAC address.
5.
Enter the starting IP address for the address range you want to use, click the Calculate
tab, then click OK.
6.
To restart the devices, click OK.
7.
Close Configuration Client .
5.5
42
en | System setup - first steps
DIVAR IP 7000 2U
2013.09 | V2 | DOC
Installation Manual
Bosch Sicherheitssysteme GmbH
Summary of Contents for DIVAR DIP-7080-00N
Page 1: ...DIVAR IP 7000 2U DIP 7080 00N DIP 7082 8HD en Installation Manual ...
Page 2: ......
Page 70: ......
Page 71: ......


