EN
23
23
06 Installation and Operation
of the Glass
Buddy
Software
Installation of the Glass
Buddy
software must be
done with full administrative rights to the computer.
The enclosed software, suitable for PC and laptop
with an operating system starting from Windows
2000 or later, allows you to comfortably store your
measuring results.
Installation
To install the software, connect the supplied USB
to your computer and start the program setup.exe in
the Explorer.
The program will then be installed onto your com-
puter. After installation you will need to restart your
computer.
Program Start
To start the Glass
Buddy
program, double-click the
program icon Glass
Buddy
on your desktop.
Program Description
This program allows you to transfer data from the
memory of the Glass
Buddy
to your computer. To do
this, the device needs to be connected to your PC
via the supplied USB cable. In addition, you can also
call up any previously imported data using the pro-
gram without a connection to the Glass
Buddy
.
Program Screen
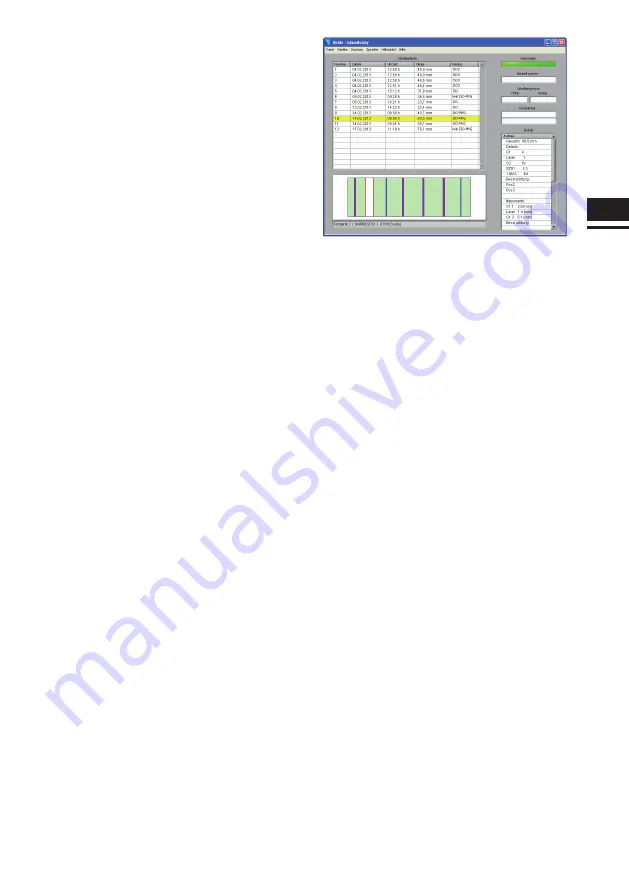
Once the program has started, you will see the
empty program screen with the following areas:
Pane list:
The measurements transferred from the Glass-
Buddy
are listed here according to the sequential
number. The date of the measurement, the time, the
total thickness of the glass structure as well as the
measuring mode are also shown.
The graphic shows you the pane compound of the
selected glass in the corresponding list. The results
for glass (green), film (blue), fire protection gel (yel-
low) and layer (purple) are highlighted in different
colours.
The field below the graphic shows the following
information about the device: Name (if applicable),
serial number and model number of the software.
Connected:
This field is dark green if the Glass
Buddy
is not
connected to the program and light green if the
Glass
Buddy
is connected to the program.
Component number:
Here you can assign a component number for the
selected measurement.
Pane size:
Here you can indicate pane width and height for the
selected measurement.
Comments:
If you have selected a measurement from the pane
list, you can add an individual comment to this
measurement.
Details:
If you have selected a measurement from the pane
list, all the results will be shown in detail here.
Summary of Contents for GlassBuddy Basic
Page 1: ...GlassBuddy Plus GlassBuddy Basic...
Page 2: ......
Page 3: ...EN Bedienungsanleitung Seiten 4 18 Operating Instructions Pages 20 34 DE...
Page 19: ...DE 19...


