SEAT FRAME ASSEMBLY
Please remove the four
Screws (#31)
and four
Washers (#40)
that
are pre-assembled on the
Cushion Frame (#07)
. Set them aside
nearby as they will be used later in this step.
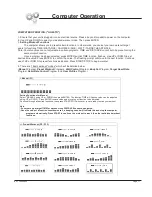
With the help of an assistant, loosen the pre-assembled
Spring
Loaded Knob (#46)
and pull back slightly on it so that you may
proceed to insert the
Seat Post (#09)
into the mouth of the post that
is protruding from the
Main Frame (#01)
down a minimum of four
inches so that the corresponding holes can engage. Screw in the
Spring Loaded Knob (#46)
through the
Main Frame (#01)
and then
through any one of the holes located on the
Seat Post (#09).
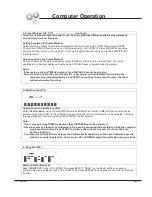
Note: The
Spring Loaded Knob (#46)
has a safety feature that
allows you to loosen it by turning it counter-clockwise three times as
you pullit outward. This knob can be loosened to adjust the seat
height. Adjustthe seat height and then pop the knob back in. Tighten
the knob by turning clockwise. See the more detailed explanation
and illustrations below.
Then, slide the
Cushion Frame (#07)
onto
Horizontal Seat Cushion
Bar (#08)
. Secure by using one
Screw (#28)
from top, two
Hex Bolt
(#24)
through two
Washers (#40)
from side.
Knobs (#48)
and two
Washers (#38).
REAR HANDLEBAR ASSEMBLY
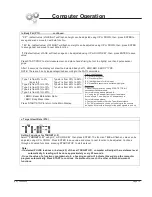
Next, using the illustration below for reference, align the four holes of
the
Rear Handle Bar (#10)
to the holes on the
Cushion Frame (#07)
and secure using the four
Screws (#31)
and four
Washers (#40)
which were previously removed.
A s s e m b l y S t e p 7
Hardware Required
WASHERS
BOLTS
#24.Hex Bolt (M8x70 mm) [2 Pieces]
#28. Screw (M8x35 mm) [1 Piece]
#31. Screw (M8x15 mm) [4 Pieces]
#38. Washer (M10)
[2 Pieces]
#40. Washer (M8)
[8 Pieces]
#37. Nylon Nut (M8)
[2 Pieces]
#48. Knob (M10) [2 Pieces]
Others
NUTS
)URQW
5HDU
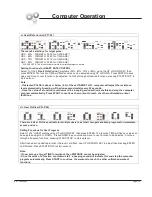
Next, slide the
Horizontal Seat Cushion Bar (#08)
onto the
trough of
the
Seat Post (#09)
as shown below. Secure using two
Please note, the
Horizontal Seat Cushion Bar (#08)
has labels indicating
“REAR” and “FRONT” to ensure correct assembly. Please ensure the end
with “REAR” is facing the back of the unit. For reference, the “REAR” is also
distinguishably longer than the “FRONT”.
5HDU
Assembly Instructions
Page 12
BRT 3980/3880


