8
fixed to a solid base, e.g. using a viscous paste. The same applies to the hardness
test blocks.
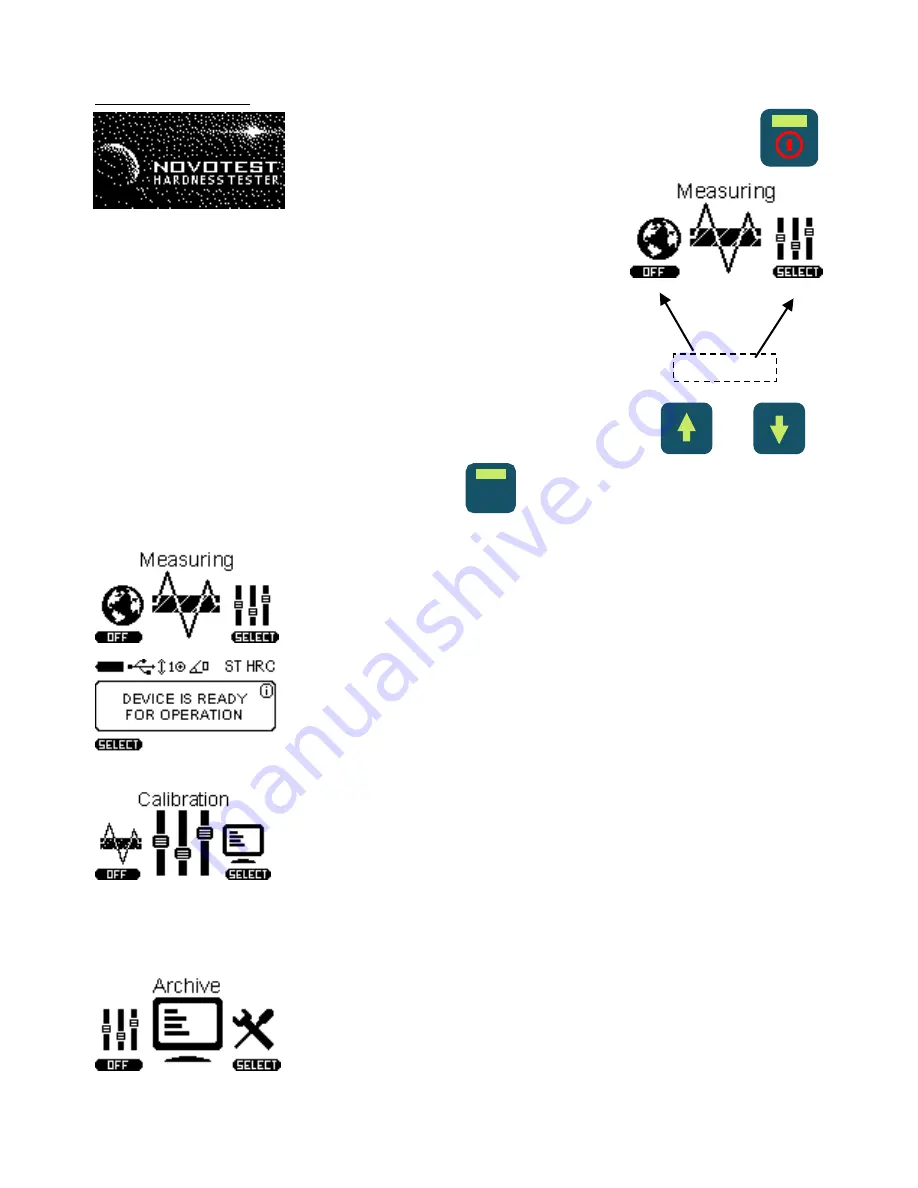
8.3. Device menu
After connecting the probe, hold TURN ON button
until logo appears on the display:
Then, you get to the main menu of the device:
The menu consists of 6 sections:
Measuring
Calibration
Archive
Settings
Memory card
Information Scroll through the menu using the navigation keys
and
,
for entering press soft key SELECT using
.
8.3.1. Measuring
Selecting Measuring, you go to the measurement of
hardness mode, depending on the probe at the top of the
screen will display the angle of the, or the state of the
diamond indenter (for UCI probe).
Detailed description of the measurement of hardness, see
paragraph
9.
8.3.2. Calibration
Selecting Calibration, you go to the table of calibrations
where the scale conventionally divided into four hardness
scales: Rockwell (HRC), Brinell (HB), Vickers (HV), User
(U1). Each of the scales can be calibrated to 5 conventional
materials: Steel (ST), Alloy Steel (AST), Stainless steel
(SST), Cast Iron (CI), User material (U1).
Detailed description of the calibration process, see paragraph
11.
8.3.3. Archive
Selecting Archive you go to the list of saved
measurements, which displays Measurement name, Scale,
Material and Average Value.
Soft keys


