4
Oven Assembly
Installation
NOTE: This appliance shall be installed in accordance
with current regulations and used only in a well-
ventilated space. Refer to the instructions before
installing and using
this appliance.
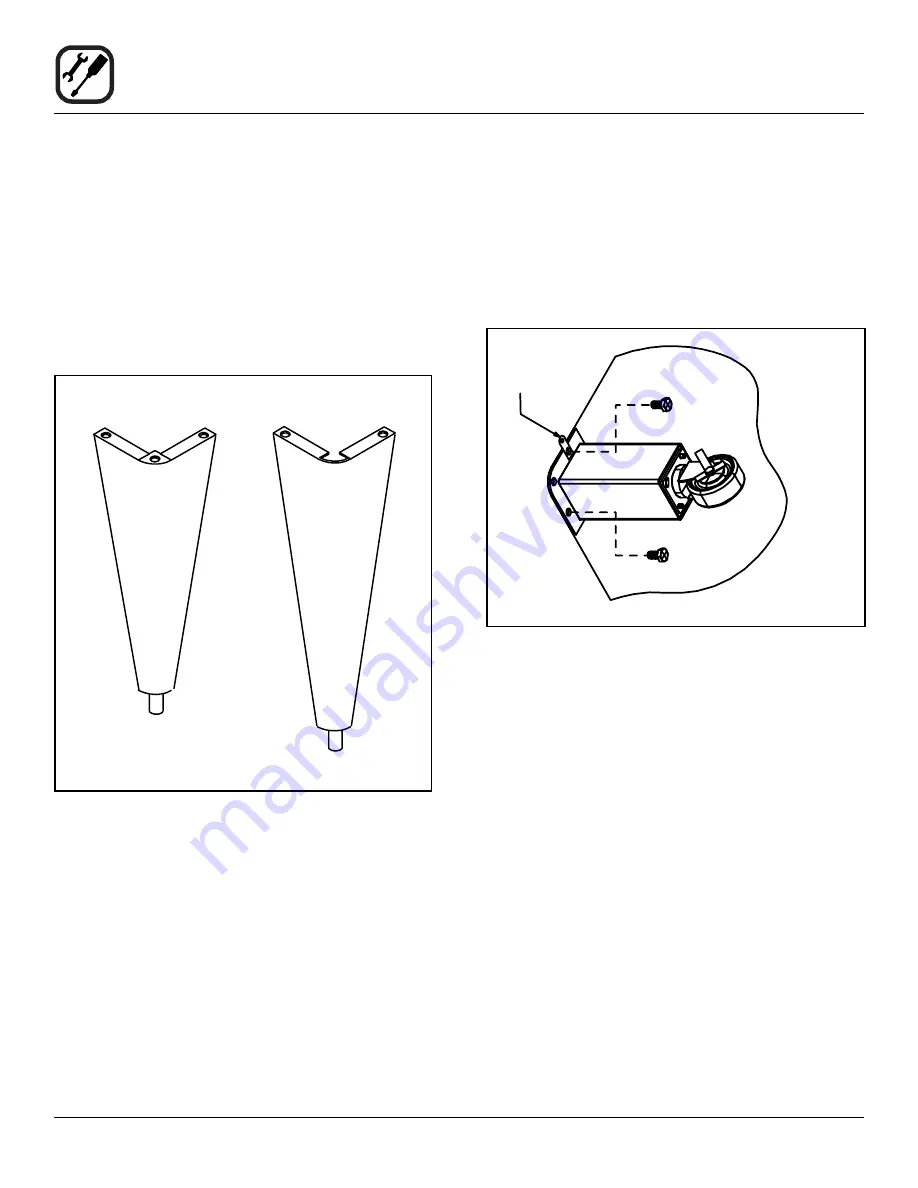
LEG ATTACHMENT
Legs are available in 82,5 cm, 70 cm, 48,3 cm, 30,5 cm,
and 18 cm lengths.
1. Place the unit on a lift truck.
2. Attach each leg with bolts to the bottom of the oven.
Use 3 bolts for
(70, 48,3 and 30,5 cm)
legs
Use 2 bolts for
(82,5 and 18 cm)
legs
70 cm leg shown
82,5 cm leg shown
Figure 2
CASTER ATTACHMENT
1. Bolt the square legs to the oven with 1/2-13 hex head
bolts. Casters with brakes should be facing front of
oven.
2. Carefully place oven onto the casters. Engage brakes
on front casters.
3. Attach the strain relief bracket.
Restraint Cable
Bracket
Figure 3
OVEN DECKS
Rokite Decks
1. Slide the deck pieces into the unit until they drop into
the shelf supports.
2. Push together until the center gap closes.
Use only
Blodgett Rokite decks.
Steel Decks
1. Slide the deck pieces into the unit until they drop into
the shelf supports.
2. Push together until the center gap closes.
3. Attach the retaining clip in the front of the decks.
4. Attach the three deck clips in the rear of the oven.


