_____________________________________________________________________
724-746-5500 | b lackb o x.co m
Page 23
Note:
We recommend that you set up a new
Administrator
user as soon as convenient and log in as this
new user for all ongoing administration functions (rather than
root
). This
Administrator
can be
configured in the
admin
group with full access privileges through the
Serial & Network: Users &
Groups
menu as detailed in Ch
apter 4.
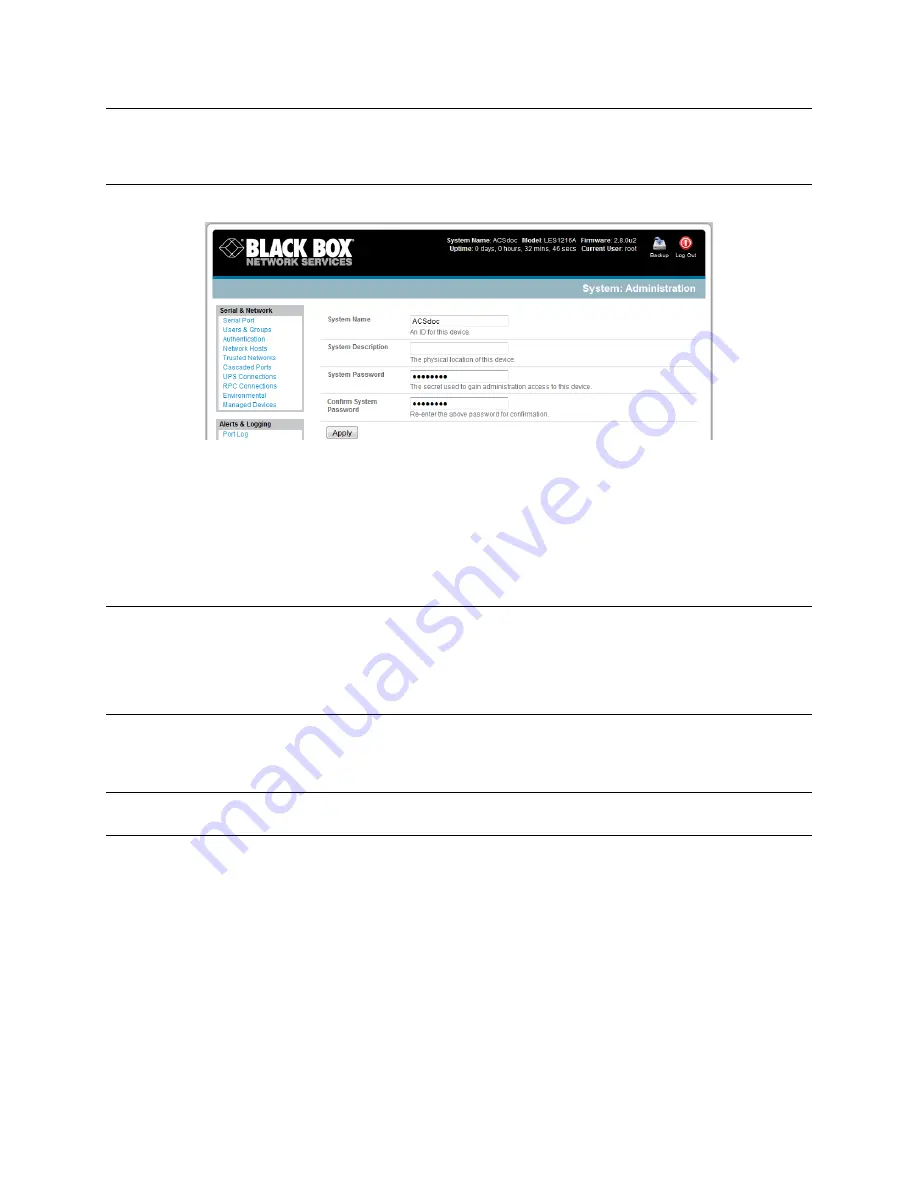
Select
System: Administration.
Enter a new
System Password
then re-enter it in
Confirm System Password.
This is the new
password for
root
, the main administrative user account, so choose a complex password, and
keep it safe.
At this stage, you may also wish to enter a
System Name
and
System Description
for the
console server
to give it a unique ID and make it simple to identify.
Note
The System Name can contain from 1 to 64 alphanumeric characters (however you can also use
the special characters
―-‖, ―_‖, and ―.‖)
There are no restrictions on the characters that can be used in the System Description or the
System Password (each can contain up to 254 characters). However, only the first eight System
Password characters are used to make the
password hash
.
Click
Apply
. Since you have changed the password you will be prompted to log in again. This
time, use the new password.
Note
If you are not confident that your
console server
has the current firmware release, you can
upgrade. Refer to
Upgrade Firmware
—Chapter 10
.
3.3
Network IP address
The next step is to enter an IP address for the principal Ethernet (
LAN/Network/Network1
) port on the
console server
; or enable its DHCP client so that it automatically obtains an IP address from a DHCP
server on the network it will connect to.
On the
System: IP
menu, select the
Network Interface
page then check
dhcp
or
static
for the
Configuration Method.
If you selected
Static,
you must manually enter the new
IP Address
,
Subnet Mask
,
Gateway,
and
DNS
server details. This
selection automatically disables the DHCP client.


