36
6.0 Adjustments
This section covers all forms of adjustments to the Transtacker in order for the machine to perform
efficiently and as intended.
6.1 Mechanical Adjustments
This section covers all the necessary mechanical adjustments between bale sizes and a step by step
guide on how to carry out the adjustments.
6.1.1 Side Gate Pins position
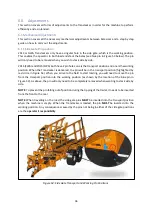
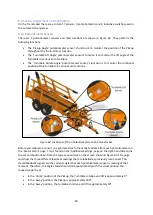
2013 or DWA Transtackers only have a singular hole in the side gate, which is the working position.
This enables the operator to both load and stack the bales (see blue pin in Figure 53 below). The pin
will only need to be removed when you wish to stack side by side.
2014 (EWA) and 2015 (FWA) both have 2 pin holes, one is the transport position and one is the working
position. When the Transtacker is delivered, the pin will be in the transport position (highlighted by
red circle in Figure 53). When you arrive to the field to start loading, you will need to move the pin
from the transport position into the working position (as shown by the location of the blue pin in
Figure 53). As above, the pin will only need to be completely removed when wanting to stack side by
side.
NOTE
: To prevent the pin falling out of position during the tipping of the trailer, it needs to be inserted
from the front to the rear.
NOTE
: When travelling on the road, the side gate pins
MUST
be inserted into the transport position
when the machine is empty. When the Transtacker is loaded, the pin
MUST
be inserted into the
working position. Any consequences caused by the pins not being in either of the side gate positions
are the
operator’s
responsibility
.
Figure 53: Side Gate Transport and Working Pin Positions.
Summary of Contents for Transtacker
Page 7: ...7 3 0 Machine Overview Figure 1 Transtacker Overview...
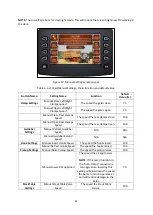
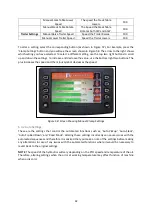
Page 43: ...43 Figure 59 Auto Settings Screen...
Page 57: ...57 8 1 Auto Pickup Sequence Figure 69 Auto Pickup Diagram...
Page 58: ...58 8 2 Auto Stack Sequence both with and without tie Figure 70 Auto Stack Diagram...
Page 59: ...59 8 3 Auto Lower Turntable Figure 71 Auto Lower Turntable Diagram...
Page 60: ...60 8 4 Auto Open Sequence Figure 72 Auto Open Diagram...
Page 61: ...61 8 5 Auto Tip Bed Down Sequence Figure 73 Auto Tip Bed Down Diagram...
Page 62: ...62 8 6 Road Mode Sequence Figure 74 Road Mode Diagram...

