19
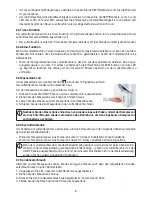
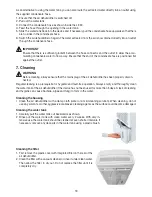
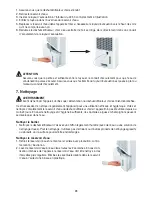
As an alternative to using the water tank, you can also route the extracted water directly into an outlet using
the supplied condensate hose.
1. Ensure that the air dehumidifier is switched off.
2. Pull out the water tank.
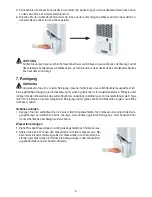
3. Connect the condensate hose as shown inside the LE 30.
4. Feed the hose through the opening in the water tank.
5. Slide the water tank back into the device and if necessary pull the condensate hose upwards so that there
are no kinks in the condensate hose.
6. Switch the air dehumidifier on again. The water extracted from the air is now drained directly into an outlet
through the condensate hose.
IMPORTANT
Ensure that there is sufficient gradient between the hose connector and the outlet to allow the accu-
mulating condensate water to flow away. Ensure that the end of the condensate hose is positioned flat
against the outlet.
7. Cleaning
WARNING
Before cleaning, always ensure that the mains plug of the air dehumidifier has been properly discon-
nected.
Regular cleaning is a prerequisite for hygienic and fault-free operation. Always empty and thoroughly clean
the water tank of the air dehumidifier if the device has not been used for more than 3 days. A lack of cleaning
and hygiene can cause bacteria, algae and fungi to form in the water.
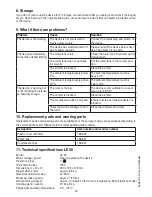
Cleaning the housing
• Clean the air dehumidifier with a damp cloth (water or a mild cleaning solution). When cleaning, do not
use any solvents or other aggressive or abrasive cleaning agents as the surface could become damaged.
Cleaning the water tank
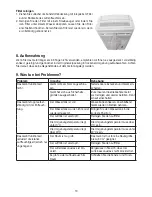
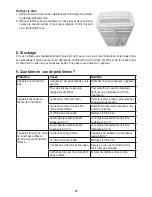
1. Carefully pull the water tank out backwards as shown.
2. Rinse out the water tank with clean water every 2 weeks. With very in-
tensive use, the water tank should be cleaned at even shorter intervals. If
necessary, remove any deposits in the water tank using a plastic brush.
Cleaning the filter
1. First remove the plastic cover with integrated filter on the rear of the
air dehumidifier.
2. Clean the filter with a vacuum cleaner or rinse it under clean water.
Then allow the filter to dry out. Do not replace the filter until it is
completely dry.
Summary of Contents for LE 30
Page 61: ...61 Beurer LE 30 8 30...
Page 63: ...63 LE 30 50 20 30 2 LE 30 LE 30...
Page 64: ...64 3 250 T 10 A L...
Page 65: ...65 35 C 5 C WEEE Waste Electrical and Electronic Equipment 4 1 5 2 6 3 7 4 1 2 3 4 5 6 7...
Page 67: ...67 6 2 50 SETTING SETTING 40 50 60 6 3 2H 4H 6H 6 4 1 C 30 10 6 5 10 1 ON OFF 2 3 4 6 6 0 C...
Page 68: ...68 40 C ON OFF 6 7 1 2 3 LE 30 4 5 6 7...

