


Operation
58
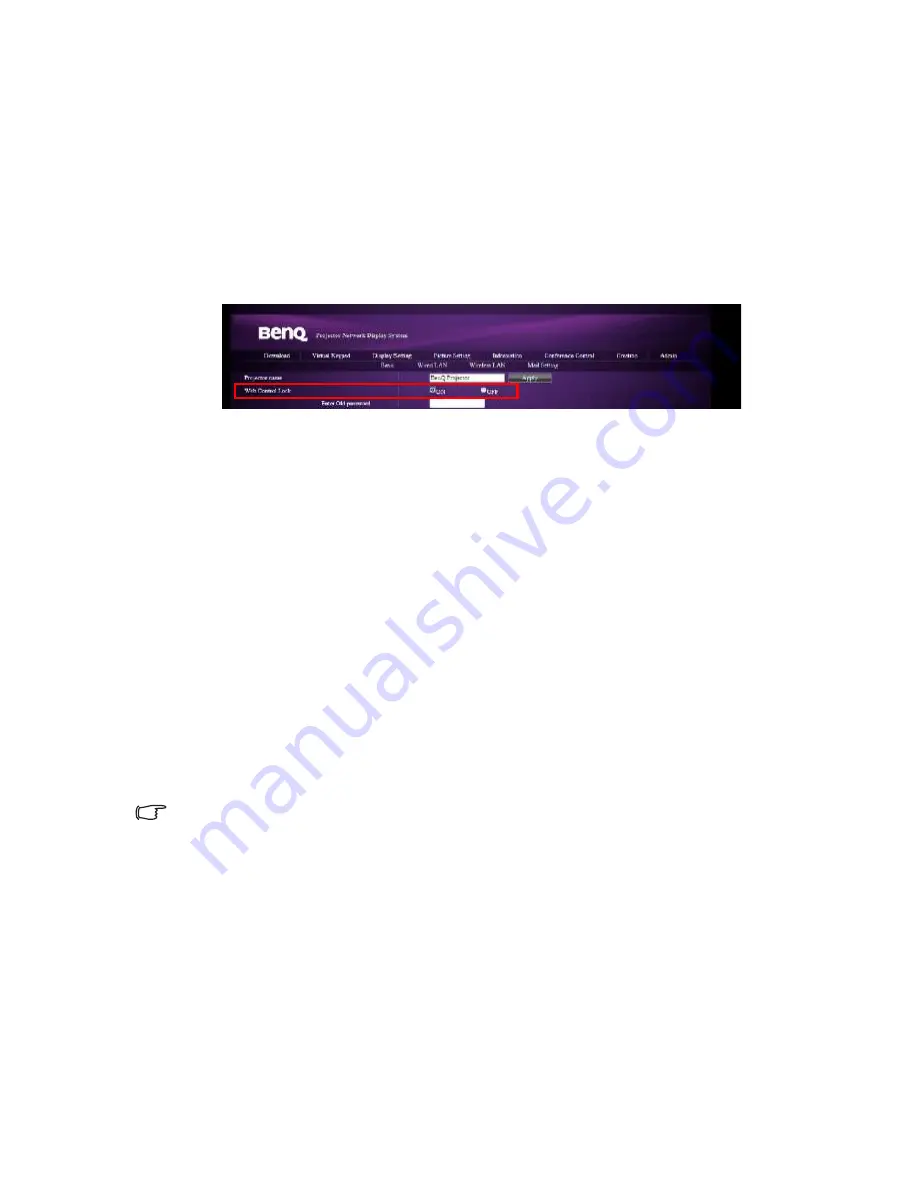
Using the Web Control Lock
This function is designed to prevent unauthorized people from maliciously changing the
projector settings through the Projector Network Display System.
To enable the function:
1.
After your computer is connected to the projector, enter the address of the
projector in the address bar of your browser and press Enter.
2.
Go to the Admin page of the Projector Network Display System.
3.
Enter the current password.
4.
Click ON in the
Web Control Lock
row.
The next time someone connects to this projector, the Projector Network Display System
page provides limited functions.
To disable the function:
1.
Go to the Admin page of the Projector Network Display System.
2.
Enter the current password.
3.
Click OFF in the Web Control Lock row.
You can also use the OSD menu to toggle this function:
1.
Go to the
System Setup: Advanced
>
Security Settings
>
Change Security
Settings
menu after opening the OSD menu system. Press
MODE/ENTER
. The
message “INPUT PASSWORD” appears. Enter the current password. If the password
is correct, the OSD menu returns to the Security Settings page. Press
▼
to select
Web Control Lock
and press
◄
/
►
to select
On
or
Off
.
Displaying image through Q Presenter
The Q Presenter is an application running on the host PC. It connects to an available
network display and transfers the desktop contents to the network display via local
network connection.
Be sure to turn off other virtual network control programs before using Q Presenter.
1.
Connect the projector with the RJ45 cable, and make sure your laptop or computer
also link to the LAN. See
"Configuring the Wired LAN Settings" on page 49
and
"Configuring the Wireless LAN Settings" on page 50
for details.
2.
Find the IP address and enter the address of the projector in the address bar of your
browser. See
"Controlling the projector remotely through a web browser" on page
50
for details.
3.
Download the Q Presenter, unzip it and complete program installation.
4.
Once installed, double click the Q Presenter icon. The Q Presenter page appears.


