Eng
lish
Using the Camera
20
2. Open the menu.
•
Press the
MENU
button, then use the [
] / [
] to select PLAY mode.
•
Press the [
] / [
] to select DPOF and press the [
] or
OK
button.
3. Press [
] or [
] to select
[Single]
, then press the
OK
button.
•
To set the DPOF setting for all images in a time, select
[All]
in this step.
•
To reset all DPOF settings to initial default, select
[Reset]
in this step.
4. Press [
] or [
] to select the image you want to print out, then press the
OK
button.
5. Set the number of copies.
•
Press [
] or [
] to specify the number of copies.
•
The number of copies can be set from 0 to 30.
•
To cancel this image DPOF setting, set the number of copies to 0.
6. Print the date stamp
out.
•
Press [
] and then press [
] or [
] to set or cancel the date stamp of current
image.
•
Repeat step 4~6 to other images for printing.
7. Press [
] to select [Back], and then press OK.
8. After you finished all image settings, select [No] under [Select this photo?]. Next, press
the OK and Menu buttons to complete the DPOF settings.
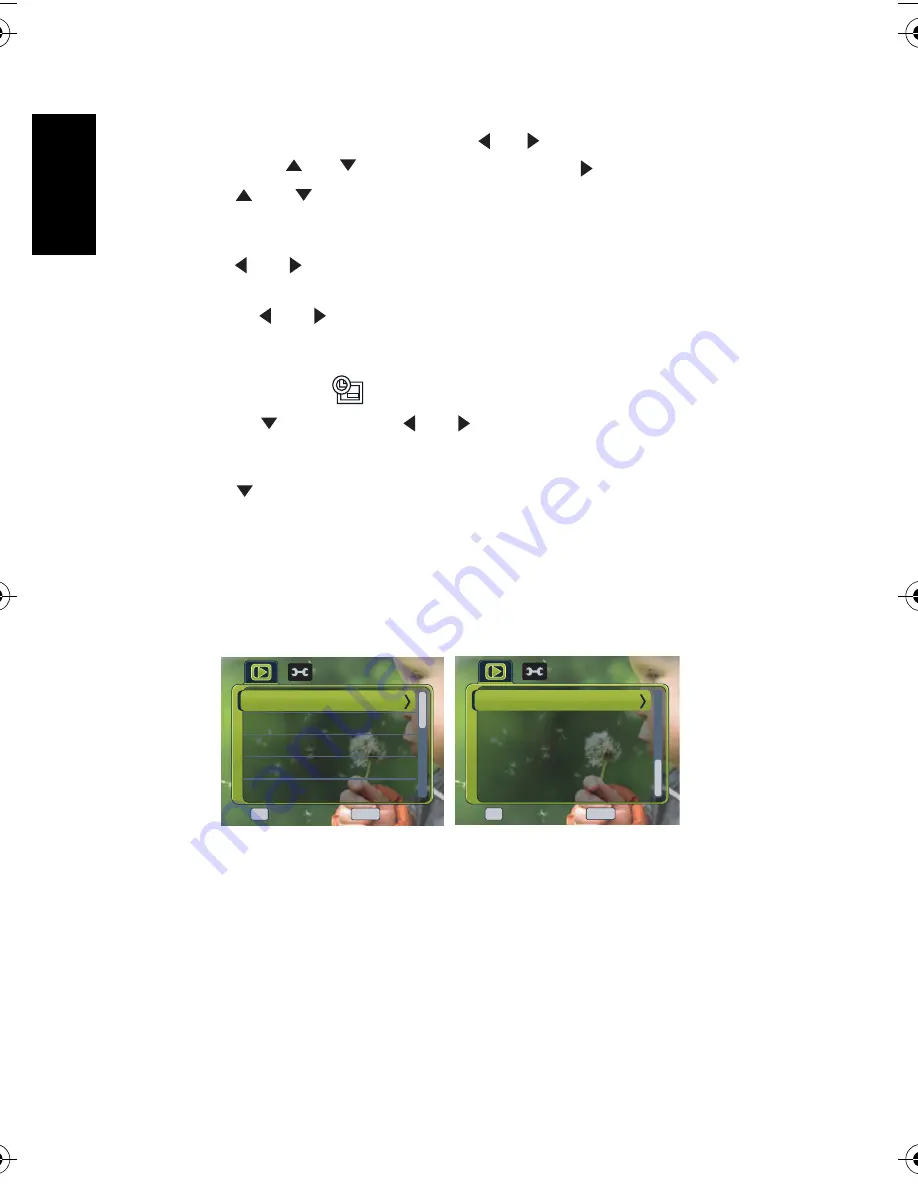
3.8.9 Other playback functions
You can also protect (lock) images from being deleted, edit images, copy files, or enter setup
for more options. To do so, press the
MENU
button in the PLAY mode, and select a function.
Enter
Enter
Back
Back
Protect...
Slideshow...
Slideshow...
DPOF...
DPOF...
Copy to Card...
Copy to Card...
OK
MENU
Delete...
Delete...
Enter
Enter
Back
Back
OK
MENU
Photo Frame...
DC_E820_UM.book Page 20 Tuesday, May 15, 2007 4:43 PM


