61
NV9601
User’s Guide
Use the keypad at the right to enter a panel ID.
To make the ID permanent, press selection button 8 (‘Save’). To cancel your entry, press
selection button 7 (‘Cancel’). In either case, you will be returned to the setup menu.
Software Versions
In the firmware menu, press selection button 2, corresponding to ‘Software’. The software
submenu appears:
To return to the firmware menu, press selection button 8.
Test
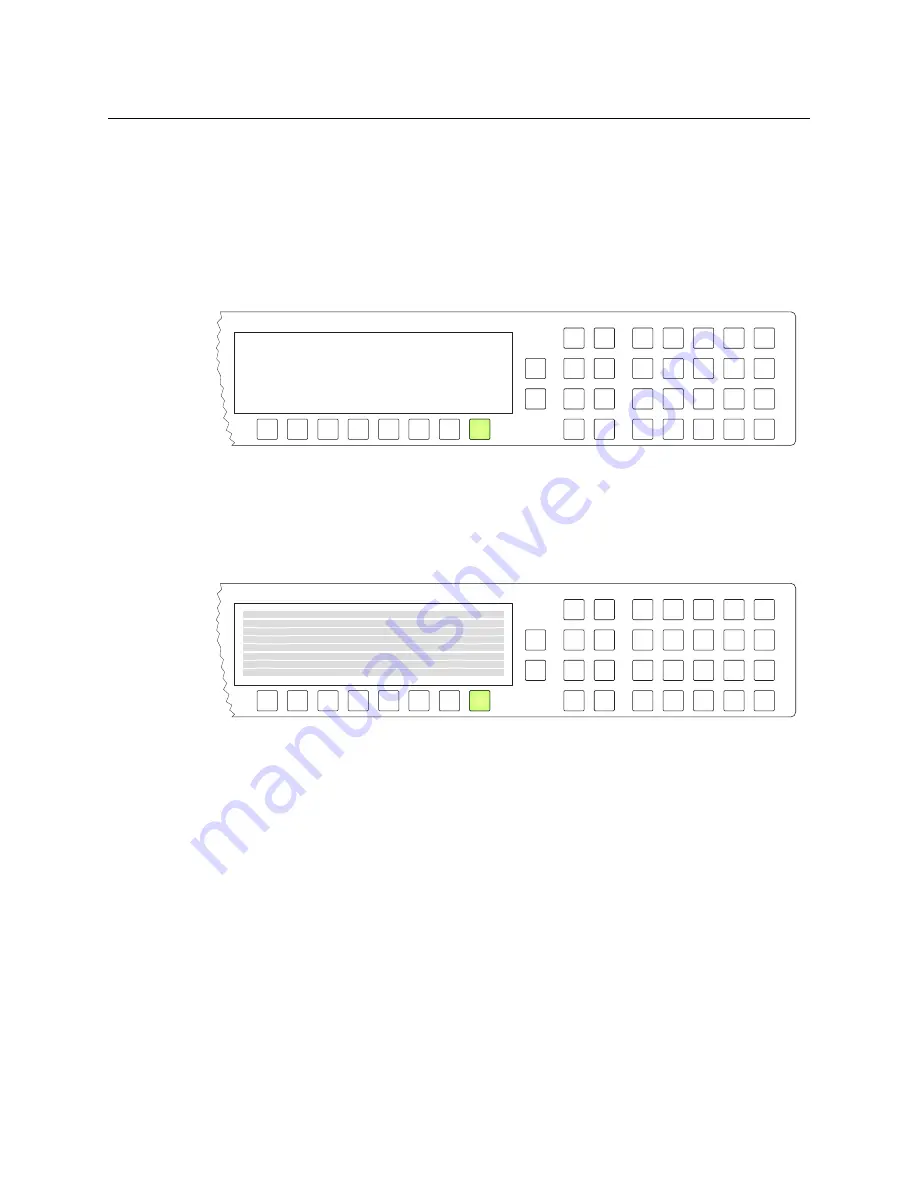
In the firmware menu, press selection button 3, corresponding to ‘Test’. The first of several
test patterns appears:
The first test pattern illuminates rows of pixels in the display.
Selection button 8 is illuminated. Press that button to proceed through the other test
patterns. These are the remaining test patterns, in order:
•
All buttons are illuminated in low-tally amber.
•
All buttons are illuminated in high-tally amber.
•
All buttons are illuminated in low-tally green.
•
All buttons are illuminated in high-tally green.
•
Button test.
In this test, you may press any button. It will blink rapidly for a few moments. When you
are satisfied that the buttons work, press selection button 8 to return to the firmware
menu.
When you are finished using the setup menu, press ‘Exit’ to return to the firmware menu.
Press ‘Exit’ again to leave the firmware menu.
Firmware Menu
Software
Panel Application SV0993-02 A0
Exit
Summary of Contents for Grass Valley NV9000
Page 1: ...www grassvalley com User s Guide VERSION 2 4 UG9601 04 2015 07 02 NV9601 NV9000 CONTROL PANEL...
Page 6: ...vi Notices...
Page 72: ...62 Operation Test...
Page 76: ...66 Technical Details Drawings Fig 6 1 Front View of the NV9601 3 00 76 2 3 47 88 1 19 0 482 6...
Page 78: ...68 Technical Details Drawings...


