14
In single shot mode the filter will not release a setting which has been achieved, this is particularly useful with
problems at fixed frequencies like turntable resonances and fixed microphone and monitor positions. If feed-
back is detected the filter will deal with that frequency and the status of that filter will change to locked (LCK).
It will only widen its bandwidth or increase the attenuation but it will not release that frequency to deal with a
new feedback frequency. Please note the application example in section 3.2.
When used as a parametric equalizer all parameters can be set manually. It is also possible to change an
achieved FEEDBACK DESTROYER setting to PAR to fixate the setting so that the filter will not be changed
further.
When set to OFF the gain will be set to 0 dB so that the filter has no influence at all.
+
Be careful with setting an achieved feedback filter to OFF as this may cause a suppressed
feedback to become audible again!
The FEEDBACK DESTROYER remains active in all (graphic) EQ-menus. In the setup menus as well as the
level meter menu the parameters of all filters are fixed. The FEEDBACK DESTROYER stops searching in
these menus.
2.1.4 Delay
By pressing softkey C
/
the built in signal DELAY can be switched on or off. The display shows the
current status:
= switched off,
= switched on, signal will be delayed by the preset numerical value.
You can set the DELAY time in the EQ SETUP menu (see chapter 2.1.6). Among its many uses, it can be
used to compensate for time path differences between two sets of loudspeakers set at different distances to
the listener. See chapter 3 for an application example.
2.1.5 Equalizer editing
By pressing softkey D
or by using a cursor key, the function of the softkeys is changed, and this is
highlighted by a new set of pictograms. With these, you can access either further sub-menus with their own
functions, or carry out important switching functions. We remind you to the function diagrams next to the back
cover. They give you an overview of the way all the menus and sub menus are inserted into one other, in EQ and
RTA mode respectively.
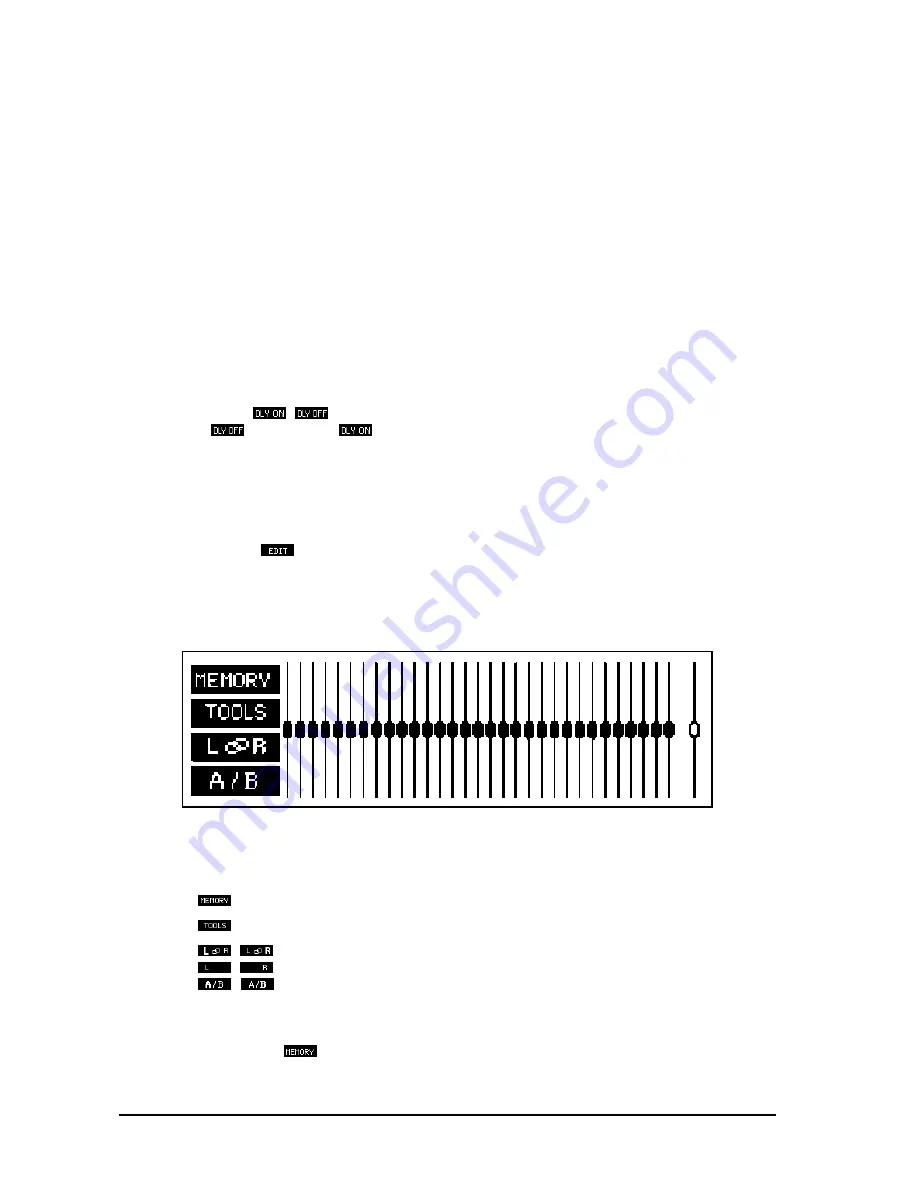
Fig. 2.5: EQ EDITING display
You can now enter
with key A
the Program Administration to store, load and name settings
with key B
the Tools menu,
with key C
/
the Channel Switching (STEREOLINK ON),
/
the Channel Switching (STEREOLINK OFF) and
with key D
/
the Comparison Functions.
Program administration
A PROGRAM contains the settings for the GRAPHIC EQUALIZER, the PARAMETRIC FILTERS and the
optional DELAY. Softkey A
allows access to further sub menus which are used to organize the Program
Administration.
A) Loading programs
2. OPERATION
All manuals and user guides at all-guides.com
Summary of Contents for ULTRA-CURVE PRO DSP8024
Page 49: ...49 E Fig 6 7 RTA window 6 APPENDIX All manuals and user guides at all guides com...
Page 54: ...All manuals and user guides at all guides com...
Page 55: ...All manuals and user guides at all guides com...
Page 56: ...All manuals and user guides at all guides com a l l g u i d e s c o m...


