


8. GUI – Installation
8.4.1
Blend Zones
About offset and blending width or height
Offset is used to clip the image. The larger the offset value, the more the image is masked (by black bar) at the corresponding side.
E.g. Top offset of 100 will blank the top 100 lines.
Height or width is used to create a blending zone with a smooth brightness drop off. This is used to compensate for the double
brightness in overlap areas. The value is the size of the blended area in pixels.
How to adjust blend zones?
1. In the main menu, select
Installation
→
Blend
→
Blend Zones
.
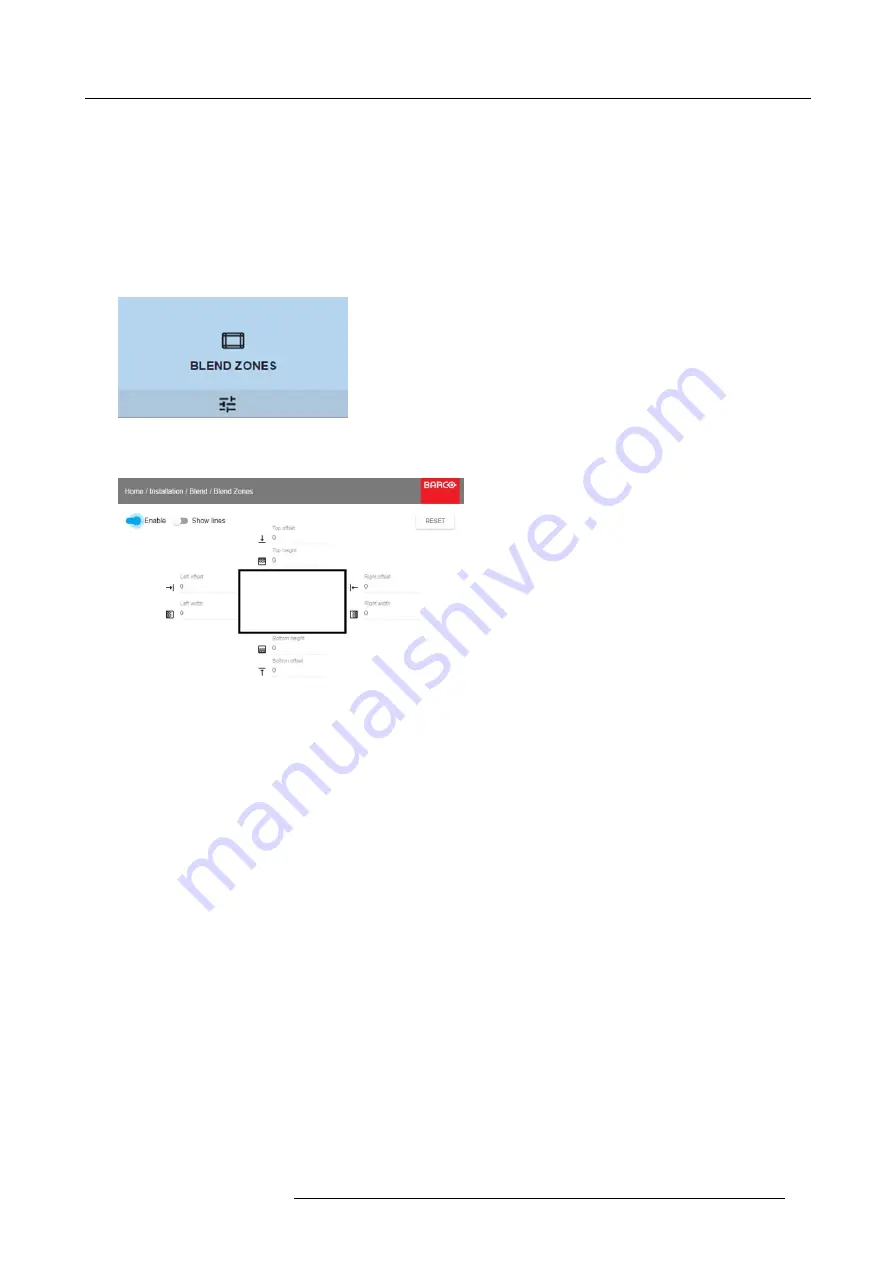
Image 8-18
Blend menu, Zones
The Blend zones menu is displayed
Image 8-19
Blend Zone menu
2. To enable blending, put the switch to the right. The color of the switch becomes blue when activated.
3. To show blending lines on the screen, put the switch before Show lines to the right. The color of the switch becomes blue when
activated.
4. Specify the start position (offset)(1) for the blending height and width, setup an size value (2) to determine the width of the blending
area.
When the blending lines are activated, you will get a visual indication of the screen of the installed blending area.
R5906112 UDX SERIES 24/05/2017
49
Summary of Contents for UDX 4K32
Page 1: ...UDX series User Manual R5906112 01 24 05 2017...
Page 4: ......
Page 16: ...1 Safety 12 R5906112 UDX SERIES 24 05 2017...
Page 40: ...5 Graphic User Interface GUI 36 R5906112 UDX SERIES 24 05 2017...
Page 56: ...8 GUI Installation Image 8 24 Laser power adjustment 52 R5906112 UDX SERIES 24 05 2017...
Page 68: ...9 GUI System Settings 64 R5906112 UDX SERIES 24 05 2017...
Page 70: ...10 Status menu 66 R5906112 UDX SERIES 24 05 2017...
Page 72: ...11 Maintenance 68 R5906112 UDX SERIES 24 05 2017...


