10. GUI – Installation
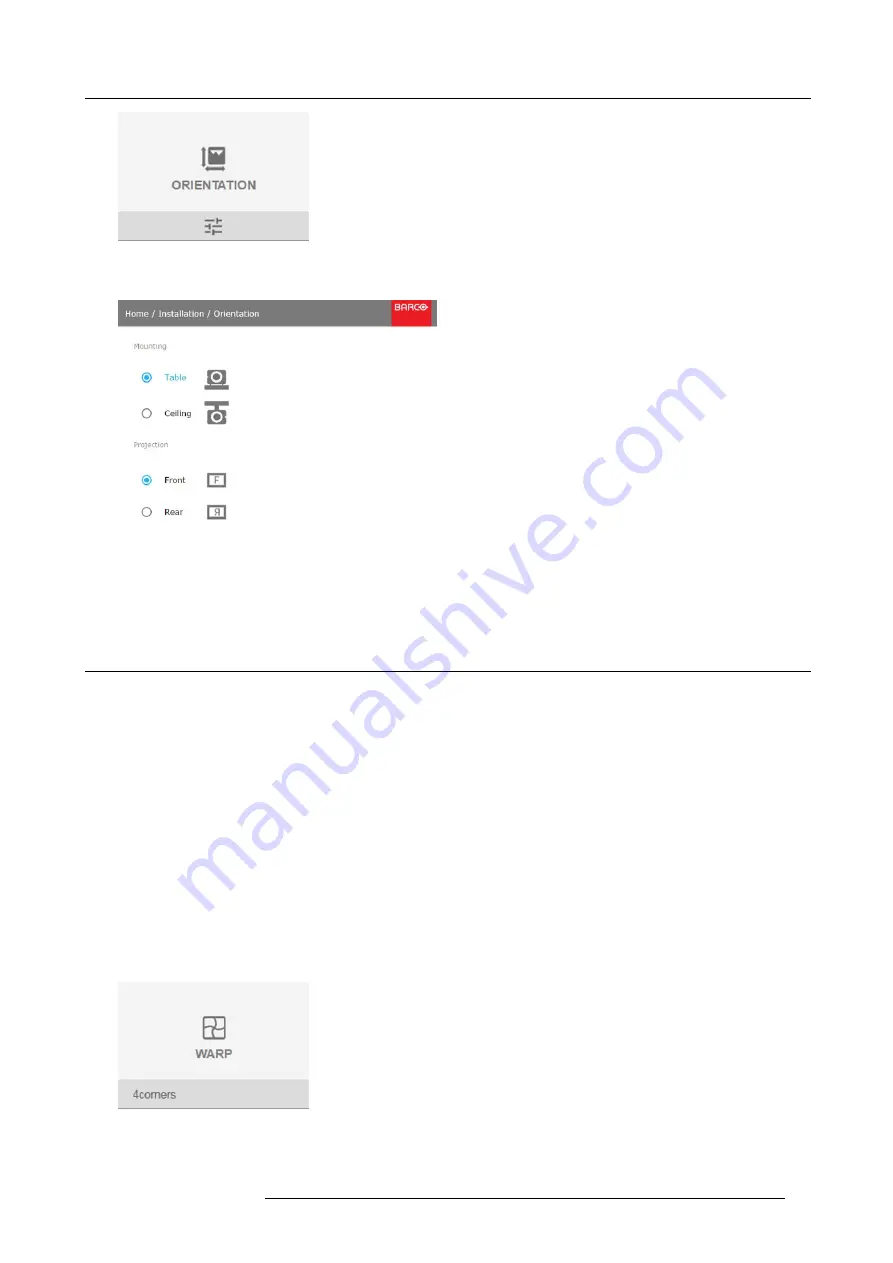
Image 10-7
Installation menu, Orientation
The Orientation menu is displayed.
Image 10-8
Orientation menu
2. Use the
▲
or
▼
key to select the desired mounting position and press
ENTER
to activate.
Use the
▲
or
▼
key to select the desired projection position and press
ENTER
to activate.
10.3 Warping
10.3.1 About warping
Overview
Image warping is the process of digitally manipulating an image to compensate for the distortion of the screen. Consequently, it can
also be used to generate an image with irregular shape.
While an image can be transformed in various ways, pure warping doesn’t affect the colors.
10.3.2 Warping – 4 corners adjustment
About 4 Corners adjustment
4 corner adjustment is typically used when the mechanical installation of the projector prevents it from pointing perpendicularly at
the screen. For example, you can overshoot the screen and use 4 corner adjustment to pull your projected image corners back into
the screen.
How to adjust the image?
1. In the main menu, select
Installation
→
Warp
.
Image 10-9
Installation menu, Warp
2. In the Warp menu, select
4Corners
.
R5906070 HDX 4K 23/09/2016
65
Summary of Contents for HDX 4K
Page 1: ...HDX 4K User guide R5906070 00 23 09 2016 ...
Page 4: ......
Page 24: ...2 Installation preparations 20 R5906070 HDX 4K 23 09 2016 ...
Page 44: ...4 Lenses Lens selection 40 R5906070 HDX 4K 23 09 2016 ...
Page 50: ...5 Input Communication 46 R5906070 HDX 4K 23 09 2016 ...
Page 60: ...7 Graphic User Interface GUI 56 R5906070 HDX 4K 23 09 2016 ...
Page 62: ...8 GUI Source 58 R5906070 HDX 4K 23 09 2016 ...
Page 66: ...9 GUI Image 62 R5906070 HDX 4K 23 09 2016 ...
Page 72: ...10 GUI Installation 68 R5906070 HDX 4K 23 09 2016 ...
Page 78: ...12 Maintenance 74 R5906070 HDX 4K 23 09 2016 ...
Page 90: ...13 Servicing 86 R5906070 HDX 4K 23 09 2016 ...
Page 94: ...A Specifications 90 R5906070 HDX 4K 23 09 2016 ...


