


R5906852-01
F80 series
86
3.
Use the
▲
or
▼
key to select
Address
and press
OK
button to activate the input box.
4.
Use the
▲
or
▼
key to change the selected character.
Use the
◄
or
►
key to select another character.
Note:
Digits can be entered with the digit keys on the remote control or the local keypad. When a digit
is entered in that way, the next character will be selected automatically.
5.
Repeat steps 4 and 5 for the Subnet mask and Default Gateway.
6.
Select
APPLY
and click
OK
to confirm all changes.
When the connection is established, it is indicated with the connection symbol and the indication
Connected
.
9.2 Themes
About Themes
Themes are used to apply a predefined functionality to the OSD display. There are two options: light (default)
or dark.
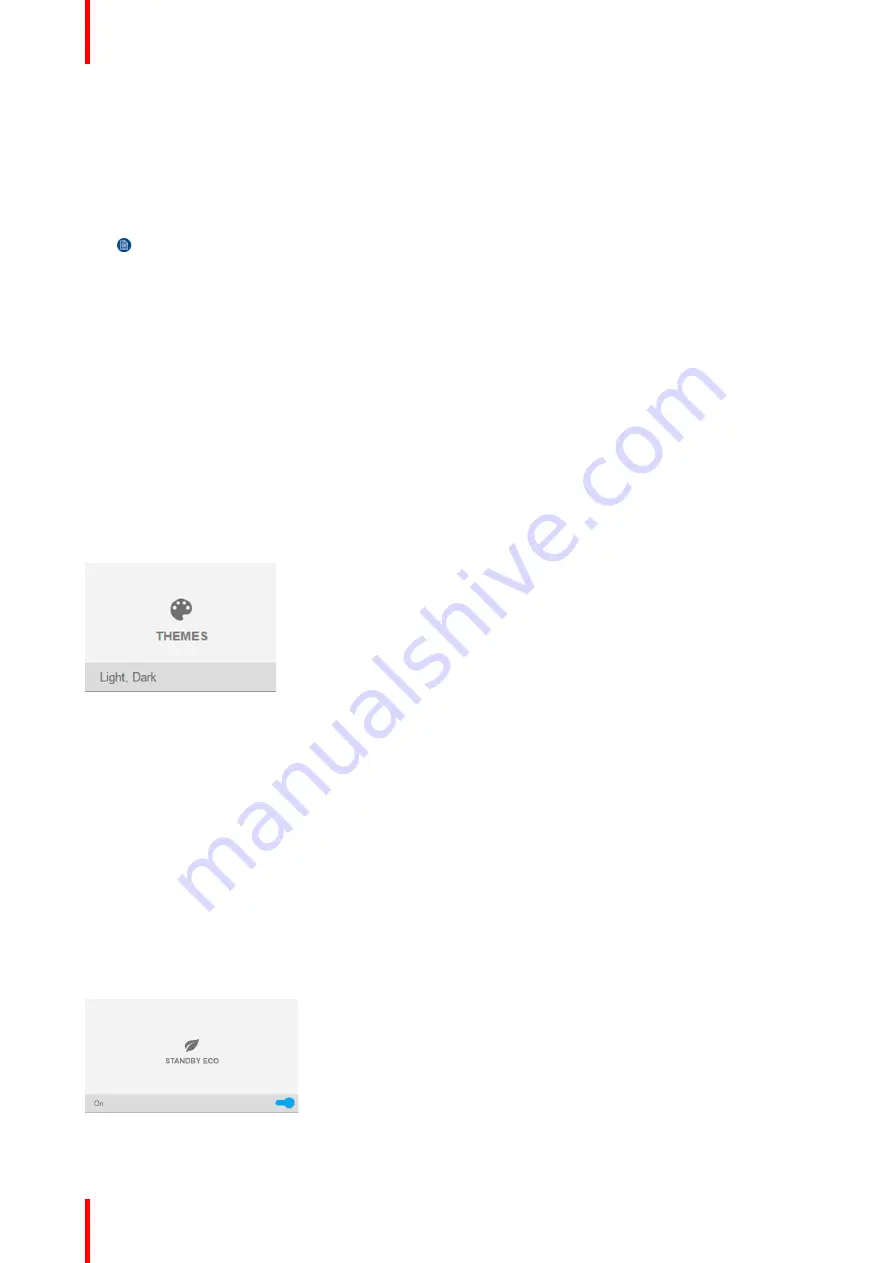
How to select a different interface theme
1.
In the main menu, select
System Settings
→
Themes
.
Image 9-5: System Settings Menu
—
Themes.
2.
In the themes menu, select the desired
Theme
.
You can choose one of the following:
Light
, or
Dark
.
9.3 Standby ECO
About Standby ECO
When the ECO mode is enabled, the projector will automatically go to
ECO standby
mode after a time-out
(default 15 minutes). All electronics (including fans, pumps, ...) go down except for a very small wake-up
controller. See section dedicated to the Power Mode transitions for further details.
How to enable the ECO mode
1.
In the main menu, select
System Settings
→
Standby ECO
.
Image 9-6: System Settings Menu
—
Standby ECO
Summary of Contents for F80 series
Page 1: ...ENABLING BRIGHT OUTCOMES User Manual F80 series...
Page 8: ...R5906852 01 F80 series 8...
Page 21: ...21 R5906852 01 F80 series Remote Control Unit 2...
Page 24: ...R5906852 01 F80 series 24 Remote Control Unit...
Page 32: ...R5906852 01 F80 series 32 Input Communication...
Page 44: ...R5906852 01 F80 series 44 Getting Started...
Page 82: ...R5906852 01 F80 series 82 GUI Installation...
Page 98: ...R5906852 01 F80 series 98 Status menu...
Page 101: ...101 R5906852 01 F80 series Specifications A...
Page 115: ...R5906852 01 F80 series 115 Environmental information...


